 Pin it
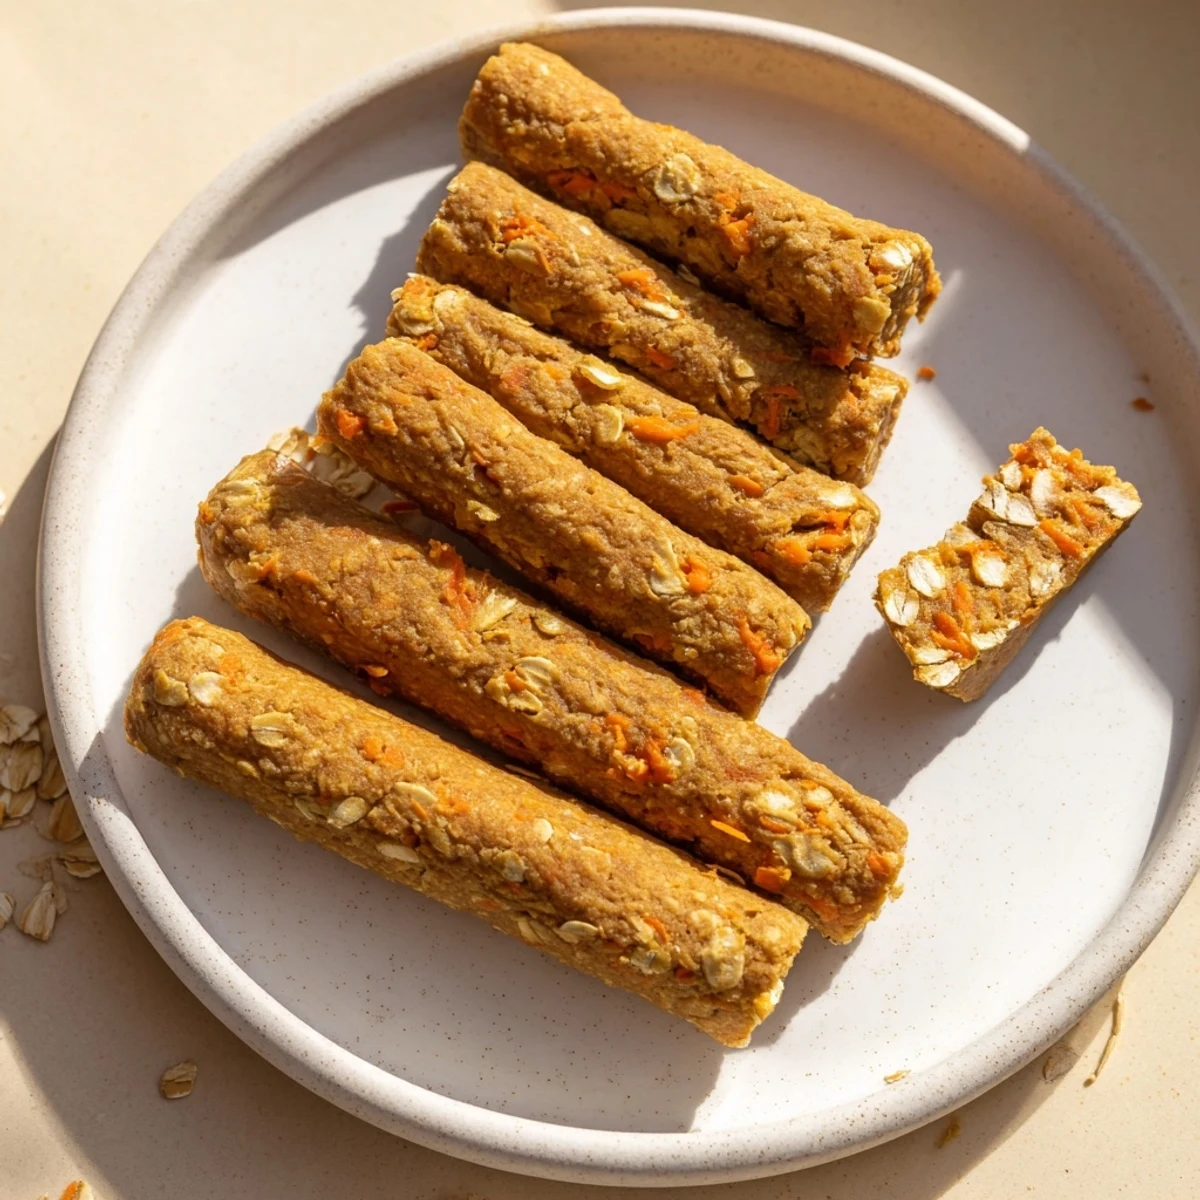
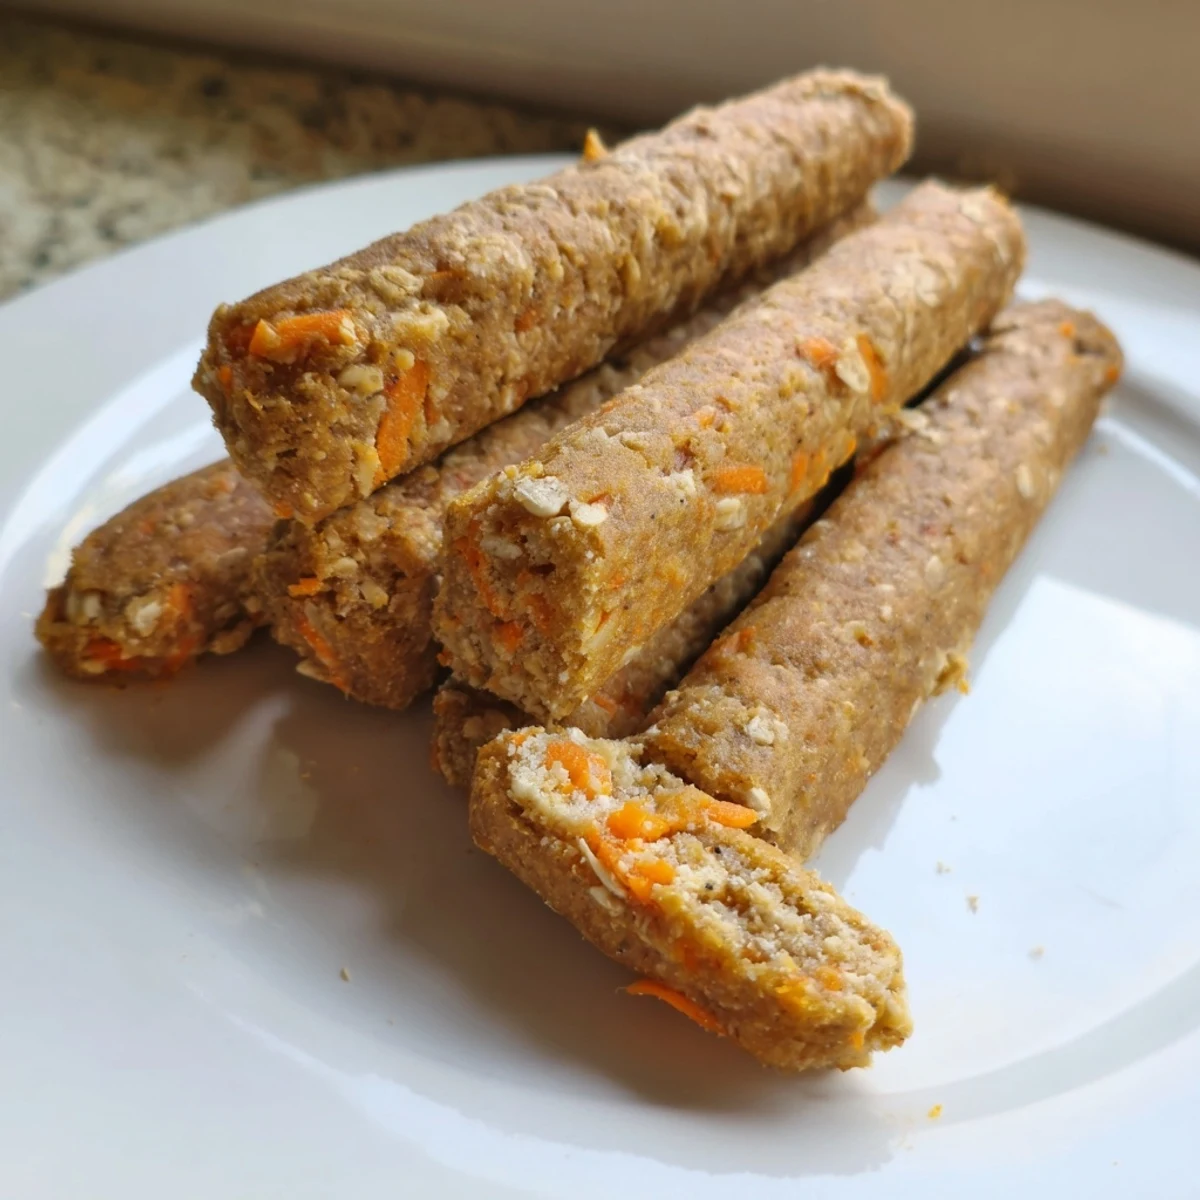
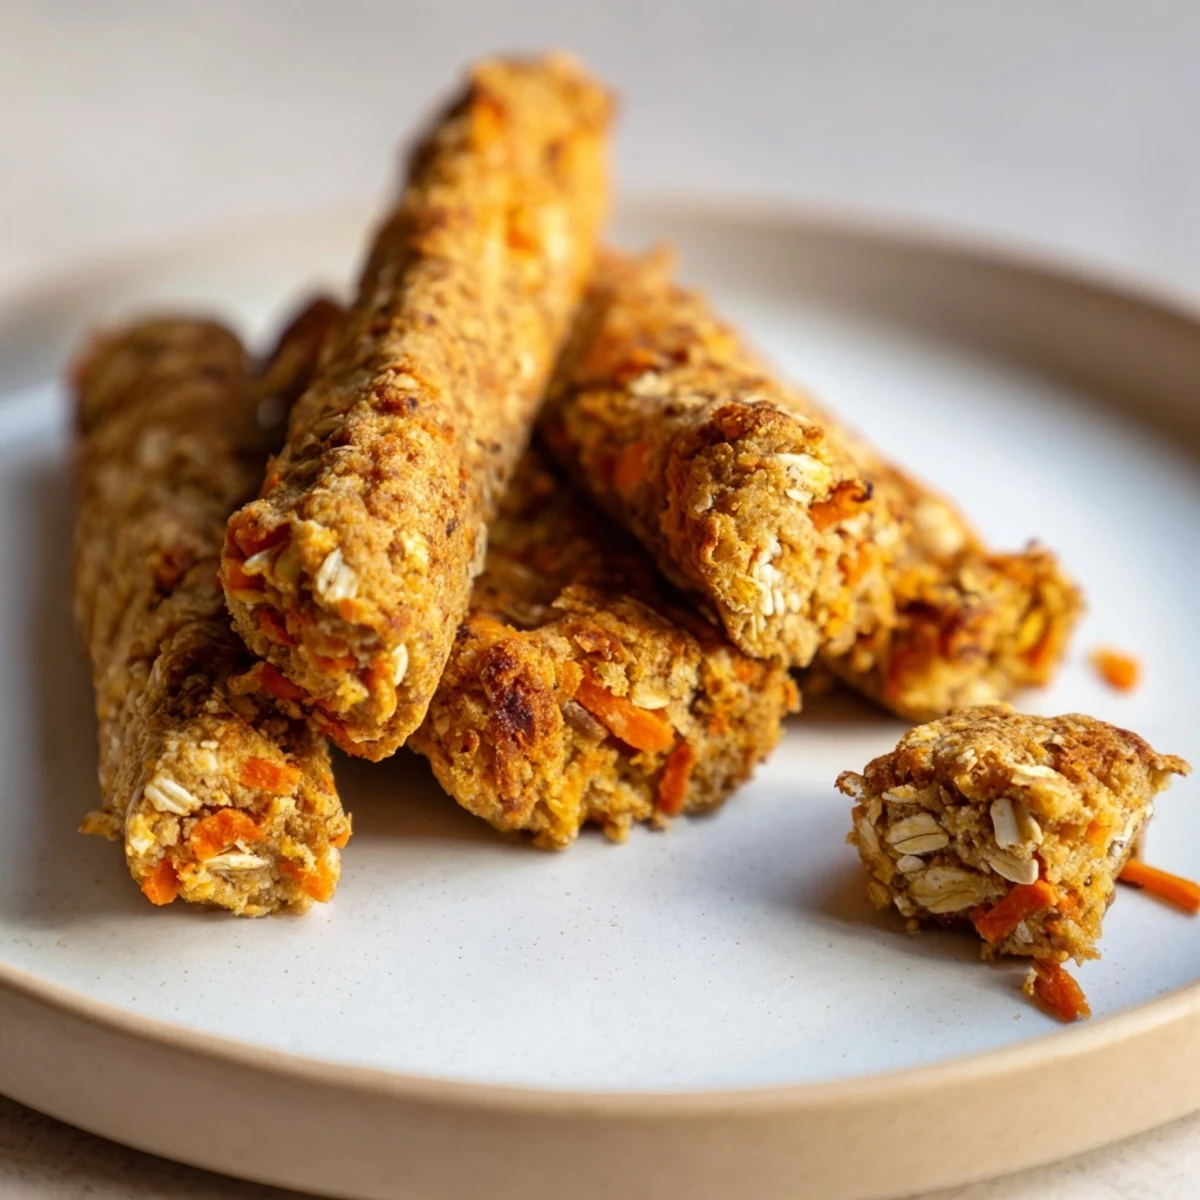
 These wholesome apple and carrot chew sticks combine fresh grated produce with whole wheat flour and oats for a nutritious dog treat your pup will love. The dough comes together quickly with egg and applesauce, then bakes into firm, satisfying sticks perfect for keeping dogs occupied. With just 15 minutes of prep time and a simple baking process, you can make 16 portable treats that store beautifully in the freezer for busy pet parents.
My golden retriever Luna sat by the counter, watching me grate apples and carrots with that particular intensity only dogs possess when treats are involved. Id been searching for something wholesome to make after realizing how many unpronounceable ingredients filled store-bought chews. The smell of fresh apples mixing with warm oats filled the kitchen, making even me hungry. When the first batch came out of the oven, Luna did her entire repertoire of tricks without being asked.
Last winter, I brought a batch to my sisters house where her three dogs usually turn treat time into a chaotic free-for-all. Something about these chew sticks made them settle into a polite line, each waiting their turn without the usual whining. Now every time I visit, her dogs greet me with that expectant tilt of the head, remembering the smell that comes from my oven.
Ingredients
- 1 medium apple: The natural sweetness makes pups go crazy, plus apples add moisture and fiber that keeps these chews from becoming rock-hard
- 1 medium carrot: Grated carrots create these gorgeous orange flecks throughout the dough and add subtle earthiness dogs seem to crave
- 2 cups whole wheat flour: This provides the structure needed for a proper chew, though oat flour works beautifully for sensitive tummies
- ½ cup rolled oats: These add heartiness and a satisfying texture that keeps dogs gnawing longer
- 1 large egg: The binder that holds everything together while adding protein for muscle health
- ⅓ cup unsweetened applesauce: Creates a soft, workable dough and infuses each stick with extra apple flavor
- 2 tbsp water: Only add this if your dough feels too dry, which can happen depending on how juicy your apples are
Instructions
- Get your oven ready:
- Preheat to 350°F and line a baking sheet with parchment paper, which prevents sticking and makes cleanup effortless
- Mix the foundation:
- Combine grated apple, grated carrot, flour, and oats in a large bowl, stirring until the shreds are evenly distributed throughout the flour
- Bring it together:
- Add the egg and applesauce, mixing until a dough forms, then add water only if the mixture refuses to come together
- Shape your sticks:
- Roll the dough into logs about 4 inches long and ½ inch thick, aiming for uniform thickness so they bake evenly
- Bake to perfection:
- Arrange on the prepared sheet and bake for 40-45 minutes until golden and firm throughout
- The secret crunch step:
- Turn off the oven and let the sticks cool inside for an hour, which transforms them into satisfyingly crunchy chews
- Final cooling:
- Let them cool completely on a wire rack before serving, as they continue to firm up as they reach room temperature
 Pin it
 My neighbor's senior dog, who had lost interest in most treats, perked up immediately when I brought over a small bag of these. Watching him gnaw contentedly on the back porch reminded me why homemade treats feel different somehow, like a little extra love baked into every stick.
Making Them Last Longer
I learned the hard way that leaving these on the counter invites curious noses and possible theft. A sealed glass jar keeps them fresh for a week, but the freezer became my secret weapon for making big batches. Frozen sticks actually take dogs longer to finish, which is a win on busy work-from-home days.
Size Matters For Your Dog
For smaller breeds, I roll thinner sticks and reduce baking time by about 10 minutes. Large breeds get thicker logs, sometimes shaped into bones if I am feeling ambitious. The key is matching the chew size to your dogs jaw strength and chewing style.
Customization That Works
Pumpkin puree substitutes beautifully for applesauce when fall rolls around. A sprinkle of cinnamon makes the kitchen smell amazing, though some dogs prefer the plain version. I have even added a tablespoon of peanut butter for extra special occasions.
- Cheese graters work better than food processors for getting the right texture from apples and carrots
- If your dough is too sticky, refrigerate it for 15 minutes before rolling
- Double the recipe and freeze half, because these disappear faster than you would expect
 Pin it
 There is something special about making treats for the creatures who love us unconditionally. Watching a dog savor something you created with your own hands might just be the simplest joy in the kitchen.
Recipe FAQs
- → How long do these chew sticks stay fresh?
-
Store in an airtight container at room temperature for up to one week. For longer storage, freeze the sticks and thaw as needed—they maintain texture and flavor beautifully when frozen.
- → Can I make these gluten-free?
-
Absolutely. Substitute whole wheat flour with gluten-free oat flour to accommodate dogs with wheat sensitivities. The rest of the ingredients remain naturally gluten-free.
- → What makes these sticks good for keeping dogs busy?
-
The firm, chewy texture developed from 45 minutes of baking creates a satisfying chewing experience. The extra crunch from cooling in the oven adds durability, making them perfect for extended gnawing sessions.
- → Are apples and carrots safe for dogs?
-
Yes, both apples and carrots are excellent dog-safe ingredients. They provide fiber, vitamins, and natural sweetness. Always remove apple seeds and core before grating, as seeds contain trace amounts of cyanide.
- → Can I substitute the applesauce?
-
Pumpkin puree works wonderfully as a substitute for unsweetened applesauce. Both provide moisture and natural binding properties while adding complementary flavors dogs enjoy.
- → How do I know when the sticks are done baking?
-
The sticks should be golden brown and firm to the touch, with no soft spots. They'll harden slightly as they cool, so slightly over-baking is better than under-baking for optimal chewiness and storage life.
