 Pin it
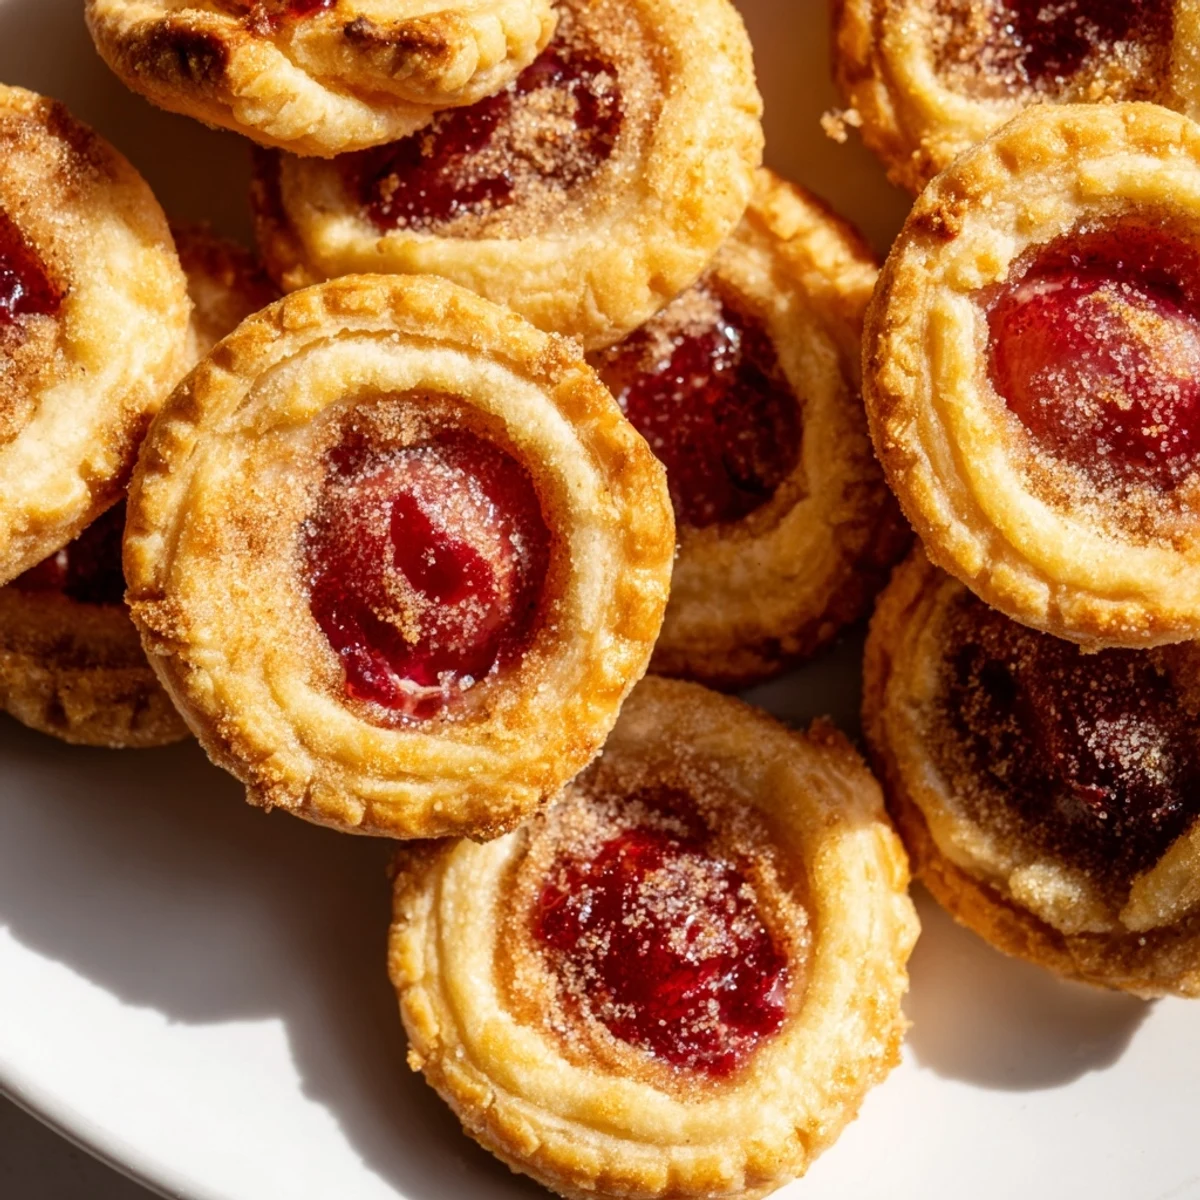
 These bite-sized treats combine flaky, buttery pastry dough with luscious cherry pie filling, creating the perfect two-bite dessert. The golden crust gets brushed with melted butter and sprinkled with cinnamon sugar for extra flavor and crunch.
Ready from start to finish in just 35 minutes, these mini hand pies are ideal for entertaining, party platters, or whenever you need a quick sweet fix. The yield of 24 portions makes them perfect for sharing.
You can easily customize these by swapping cherry filling for blueberry, apple, or peach. Add chopped nuts for texture or serve with whipped cream and vanilla ice cream for an elevated experience.
Last summer my neighbor dropped by with a basket of fresh cherries from her tree, and we ended up making these tiny pies on her back porch while her kids ran through the sprinkler. Something about standing there with flour on our hands, popping these warm bites straight from the tin made me realize the best desserts dont always need to be complicated affairs.
I brought a batch to my book club meeting, and honestly forgot about them until someone asked what was making the kitchen smell like a bakery. Watching three grown women hover around the platter, debating who gets the last one, reminded me that sometimes the simplest recipes create the biggest moments.
Ingredients
- Refrigerated pie dough (2 sheets, about 450 g total): This shortcut yields remarkably flaky results without the stress of making pastry from scratch
- Cherry pie filling (1 cup, about 250 g): Use your favorite brand or make your own if you have time, either way works beautifully
- Granulated sugar (2 tablespoons): Creates that irresistible sparkly finish on the golden crust
- Ground cinnamon (1/2 teaspoon, optional): Adds warmth that makes the cherry flavor really sing
- Unsalted butter, melted (1 tablespoon): Helps the cinnamon sugar stick and gives the crust extra richness
Instructions
- Preheat and prepare your baking surface:
- Heat your oven to 375°F (190°C) and line a baking sheet with parchment paper or lightly grease a mini muffin tin, whichever you prefer using.
- Cut the dough circles:
- Roll out the pie dough on a lightly floured surface, then use a 2.5-inch (6 cm) round cutter to cut out 24 circles, re-rolling scraps as needed.
- Shape the mini crusts:
- Gently press each dough circle into the cups of your mini muffin tin, or arrange them on the baking sheet and carefully shape them into small cups with your fingers.
- Fill with cherries:
- Spoon about 1 teaspoon of cherry pie filling into each dough cup, being careful not to overfill since the filling will bubble up as it bakes.
- Prepare the cinnamon sugar:
- Mix the granulated sugar and cinnamon (if using) in a small bowl until well combined.
- Add the finishing touches:
- Brush the edges of each pie bite with melted butter, then generously sprinkle with the cinnamon sugar mixture for that perfect golden crunch.
- Bake to golden perfection:
- Bake for 13 to 15 minutes until the crust turns a beautiful golden brown and you can see the filling bubbling happily in the centers.
- Cool before serving:
- Let the pie bites cool for about 5 minutes in the tin before carefully removing them to a serving plate.
 Pin it
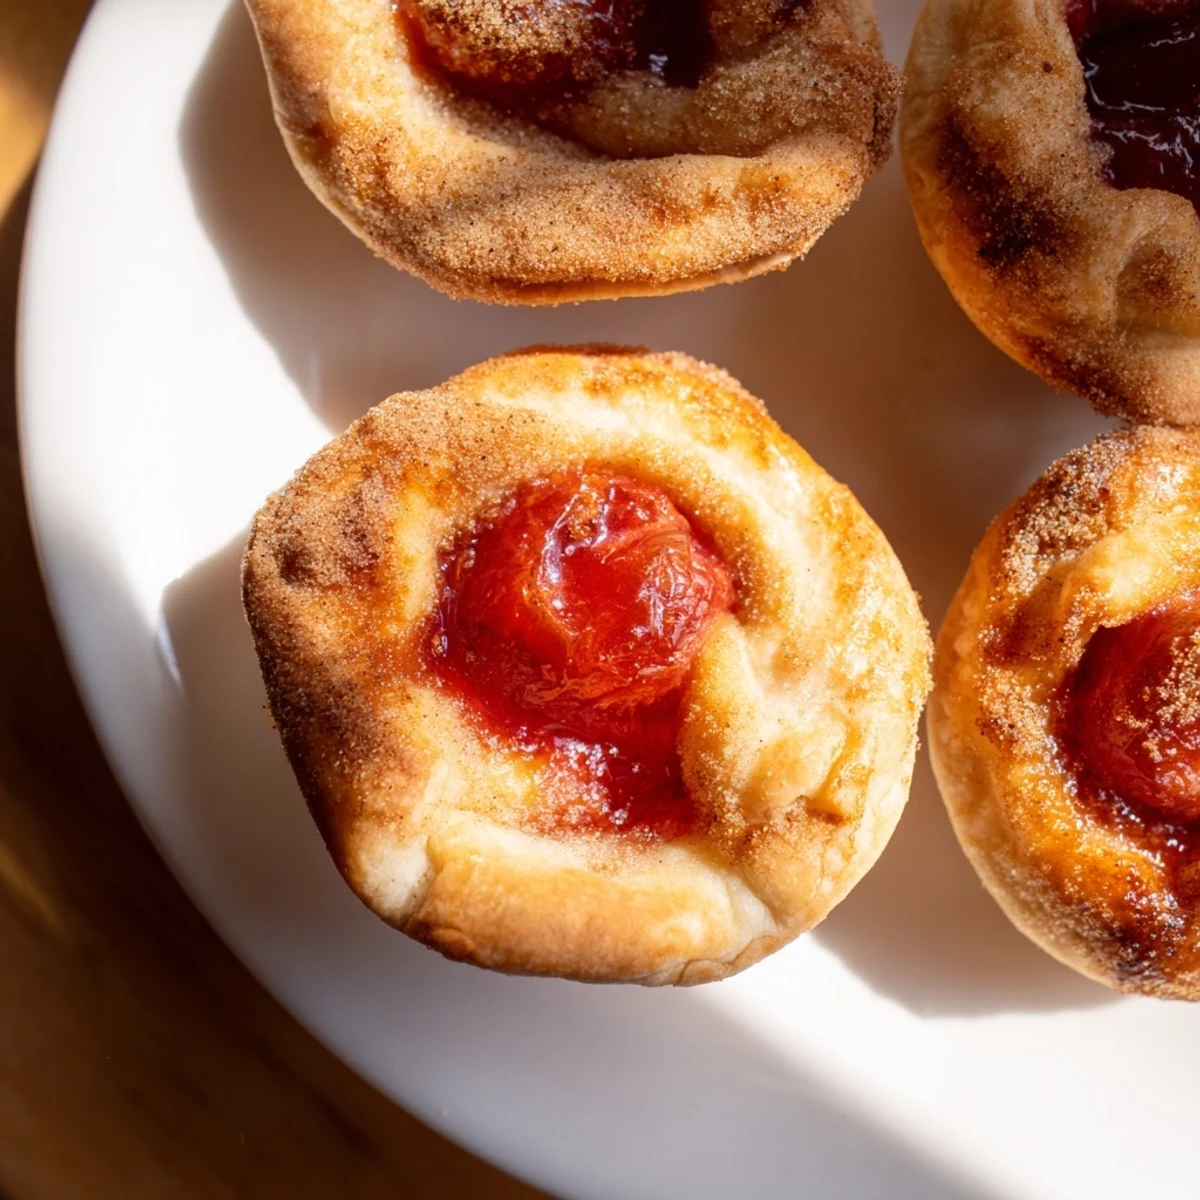
 My daughter now requests these for every sleepover, and I have learned to double the recipe because the first batch always disappears while they are still too hot to eat properly, with sticky fingers and laughter filling the kitchen.
Making Them Your Own
While cherry is classic, you can swap in blueberry, apple, or peach pie filling depending on what is in season or what your family prefers. I have even made a mixed berry version using whatever was left in the freezer, and nobody complained about the experiment.
Serving Suggestions
These little beauties shine on their own, but a small dollop of freshly whipped cream or a tiny scoop of vanilla ice cream alongside makes them feel extra special. They are also lovely with a cup of coffee in the afternoon or as a sweet finish to a casual dinner.
Storage and Make-Ahead Tips
You can assemble the pie bites up to a day ahead, cover them tightly, and bake when you are ready to serve. Leftovers keep well in an airtight container for two days, though I have rarely had them last that long in my house.
- For extra crunch, sprinkle chopped pecans or walnuts over the butter before adding the cinnamon sugar
- If your dough gets too soft while working, pop it in the fridge for 10 minutes to firm up
- A small offset spatula works wonders for lifting these from the muffin tin without damaging the crust
 Pin it
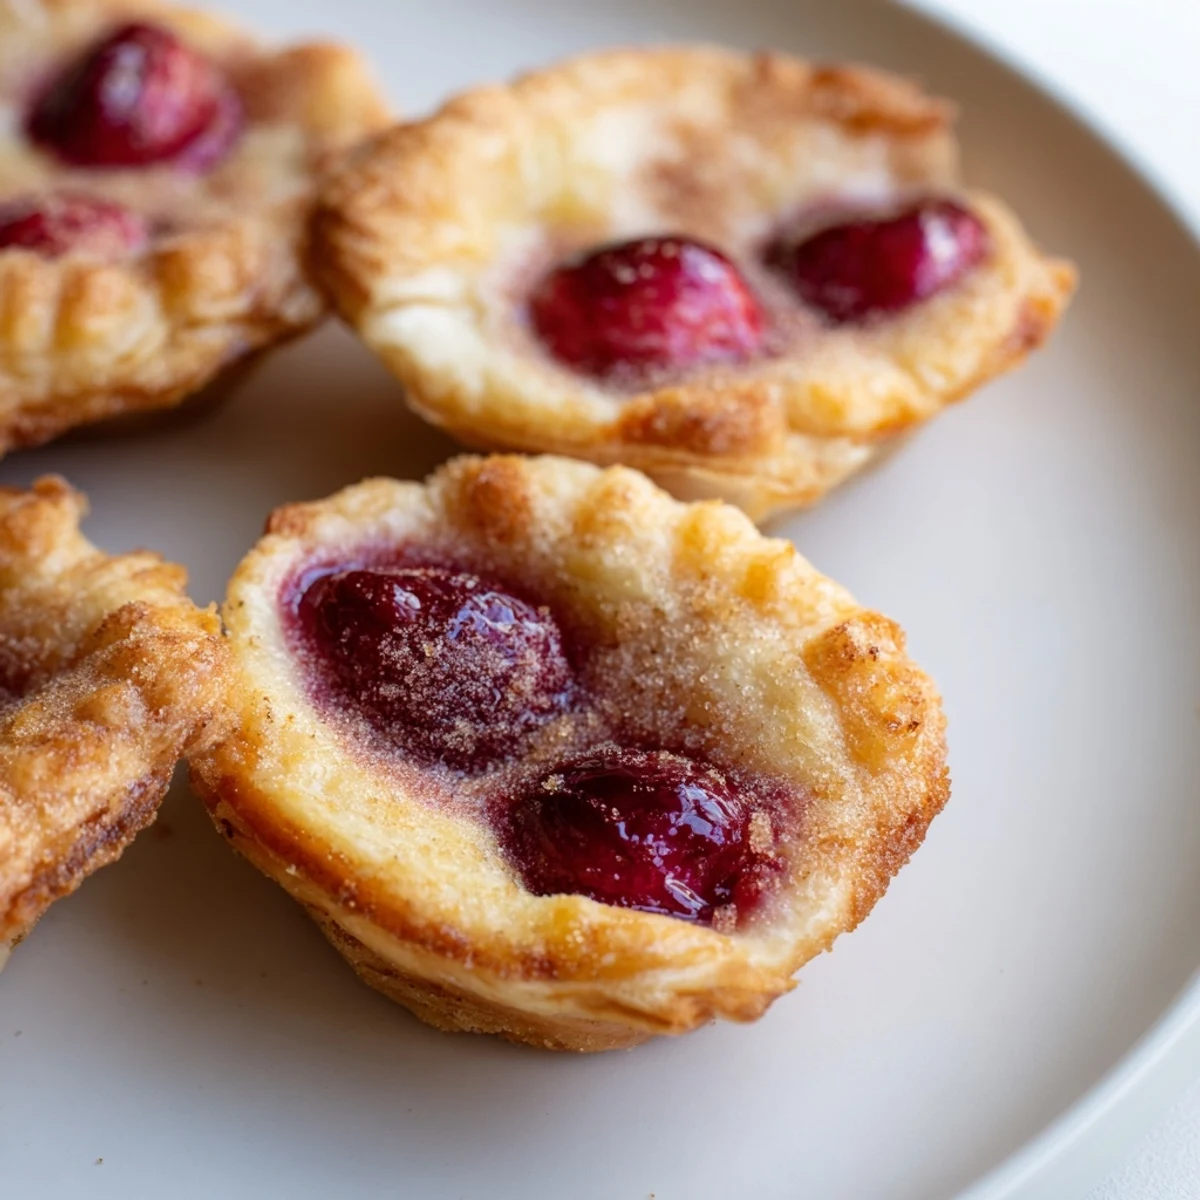
 There is something profoundly satisfying about serving handheld desserts that make people pause between bites, maybe with a little sugar on their chin and genuine smiles on their faces.
Recipe FAQs
- → Can I make these ahead of time?
-
Yes, you can prepare the dough circles and filling up to 24 hours in advance. Store them separately in the refrigerator, then assemble and bake when ready to serve for the freshest taste and texture.
- → How do I store leftovers?
-
Keep cooled cherry pie bites in an airtight container at room temperature for up to 2 days. For longer storage, refrigerate for up to 5 days. Reheat briefly in the oven to restore crispiness before serving.
- → Can I use homemade pie dough?
-
Absolutely. Homemade pie dough works wonderfully and may yield even better results. Just ensure you roll it to the same thickness as store-bought sheets. You'll need enough dough to cut 24 circles using a 2.5-inch cutter.
- → What other fillings work well?
-
Blueberry, apple, peach, and strawberry fillings all work beautifully. You can also use fresh fruit tossed with a bit of sugar and cornstarch, or try lemon curd for a tangy variation. Adjust baking time as needed for juicier fillings.
- → Why do I need to let them cool before removing?
-
The filling becomes extremely hot during baking and needs time to set slightly. Removing them too soon can cause the structure to collapse or the filling to spill out. Five minutes allows the crust to firm up and makes handling easier.
- → Can I freeze these?
-
You can freeze unbaked assembled pie bites for up to 3 months. Bake from frozen, adding 2-3 minutes to the cooking time. Alternatively, freeze baked treats and reheat at 350°F for 5-8 minutes to refresh.
