 Pin it
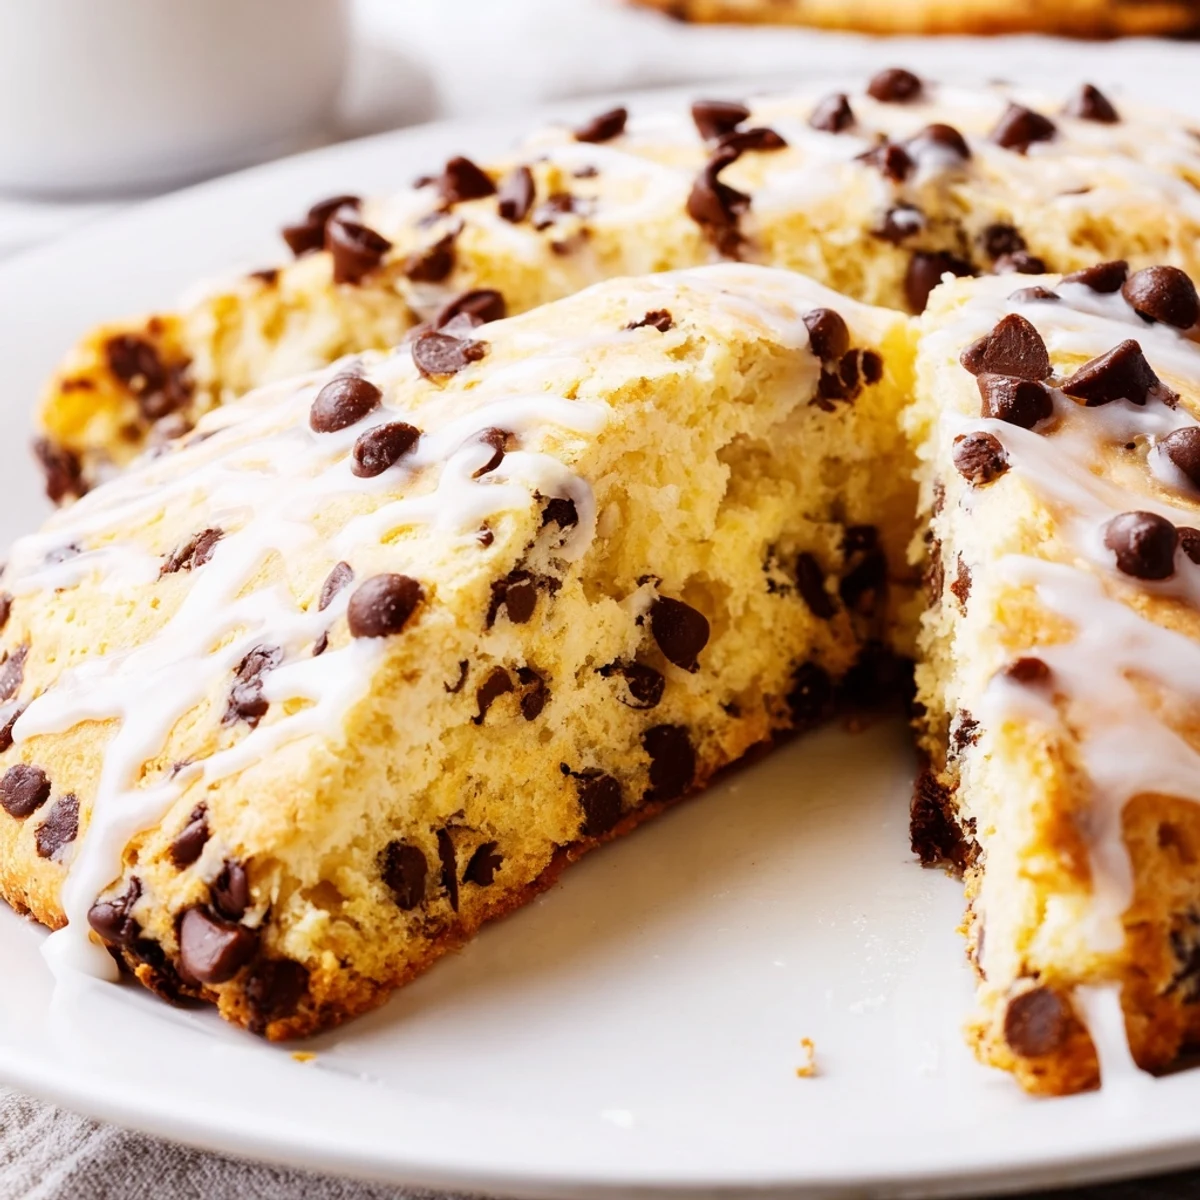
 These scones offer a tender, buttery texture enriched with semi-sweet chocolate chips for pockets of rich flavor. The dough is gently mixed to maintain lightness, then shaped into wedges and baked until golden. A smooth vanilla glaze made from powdered sugar, milk, and pure vanilla extract adds a sweet finishing touch. Ideal for breakfast or an indulgent afternoon treat, these scones blend classic British-American influences with simple, fresh ingredients.
There's something about the smell of butter and chocolate warming in the oven that stops everything else. I discovered these scones by accident one morning when I had company coming and wanted something that felt effortless but special. The recipe came together in about twenty minutes, and by the time my friends arrived, the kitchen was already filled with that golden, buttery warmth that made everyone smile before they even sat down.
I made these for a weekend book club once, and someone asked if I'd bought them from a bakery. The moment she realized I'd made them in my own kitchen, the whole room shifted somehow—suddenly everyone wanted the recipe, and the scones disappeared in minutes. That's when I knew I'd stumbled onto something worth keeping close.
Ingredients
- All-purpose flour (2 cups): This is your foundation, and measuring by weight is your secret weapon if you have a scale—it keeps the texture consistent every time.
- Granulated sugar (1/3 cup): Just enough sweetness to let the butter and chocolate shine without overshadowing them.
- Baking powder and baking soda (2 tsp and 1/2 tsp): These two work together to give you that tender crumb and the gentle lift that makes scones feel almost cloud-like.
- Salt (1/2 tsp): Don't skip this—it wakes up all the other flavors and keeps things balanced.
- Cold unsalted butter (1/2 cup, cubed): Cold butter is non-negotiable here; it creates those little pockets of steam that make scones flaky and tender.
- Cold heavy cream (2/3 cup plus more for brushing): The cold cream keeps everything cold and prevents overdeveloping the gluten, which would make the scones tough.
- Egg (1 large): This binds everything together and gives the tops that beautiful golden shine.
- Pure vanilla extract (2 tsp): Adds a subtle warmth that bridges the butter and chocolate perfectly.
- Semi-sweet chocolate chips (3/4 cup): These melt slightly in the heat but hold their shape, giving you pockets of chocolate throughout.
- Powdered sugar (1 cup, sifted): Sifting matters here because lumpy glaze looks homemade in the wrong way.
- Milk (2 tbsp) and vanilla extract (1 tsp) for glaze: This combination creates a glaze that's smooth enough to drizzle but thick enough to cling.
Instructions
- Set up your space:
- Preheat your oven to 400°F and line a baking sheet with parchment paper. Cold hands and cold ingredients are what you're after here, so if your kitchen is warm, chill your bowl and utensils for a few minutes.
- Mix the dry team:
- In a large bowl, whisk together the flour, sugar, baking powder, baking soda, and salt. This distributes the leavening agents evenly so your scones rise predictably.
- Cut in the butter:
- Add the cold cubed butter to the flour mixture and use a pastry cutter, fork, or your fingertips to work it in until the mixture looks like coarse breadcrumbs. You should still see tiny pieces of butter—that's exactly what you want.
- Combine the wet ingredients:
- In a separate bowl, whisk together the cold cream, egg, and vanilla extract until smooth. Keeping everything cold is your friend.
- Bring it together gently:
- Pour the wet mixture into the dry ingredients and stir with a fork just until the dough comes together. At this point, it should still look a little shaggy. Gently fold in the chocolate chips without overworking the dough.
- Shape and cut:
- Turn the dough onto a lightly floured surface and pat it into a disk about 1 inch thick. Using a sharp knife or bench scraper, cut it into 8 wedges like you're slicing a pie.
- Prepare for baking:
- Place the wedges on your prepared baking sheet, spacing them about an inch apart so they have room to rise and get golden edges. Brush the tops lightly with extra cream for that beautiful sheen.
- Bake until golden:
- Bake for 16 to 18 minutes, watching for golden-brown tops. You want them set but still tender inside. Let them cool on a wire rack for a few minutes.
- Make the glaze:
- Whisk the sifted powdered sugar, milk, and vanilla extract together until smooth and pourable. Once your scones have cooled slightly, drizzle the glaze generously over the tops and let it set for a minute or two.
 Pin it
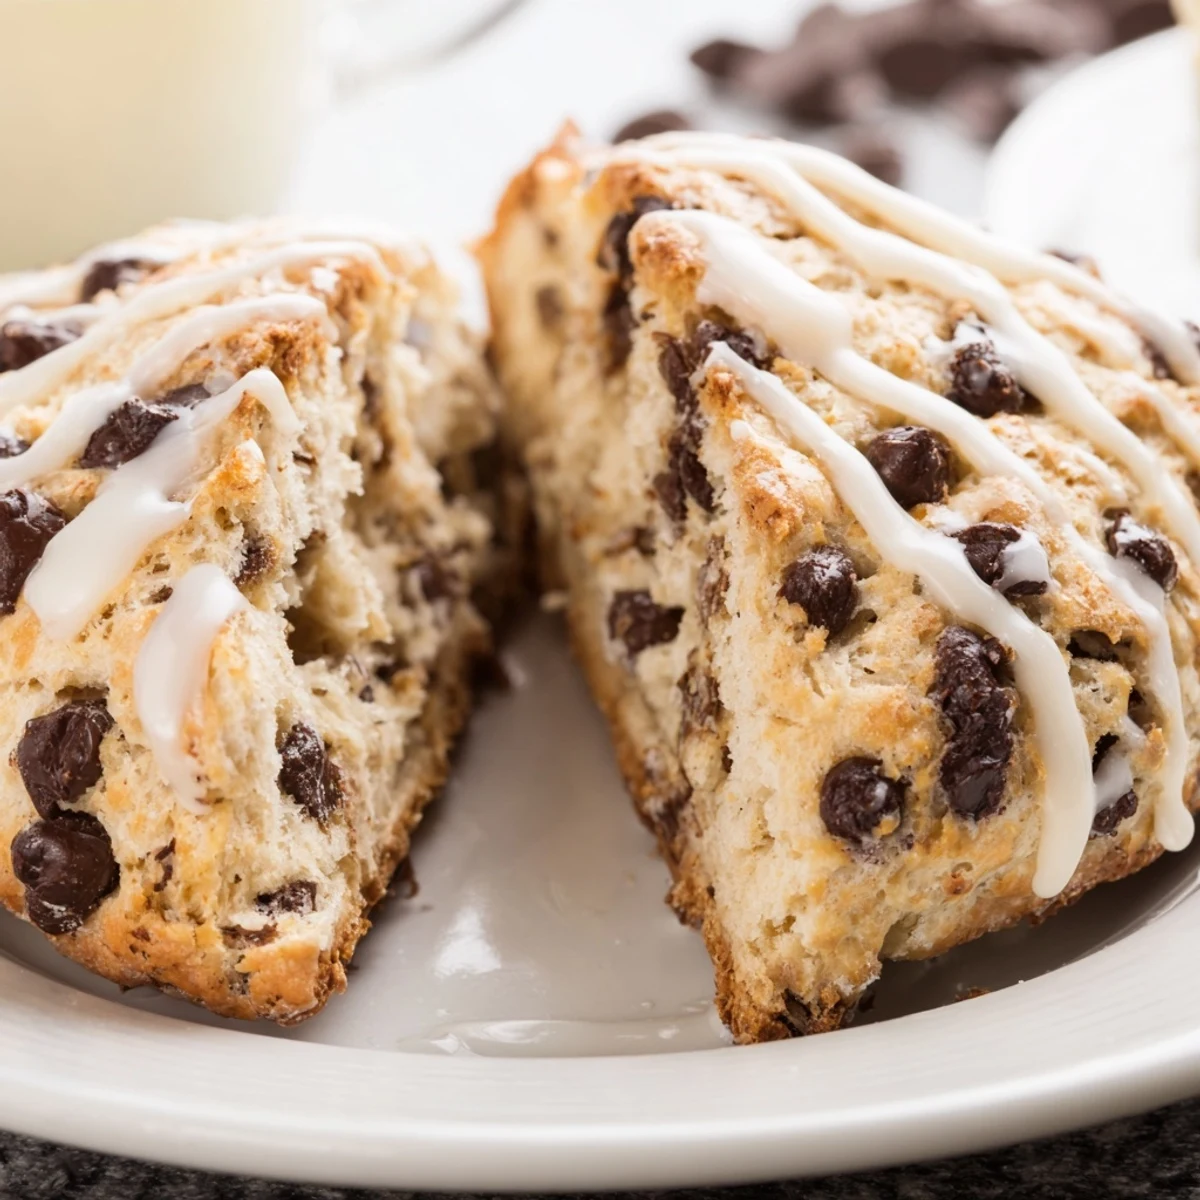
 The first time I served these warm from the oven with nothing but that vanilla glaze melting into the chocolate chips, my sister closed her eyes and just sat there for a moment. She didn't say anything, but she didn't have to—that's what good scones do. They make moments feel like they matter.
Making Scones Feel Effortless
What I've learned is that scones aren't actually complicated; they just need respect and a light hand. The difference between a bakery-quality scone and a dense biscuit comes down to trusting the process and not second-guessing yourself. When the dough looks just barely combined, that's when you stop mixing, even if part of you wants to keep going until it looks smooth and perfect.
Customizing Your Scones
Once you nail the basic technique, you can play with the flavors. I've added cinnamon and orange zest, swapped dark chocolate for semi-sweet, and even mixed in chopped almonds when I had them on hand. The base stays the same, but the personality changes with whatever mood you're in or what flavors you're craving that day.
Timing and Storage
These scones are absolutely best eaten the same day, especially while they still have that tender warmth to them. But I've kept them in an airtight container for a day or two, and they stay soft enough to enjoy with a cup of tea or coffee. If you're making them ahead, you can wrap the shaped, unbaked wedges and refrigerate or freeze them, then bake from cold without adding extra time.
- A room-temperature scone tastes better reheated gently in a low oven for five minutes than eaten cold straight from the container.
- The glaze is best drizzled right before serving so it stays glossy and doesn't harden too much.
- If you want to freeze baked scones, wrap them individually in plastic wrap and store them for up to a week—they thaw beautifully in about an hour.
 Pin it
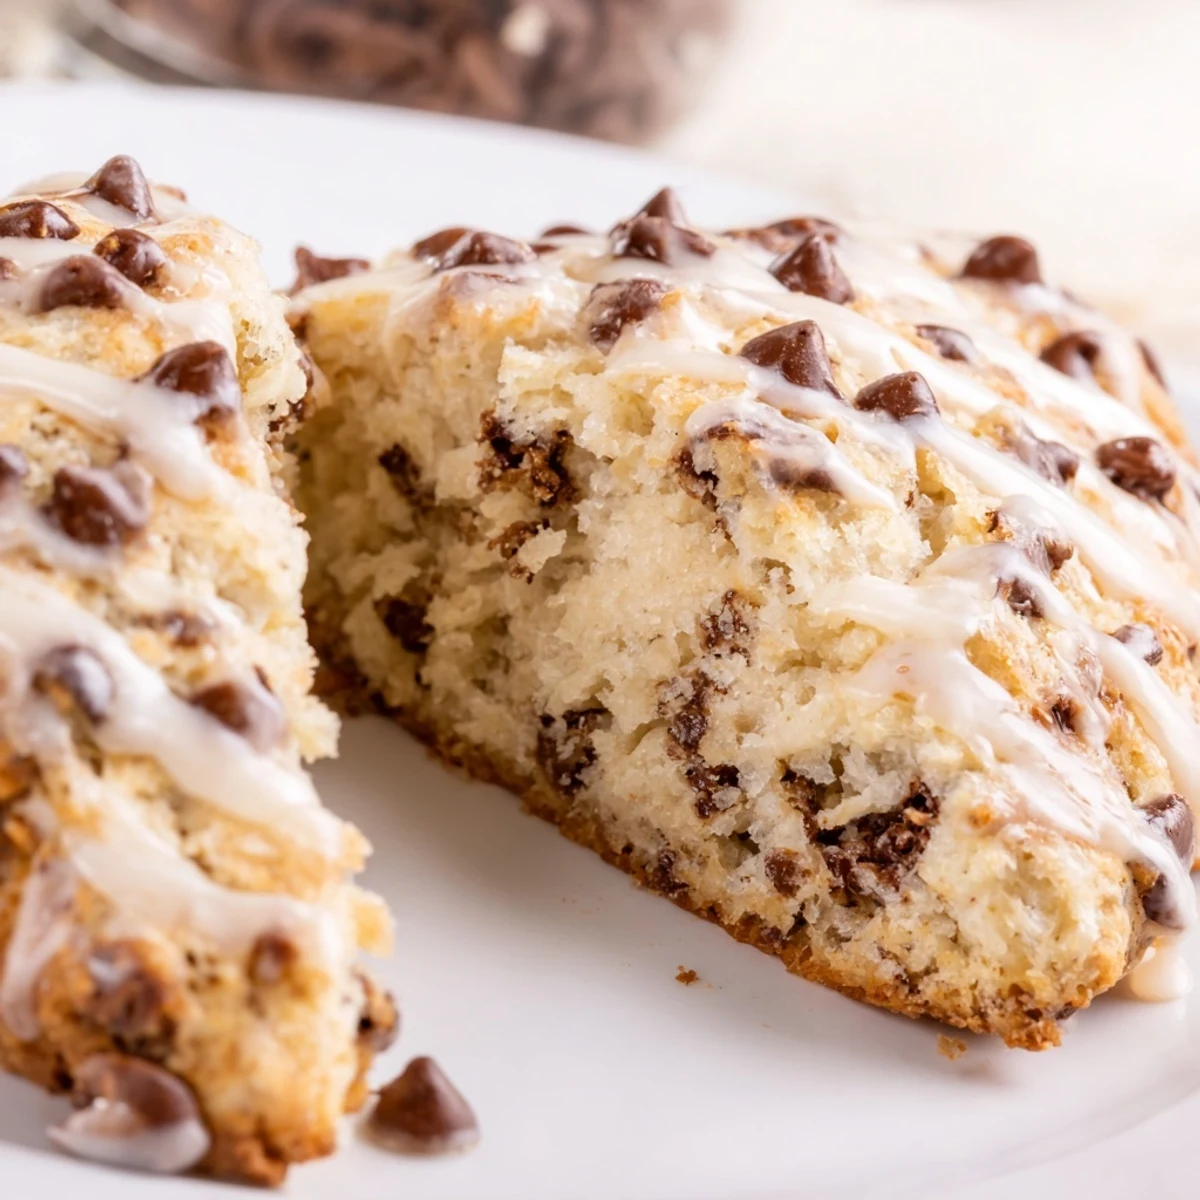
 These scones have become my go-to for mornings when I want to feel like I've done something special before the day even starts. They remind me that some of the best things don't take much time at all—just attention, care, and a little bit of good butter.
Recipe FAQs
- → What type of chocolate chips work best?
-
Semi-sweet chocolate chips provide a nice balance of sweetness and richness, but you can also use dark or milk chocolate chips according to preference.
- → Can I prepare the dough ahead of time?
-
Yes, you can refrigerate the dough wrapped in plastic for up to 24 hours before baking to enhance flavor development.
- → How do I achieve the perfect scone texture?
-
Use cold butter cut into the dry ingredients quickly, and avoid overmixing the dough to keep the scones tender and flaky.
- → What is the best way to apply the vanilla glaze?
-
Allow the scones to cool completely before drizzling the smooth vanilla glaze to prevent it from melting off.
- → Can I substitute ingredients to suit dietary needs?
-
You can swap heavy cream for a dairy alternative and experiment with different add-ins like nuts or dried fruit for variation.
