 Pin it
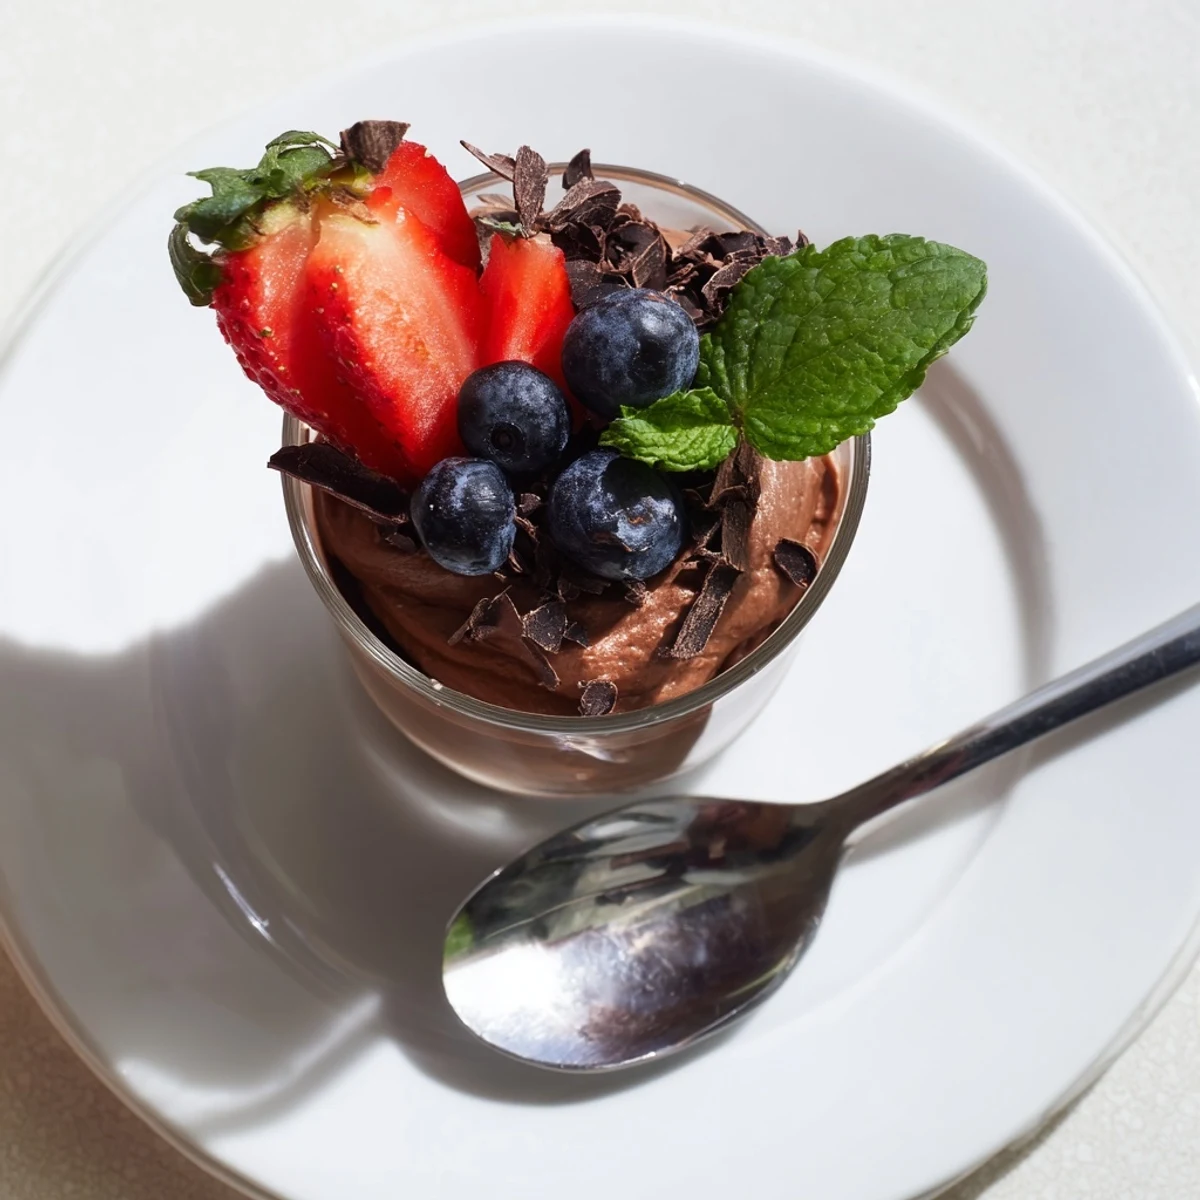
 Create stunning chocolate cups by coating silicone molds with melted dark chocolate, then chill until firm. Prepare a luxurious mousse by combining melted chocolate, egg yolks, and sugar, then fold in whipped cream and beaten egg whites for an airy texture. Spoon mousse into prepared cups and chill for 2 hours. Garnish with fresh berries, chocolate shavings, and mint.
The first time I created chocolate cups at home, my fingertips ended up wearing more chocolate than the molds. Standing at my counter with chocolate-smeared hands, I couldn't help but laugh at the beautiful mess. The transformation from liquid silk to delicate shell fascinated me, and that initial disaster evolved into one of my most impressive homemade desserts.
Last Christmas, my kitchen counter disappeared under an assembly line of chocolate cups as I prepared this dessert for a holiday dinner. The afternoon quieted as my daughter helped brush the melted chocolate, her concentration evident in her furrowed brow. Those shared moments of creation proved as sweet as the dessert itself.
Ingredients
- Dark chocolate (70% cocoa): The higher cocoa percentage gives the cups structural integrity while delivering a sophisticated bitter note that balances the sweet mousse.
- Egg whites: Room temperature eggs whip to much greater volume, a lesson I learned after several flat mousses in my early attempts.
- Heavy cream: The colder your cream, the better it whips, so I keep mine in the back of the refrigerator until the last possible moment.
- Fresh berries: The bright acidity cuts through the richness, creating a perfect harmony on the palate.
Instructions
- Melt with patience:
- Place your chopped chocolate in a heatproof bowl over barely simmering water, ensuring the bowl doesn't touch the water. Watch it transform from solid to glossy liquid, stirring occasionally while inhaling that intoxicating cocoa aroma.
- Build your chocolate vessels:
- With a silicone brush, paint the melted chocolate inside your molds with confident strokes, ensuring even coverage. The first layer should be thin but thorough, with no transparent spots.
- Create cloud-like mousse:
- When folding your whipped ingredients together, use a gentle under-and-over motion rather than stirring. Think of it as tucking a blanket around the mixture, preserving all those tiny air bubbles that make the texture so luxurious.
- Patient assembly:
- Once your chocolate cups have set completely, unmold them with gentle pressure, handling from the base rather than the delicate edges. Fill each cup generously but not overflowing, allowing the mousse to crown slightly above the rim.
 Pin it
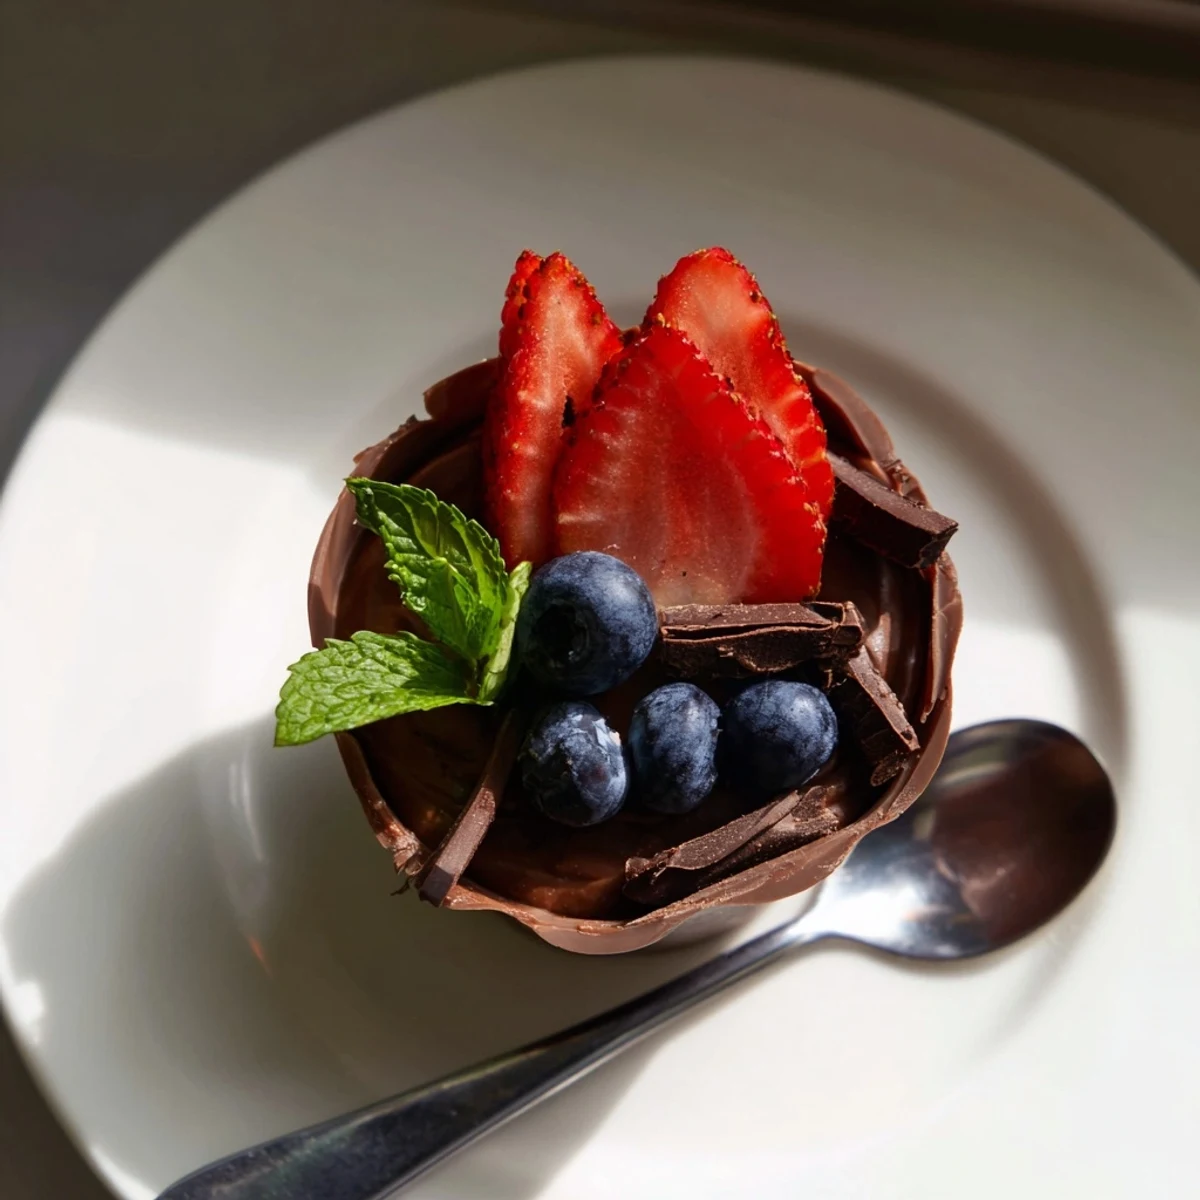
 On my sisters birthday, I surprised her with these chocolate cups arranged on a mirrored platter surrounded by rose petals. Her expression moved from shock to delight as she realized the elegant restaurant-quality dessert came from my own kitchen. As we savored each spoonful, our conversation slowed to appreciative murmurs, the dessert becoming a centerpiece for connection rather than merely a sweet ending.
Temperature Control Secrets
My first attempt at chocolate cups ended in disaster when I rushed the chilling process and tried to unmold them while still soft. Now I know chocolate needs time to crystallize properly, forming its stable structure. I give the cups at least 20 minutes in the refrigerator after the second coating, sometimes longer if my kitchen is particularly warm, and the difference in structural integrity is remarkable.
Making Ahead Options
The beauty of this dessert lies in its make-ahead potential, something I discovered during a particularly hectic dinner party. The empty chocolate cups can be made up to a week ahead and stored in an airtight container in a cool, dry place. Even the mousse can be prepared a day in advance, though I recommend filling the cups no more than four hours before serving for that perfect balance of set texture and fresh flavor.
Troubleshooting Common Issues
Through countless iterations, Ive encountered nearly every possible pitfall with this recipe. When chocolate seizes from contact with even a droplet of water, take a deep breath and start again with absolutely dry equipment. If your mousse looks grainy, its likely because the chocolate cooled too much before folding in the other ingredients.
- Always cool melted chocolate until just warm to touch, never hot enough to cook the eggs or melt the cream.
- When whipping egg whites, ensure your bowl and beaters are completely free of any fat residue.
- Handle filled chocolate cups by supporting them from the bottom, as the edges become fragile at room temperature.
 Pin it
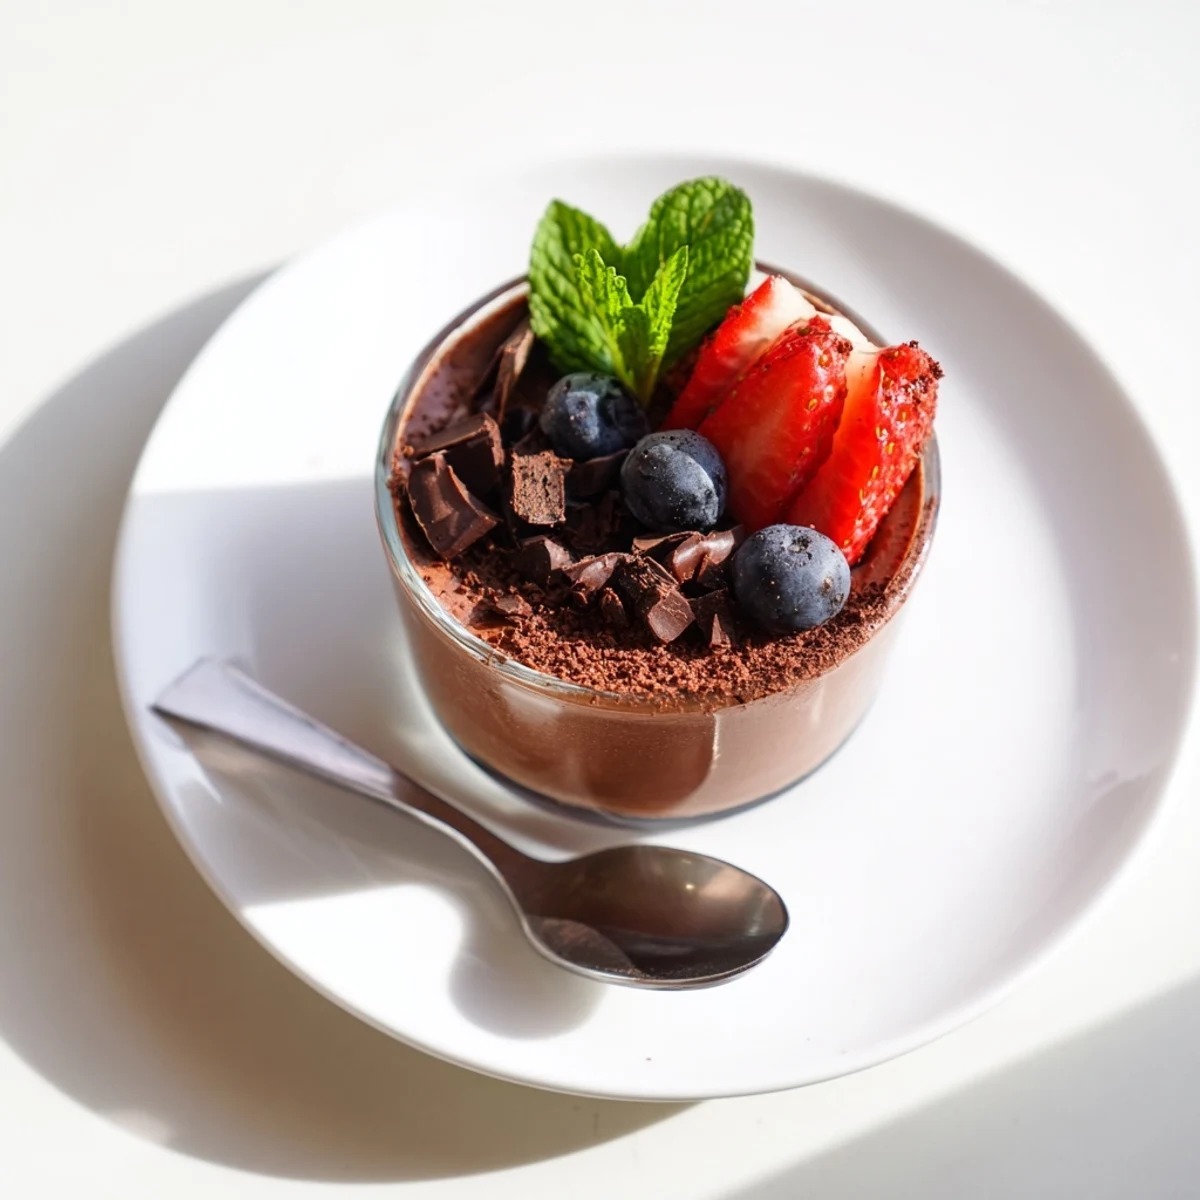
 Each time I serve these chocolate dessert cups, Im reminded that true luxury isnt about extravagance but attention to detail. The care taken in each brushstroke of chocolate and gentle fold of mousse transforms simple ingredients into an experience worth savoring.
Recipe FAQs
- → Can I prepare the chocolate cups ahead of time?
-
Yes, chocolate cups can be made up to 2 days in advance. Store them in an airtight container in the refrigerator to prevent them from absorbing moisture and becoming soft.
- → What's the best way to unmold the chocolate cups?
-
Allow the set chocolate to rest at room temperature for 2-3 minutes, which helps it contract slightly. Gently flex the silicone mold or peel away paper liners carefully. If using rigid molds, run a warm knife around the edges to help release.
- → Are there egg safety concerns with this mousse?
-
Since the mousse contains raw eggs, use pasteurized eggs if you're concerned about food safety. This is especially important for pregnant women, young children, or immunocompromised individuals.
- → Can I make this mousse without eggs?
-
Yes, you can create an eggless version by whipping extra heavy cream to stiff peaks and folding it into melted chocolate mixed with vanilla. The texture will be lighter and less airy than the traditional version.
- → How far in advance can I assemble the dessert?
-
Assemble the cups with mousse up to 8 hours before serving. Keep them refrigerated and add fresh garnishes like berries and mint just before serving for the best presentation.
- → What chocolate percentage works best for the cups versus mousse?
-
Use 70% cocoa chocolate for the cups as it sets firmer and holds its shape. For mousse, 60-70% cocoa works well, offering balance between richness and smoothness. Adjust cocoa percentage based on personal preference for darker or smoother chocolate flavor.
