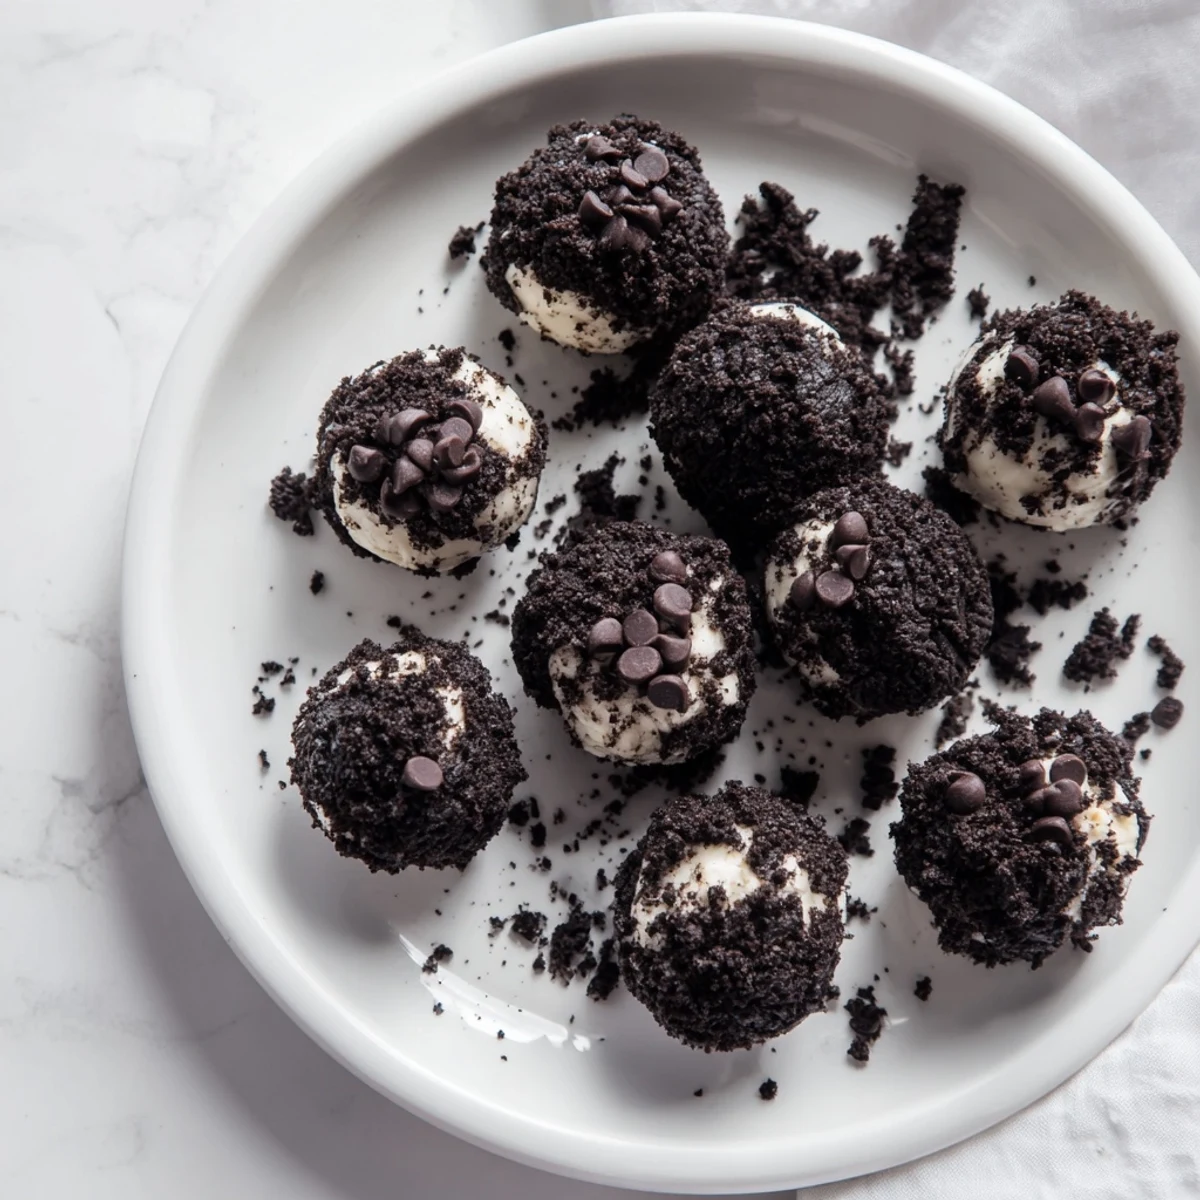
 Pin it
 These protein-packed balls combine creamy cheese with crushed chocolate cookies for a satisfying snack you can prepare in under 15 minutes. The no-bake method means zero oven time—just mix, roll, and chill.
Each bite delivers a boost of protein from vanilla or chocolate powder, making them ideal for post-workout recovery or afternoon energy. The Oreo coating adds satisfying crunch while the cream cheese center stays smooth and indulgent.
Customize with different protein flavors, add mini chocolate chips, or swap in gluten-free cookies. Store in the refrigerator for up to five days and grab whenever hunger strikes.
I'd been experimenting with protein balls for months, trying to find something that actually tasted like a treat instead of a sad health food compromise. The afternoon I first smashed Oreos into cream cheese mixture, my kitchen looked like a cookie explosion, but one taste changed everything. These became the snack I'd actually look forward to after gym days instead of forcing down.
My roommate walked in while I was rolling the first batch, covered in cookie crumbs and licking chocolate off my thumb. She grabbed one before they'd even set and immediately demanded I double the recipe next time. Now they're the first thing that disappears whenever we have people over for game nights or movie marathons.
Ingredients
- Cream cheese: Use it straight from the fridge for twenty minutes — room temperature cream cheese blends smoothly into the protein powder without any stubborn lumps
- Oreo cookies: Pulse them in short bursts rather than letting the food processor run wild, otherwise you'll end up with fine dust instead of satisfying cookie crumbles
- Protein powder: Vanilla keeps things classic but chocolate or cookies and cream varieties punch up that dessert flavor even more
- Milk: Start with less and add gradually — different protein powders absorb liquid differently, and you can always add more but can't take it back
- Powdered sugar: This small amount balances the protein's chalkiness without making them overly sweet, though you can skip it if you're watching sugar intake
- Extra Oreo crumbs: These give the exterior that cookies and cream appearance and add a nice crunch against the soft centers
Instructions
- Mix your base:
- Beat the cream cheese until it's completely smooth, then fold in the crushed Oreos, protein powder, milk, and powdered sugar until everything comes together into a thick, fudge-like dough
- Adjust the texture:
- If the mixture sticks to your hands like glue, sprinkle in another spoonful of protein powder; if it's crumbly and dry, work in another splash of milk until it holds together when squeezed
- Shape the balls:
- Scoop out tablespoon portions and roll them between your palms, pressing firmly so they hold their shape — the warmth of your hands helps everything bind together
- Coat them:
- Pour your extra Oreo crumbs into a shallow bowl and roll each ball around until it's evenly coated on all sides
- Let them set:
- Arrange the balls on a parchment-lined tray and pop them in the fridge for at least thirty minutes so they firm up and the coating has time to adhere properly
- Add the extras:
- Drizzle with melted chocolate or sprinkle mini chocolate chips over the tops right before serving if you want them looking extra fancy
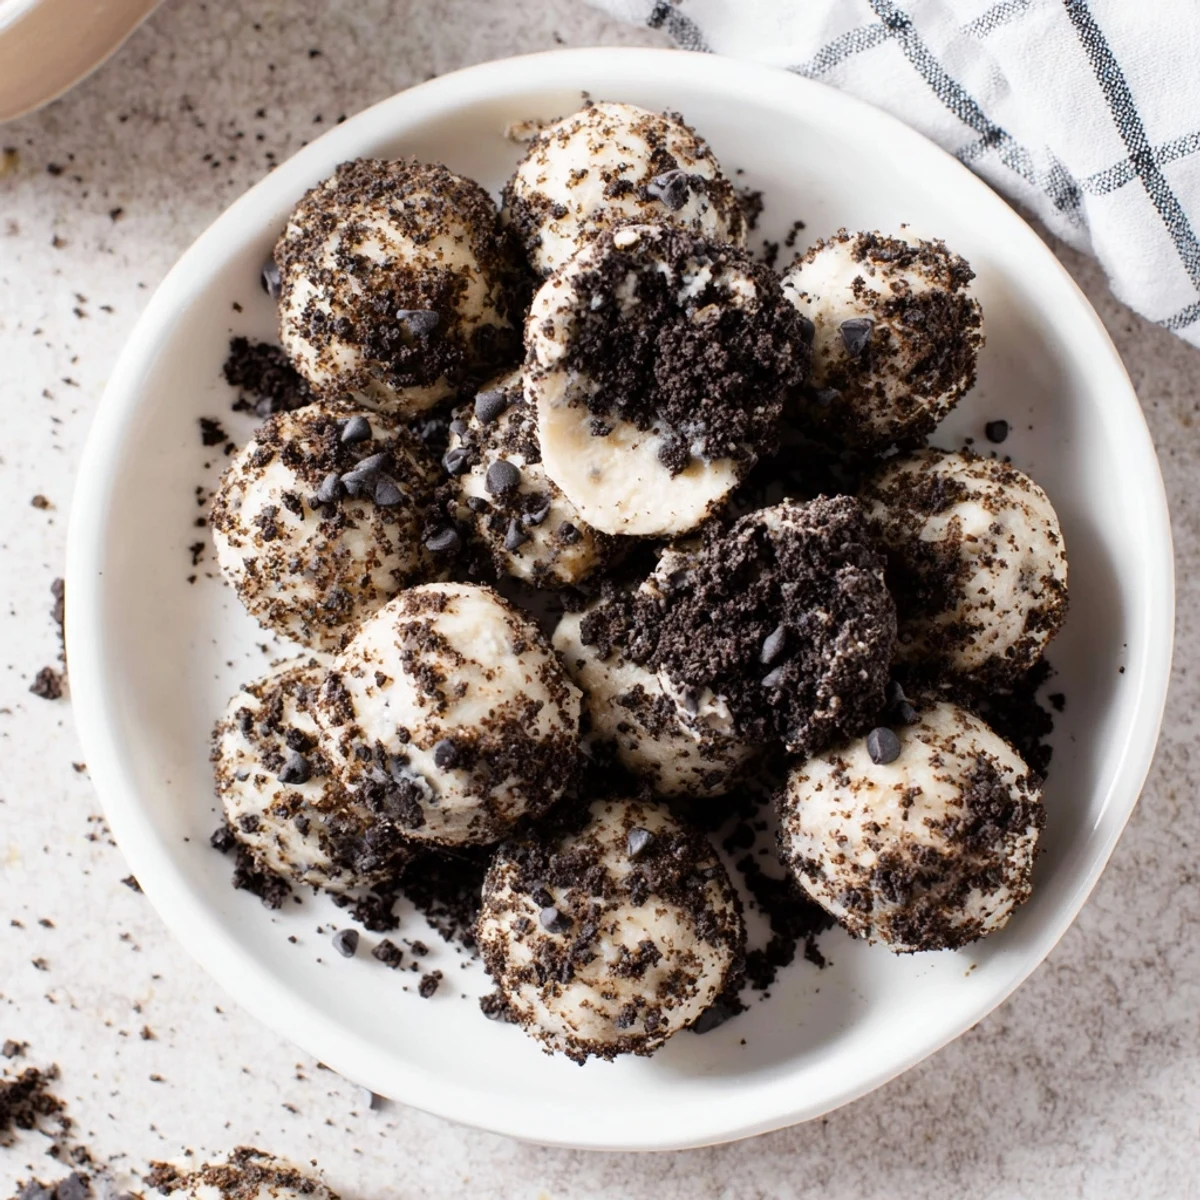 Pin it
 Last month my friend's seven-year-old helped me make a batch, and she was so proud of her slightly lumpy, uneven balls that she declared them better than mine. There's something deeply satisfying about a recipe that forgives imperfection and still tastes absolutely incredible.
Making Them Your Way
The beauty of this recipe is how easily it adapts to whatever you have in the pantry. I've swapped the Oreos for Nutter Butter cookies when that peanut butter craving hit, and once used crushed vanilla wafers when I was completely out of sandwich cookies. Protein powder flavors can change the whole character — strawberry powder makes them taste like cheesecake bites, while salted caramel adds this sophisticated twist nobody expects from something so simple.
Storage Tips
These balls actually taste better on day two, once the flavors have had time to hang out and get to know each other. Keep them in an airtight container in the fridge, and separate layers with parchment paper so they don't stick together. You can also freeze them for up to three months — just thaw them in the fridge overnight and they're perfect for unexpected guests or sudden dessert emergencies.
Serving Suggestions
Sometimes I'll press a whole Oreo into the center before rolling for a hidden surprise core. Try crushing freeze-dried strawberries into the coating mix for a chocolate-covered strawberry vibe. Roll them in sprinkles for birthday parties or crush pistachios on top for something that looks fancy enough to gift.
- Serve with cold coffee or a glass of almond milk for that afternoon pick-me-up
- Arrange them on a pretty platter with fresh berries to make them feel like a proper dessert
- Package them in small treat bags tied with twine for the easiest homemade gift ever
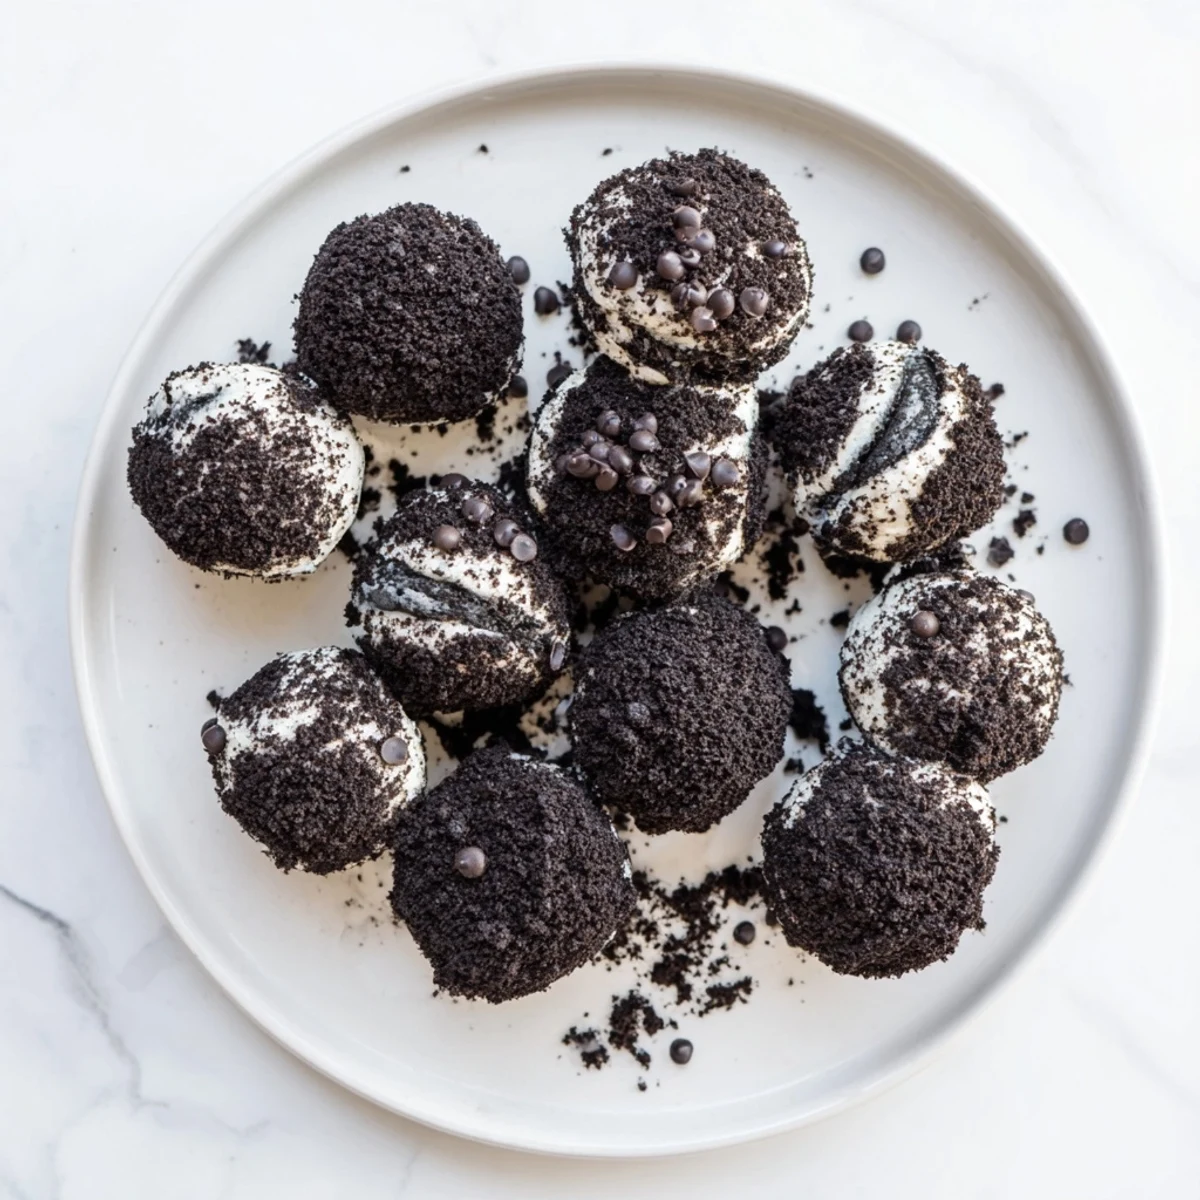 Pin it
 There's something deeply satisfying about a dessert that requires zero heat but still feels indulgent. These protein balls have saved me from drive-thru runs more times than I care to admit.
Recipe FAQs
- → How long do these keep in the refrigerator?
-
Store in an airtight container in the fridge for up to 5 days. The chilled texture becomes firmer and more satisfying over time.
- → Can I use different protein powder flavors?
-
Yes, vanilla or chocolate work beautifully. Cookies and cream protein powder enhances the Oreo flavor even more.
- → What if the mixture is too sticky or dry?
-
Add an extra spoonful of protein powder if sticky, or a splash more milk if too dry. The dough should hold together easily when rolled.
- → Are these suitable for meal prep?
-
Absolutely. Make a batch on Sunday and portion into containers for quick snacks throughout the week. They freeze well too—up to 3 months.
- → Can I make these gluten-free?
-
Yes, substitute gluten-free sandwich cookies for the Oreos and ensure your protein powder is certified gluten-free.
- → Do I need to bake these?
-
No baking required. Simply mix, roll into balls, coat with crumbs, and refrigerate for 30 minutes to firm up before serving.
