 Pin it
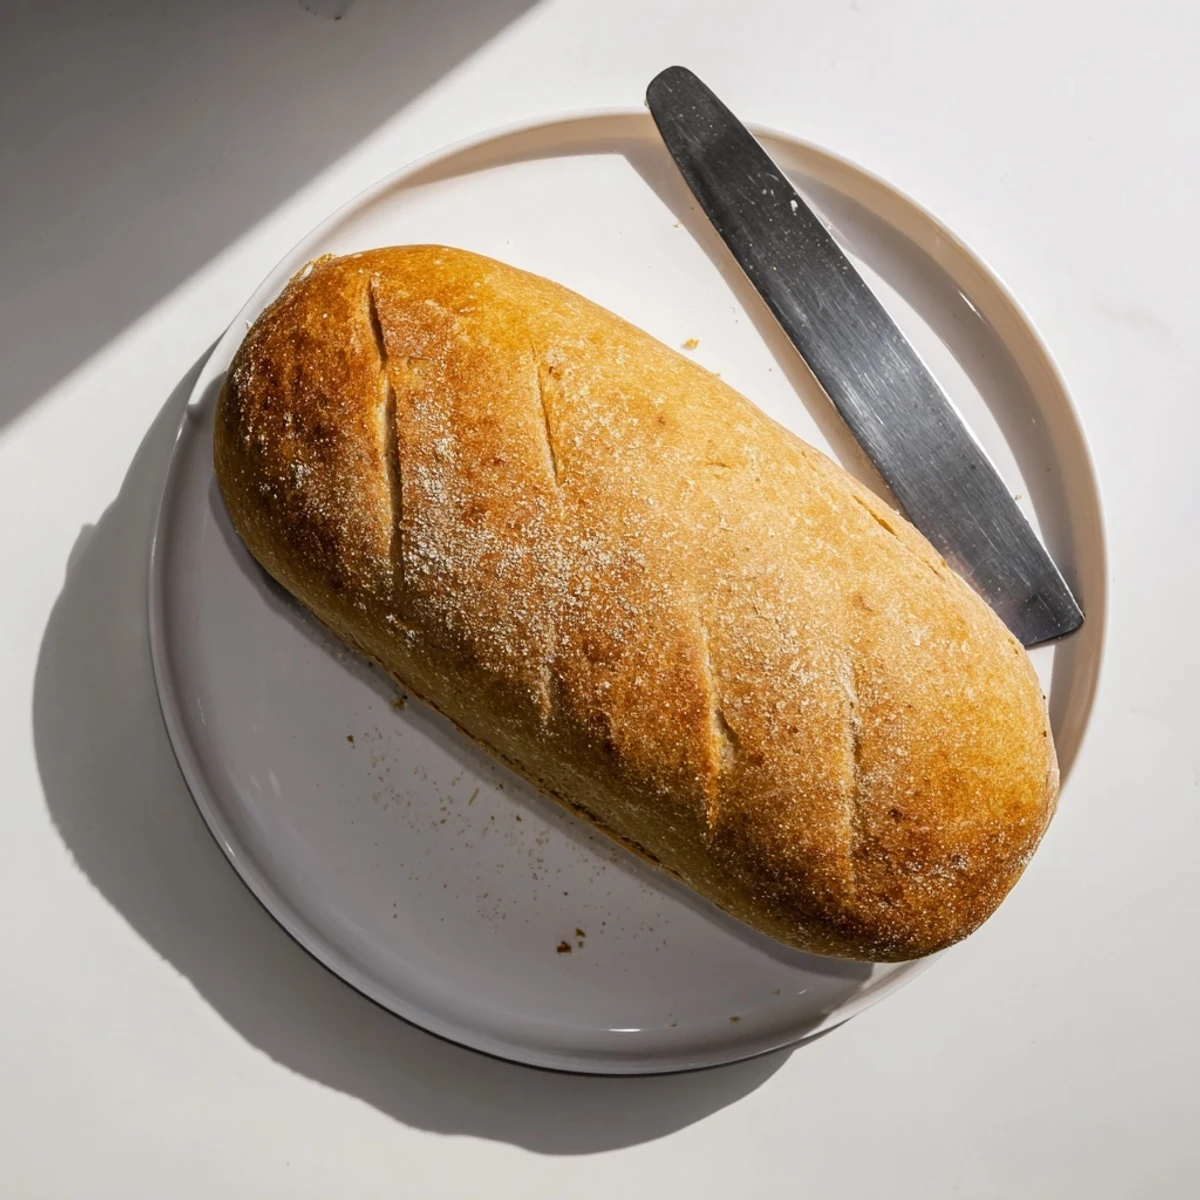
 Create bakery-quality Italian bread at home with a crackling golden crust and tender, chewy crumb. This traditional loaf develops exceptional flavor through a simple fermentation process, yielding that authentic artisan texture you'd find in Italian bakeries.
The steam-baking technique creates the signature crispy exterior while keeping the inside moist and perfectly elastic. Slice thick for panini, tear and dip in premium olive oil, or use to soak up hearty sauces and soups.
The rain was pounding against my kitchen window the afternoon I first attempted this bread. My apartment smelled like flour and anticipation. I had no idea if yeast would actually cooperate with me. That first loaf came out dense, but something about the process hooked me completely.
Last winter my neighbor knocked on my door while a loaf was cooling. She said she could smell it from her apartment down the hall. We tore into it warm with olive oil, standing over my counter while the snow fell outside. Now she asks me to make extra whenever she catches me mixing dough.
Ingredients
- Bread flour: The higher protein content creates that perfect chewy texture I struggled to achieve with all purpose
- Salt: Do not add it directly to the yeast mixture or it will kill the fermentation
- Sugar: Feeds the yeast and helps develop that golden brown color in the oven
- Active dry yeast: Check the expiration date because old yeast refuses to foam properly
- Warm water: Keep it around body temperature, anything hotter than 105°F will kill your yeast
- Olive oil: Keeps the bread tender and makes the dough easier to handle
- Cornmeal: Prevents sticking and adds a subtle crunch to the bottom crust
Instructions
- Wake up the yeast:
- Dissolve yeast and sugar in warm water until foamy, about 5 to 10 minutes. If the mixture does not bubble, start over with fresh yeast.
- Mix the base:
- Combine flour and salt in a large bowl, make a well in center, and pour in foamy yeast and olive oil. Stir with a wooden spoon until shaggy dough forms.
- Knead the dough:
- Turn onto lightly floured surface and knead for 8 to 10 minutes until smooth and elastic. The dough should bounce back when poked.
- First rise:
- Place dough in oiled bowl, cover with damp towel, and let rise in warm place until doubled, about 1 to 1.5 hours.
- Shape the loaf:
- Punch down dough and form into tight oval or round. Place on parchment or cornmeal dusted sheet and let rise 45 more minutes.
- Preheat strategically:
- Heat oven to 425°F with empty metal pan on lowest rack. The steam pan is crucial for crust development.
- Score and bake:
- Slash top with sharp knife, pour hot water into bottom pan, bake 30 to 35 minutes until golden and hollow sounding.
- Cool completely:
- Let cool on wire rack before slicing. Cutting warm bread ruins the texture.
 Pin it
 This bread became my thing at family gatherings. My dad waits by the oven now, watching through the glass door as it rises and browns. The hollow tap test still feels like magic every single time.
Creating Steam At Home
The water in the hot pan creates immediate steam in the oven, which keeps the crust soft initially for maximum oven spring. I learned this after months of dense loaves with thick tough crusts. The steam gelatinizes the starch on the surface, creating that shiny blistered finish bakeries achieve.
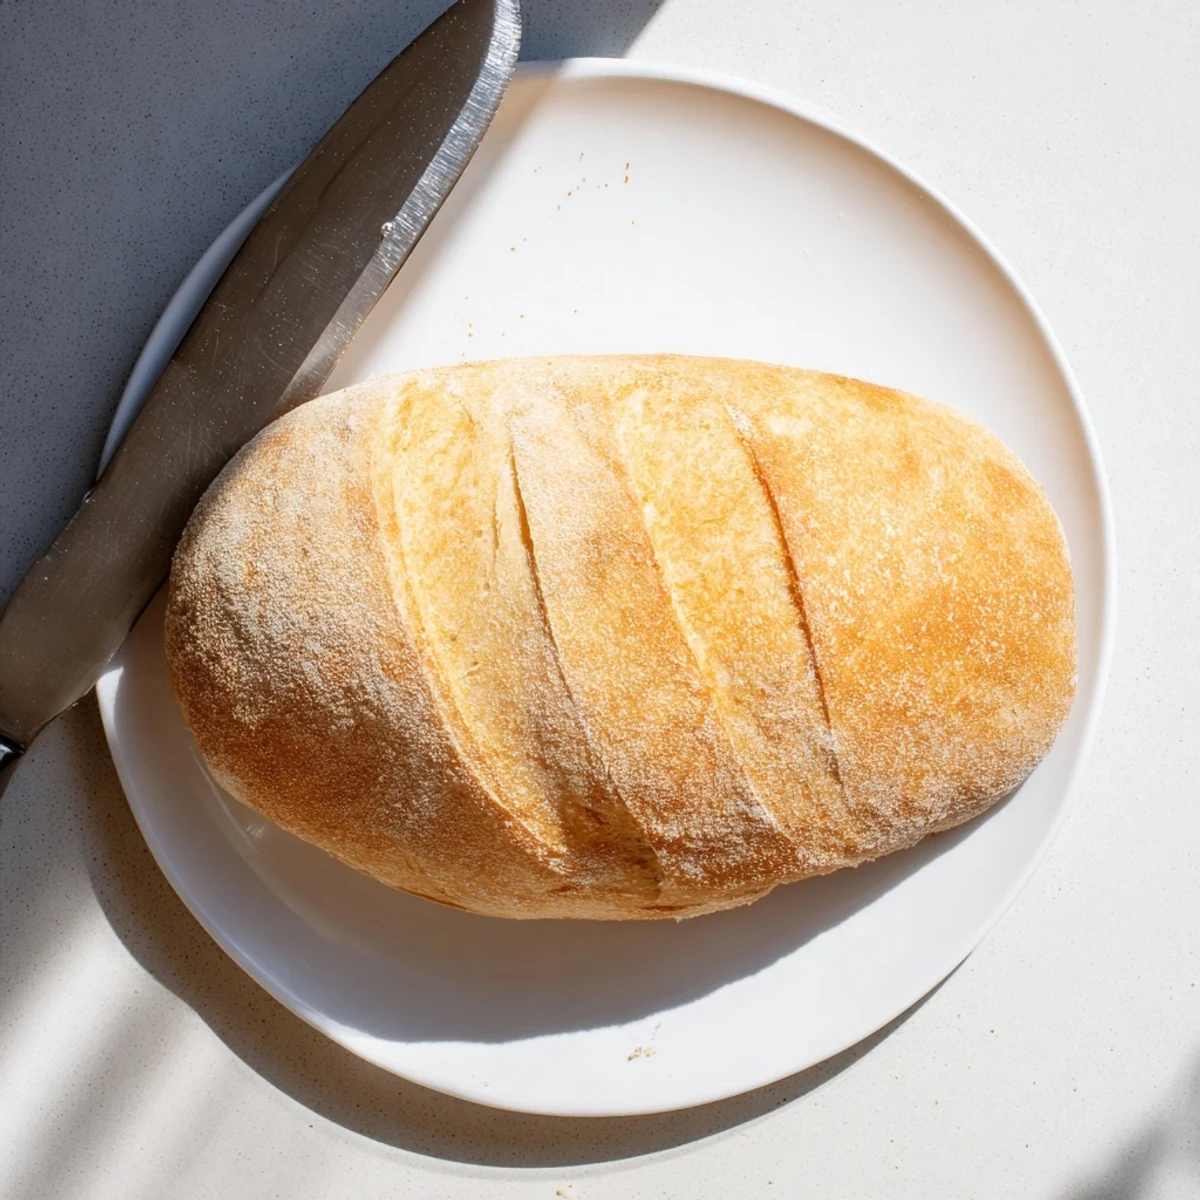
Shaping Confidence
My first attempts looked like lopsided footballs, but surface tension improves with practice. Pull the dough tight across the top when shaping. The cornmeal underneath prevents sticking and adds a subtle crunch that people always ask about.
Storing And Freezing
This bread freezes better than anything else I bake. Slice it first, then wrap individual pieces in parchment before freezing. The texture stays remarkably close to fresh when reheated in a 350°F oven for 10 minutes.
- Freeze within 3 hours of cooling for best texture retention
- Never store in plastic bags or the crust will soften completely
- Refresh day old bread at 375°F for 8 minutes with a splash of water
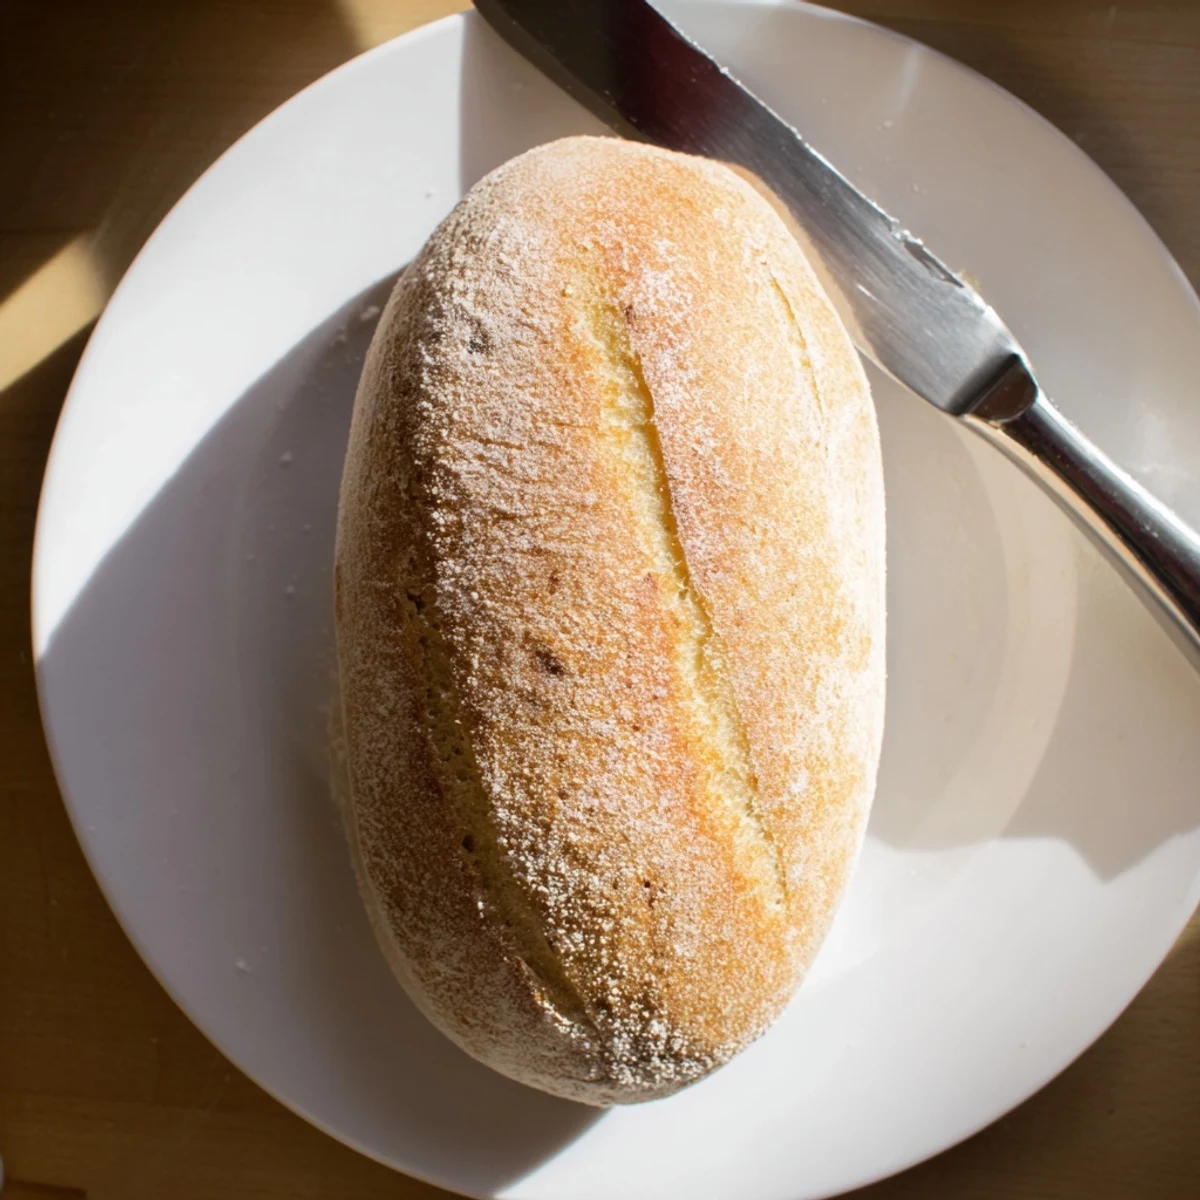 Pin it
 Warm bread straight from the oven with salted butter is one of life simplest pleasures. The silence at the table when everyone takes that first bite tells me everything.
Recipe FAQs
- → What makes Italian bread different from regular white bread?
-
Italian bread typically features a higher hydration dough, creating signature large air pockets and a chewy texture. The crust develops through high-temperature baking with steam, resulting in that distinctive crackling golden exterior that's perfect for dipping in olive oil.
- → Why is steam used when baking this bread?
-
Steam creates a humid oven environment that keeps the crust flexible initially, allowing the loaf to expand fully. Once the steam dissipates, the crust sets into a crispy, golden-brown shell with that satisfying crackle when you cut into it.
- → Can I make this dough ahead of time?
-
Absolutely. After the first rise, punch down the dough and refrigerate it for up to 24 hours. The cold fermentation actually enhances flavor development. Let it come to room temperature for 30 minutes before shaping and the second rise.
- → How do I know when the bread is fully baked?
-
Look for a deep golden-brown color all over. The most reliable test is tapping the bottom—it should sound hollow when thumped. An instant thermometer inserted into the center should read 190-200°F (88-93°C).
- → What's the purpose of slashing the top before baking?
-
Scoring creates controlled weak points in the dough's surface, allowing the expanding carbon dioxide to escape gracefully during baking. This prevents uncontrolled bursting and gives the loaf that professional, artisan appearance with attractive raised edges.
