
 Pin it
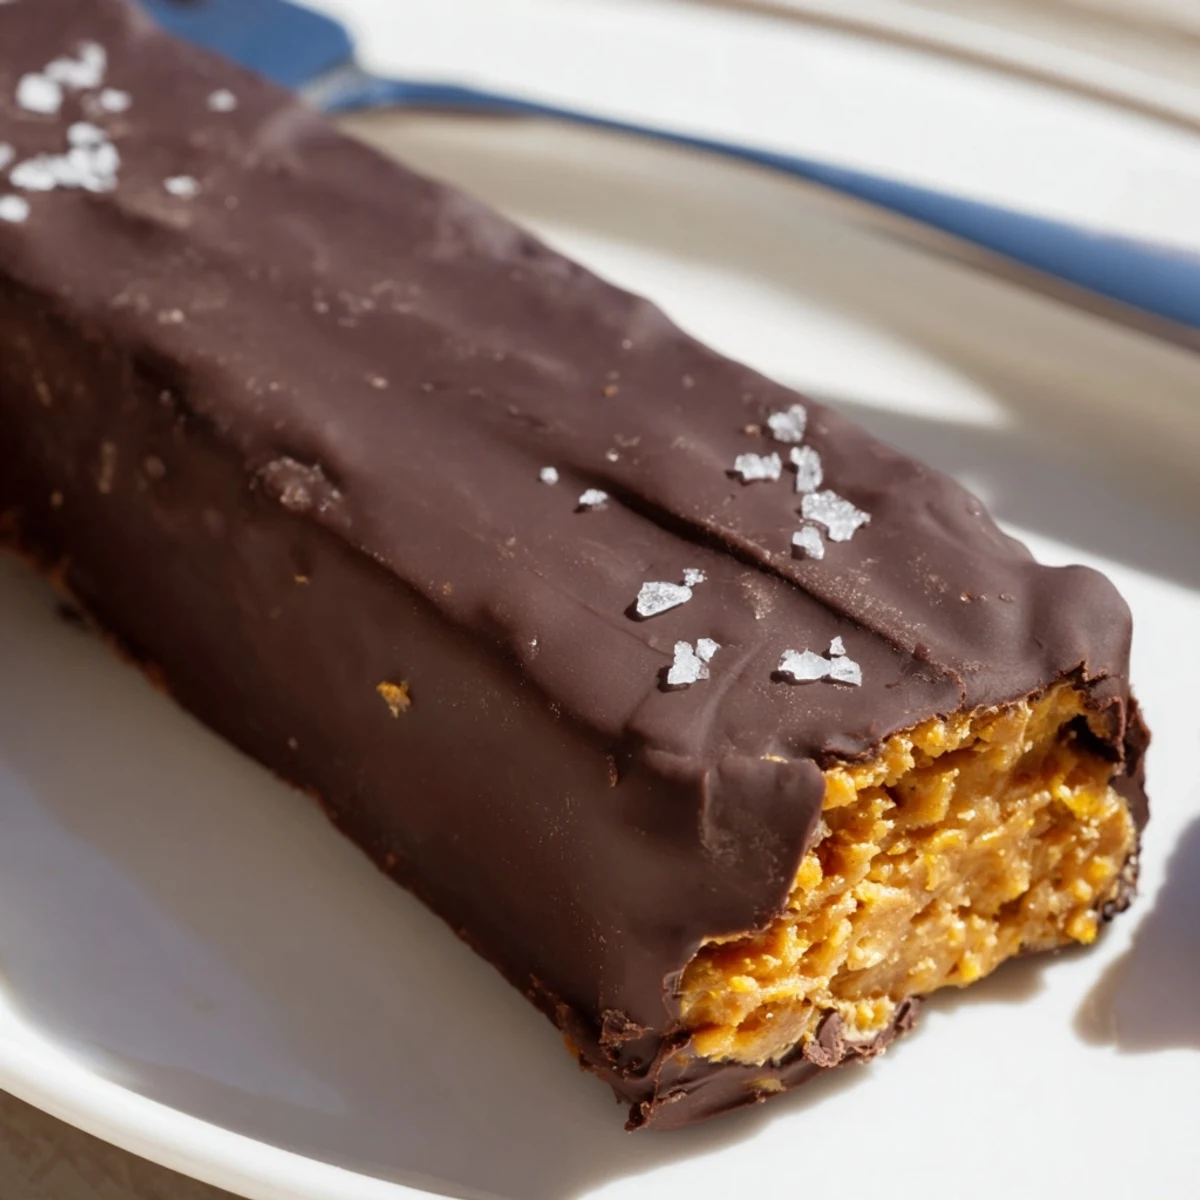
 These healthy homemade Butterfingers deliver the iconic crunchy, peanutty center and smooth chocolate shell you crave, but with cleaner ingredients. A simple mixture of natural peanut butter, maple syrup, and crushed corn flakes forms the crisp filling, while a coating of dark chocolate adds richness.
Ready in about an hour with only 20 minutes of active prep, they're vegetarian, gluten-free friendly, and easily made vegan. Keep a batch in the fridge for whenever your sweet tooth calls.
I stumbled on this recipe during a desperate late-night craving when the candy aisle wasn't an option. The first batch disappeared so fast that I barely got to taste test properly. Now they're my go-to for when I want something that feels indulgent but won't leave me with that sugar crash regret.
Last summer I made these for a backyard barbecue and watched my friend's eyes widen after the first bite. He couldn't believe they weren't loaded with corn syrup and artificial flavors. Seeing people genuinely surprised that healthy could taste this good never gets old.
Ingredients
- Natural creamy peanut butter: The oils create that signature flaky texture when they cool, so dont try using the stabilized stuff
- Pure maple syrup or honey: Maple gives a cleaner sweetness while honey adds its own floral notes
- Corn flakes: Lightly crush them with your hands for varied texture chunks
- Dark chocolate chips: Go for at least 70% cacao or they'll be too sweet against the filling
- Coconut oil: This makes the chocolate coating snap when you bite it
Instructions
- Prep your pan like you mean it:
- Crumple the parchment paper first so it molds into the corners of your 8x8 dish without fighting back
- Melt and mix the base:
- Keep the heat low and stir constantly until the peanut butter and maple syrup transform into glossy caramel-colored liquid
- Fold in the crunch:
- Pour the corn flakes in slowly and fold gently to avoid crushing them into dust
- Press and freeze:
- Use the back of a measuring cup to press the mixture down firmly then freeze until set
- Prepare the chocolate bath:
- Melt the chocolate and coconut oil using a double boiler until it's silky smooth
- Cut and dip:
- Cut into 12 bars then dip each one using a fork letting excess chocolate drip off before placing on parchment
- Final chill:
- Refrigerate for 20 minutes or until the chocolate coating is completely set
 Pin it
 My sister called me from a road trip once demanding the recipe after she'd tried them at my house weeks earlier. Something about these bars just sticks in people's memories maybe because they taste like childhood but without that weird aftertaste.
Making Them Your Own
I've found that swapping in almond butter creates this sophisticated flavor profile that feels almost fancy. Sunflower seed butter works beautifully too especially for school lunchboxes where nuts aren't allowed. The key is keeping the ratio of nut butter to sweetener the same regardless of which butter you choose.
Storage Secrets
These bars actually develop better flavor after a day in the fridge as the ingredients really meld together. I keep mine in a sealed container between layers of wax paper. They freeze beautifully for up to three months if you can manage not to eat them all first.
Serving Ideas
Try crumbling one over vanilla coconut milk ice cream for an incredible sundae situation. Sometimes I'll press the mixture into a tart pan instead of cutting bars for an impressive dessert that looks fancy but takes zero skill.
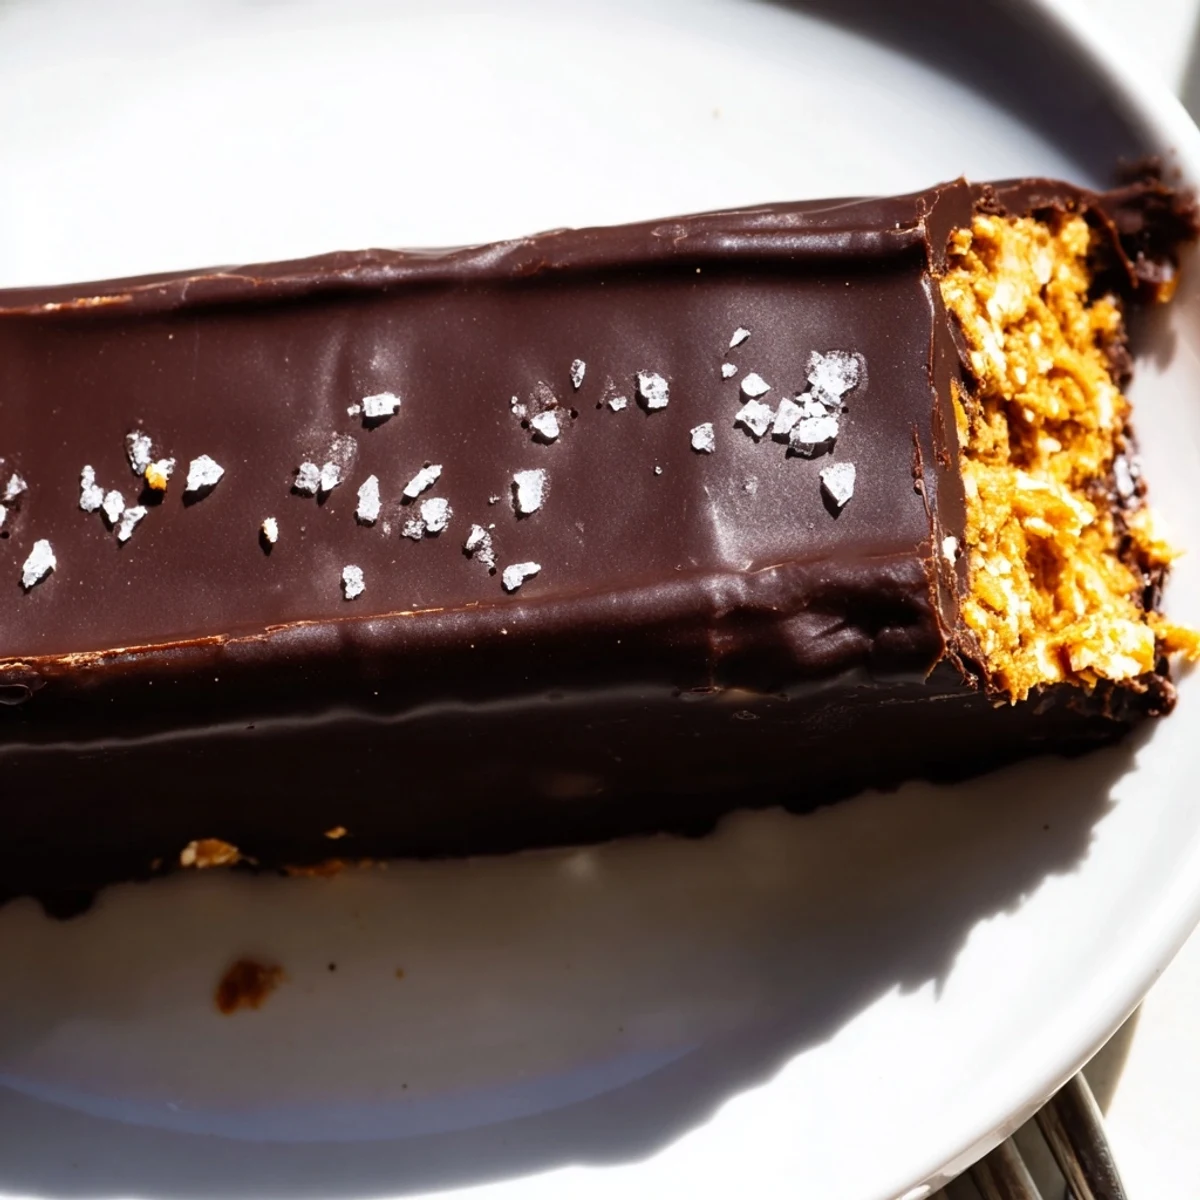
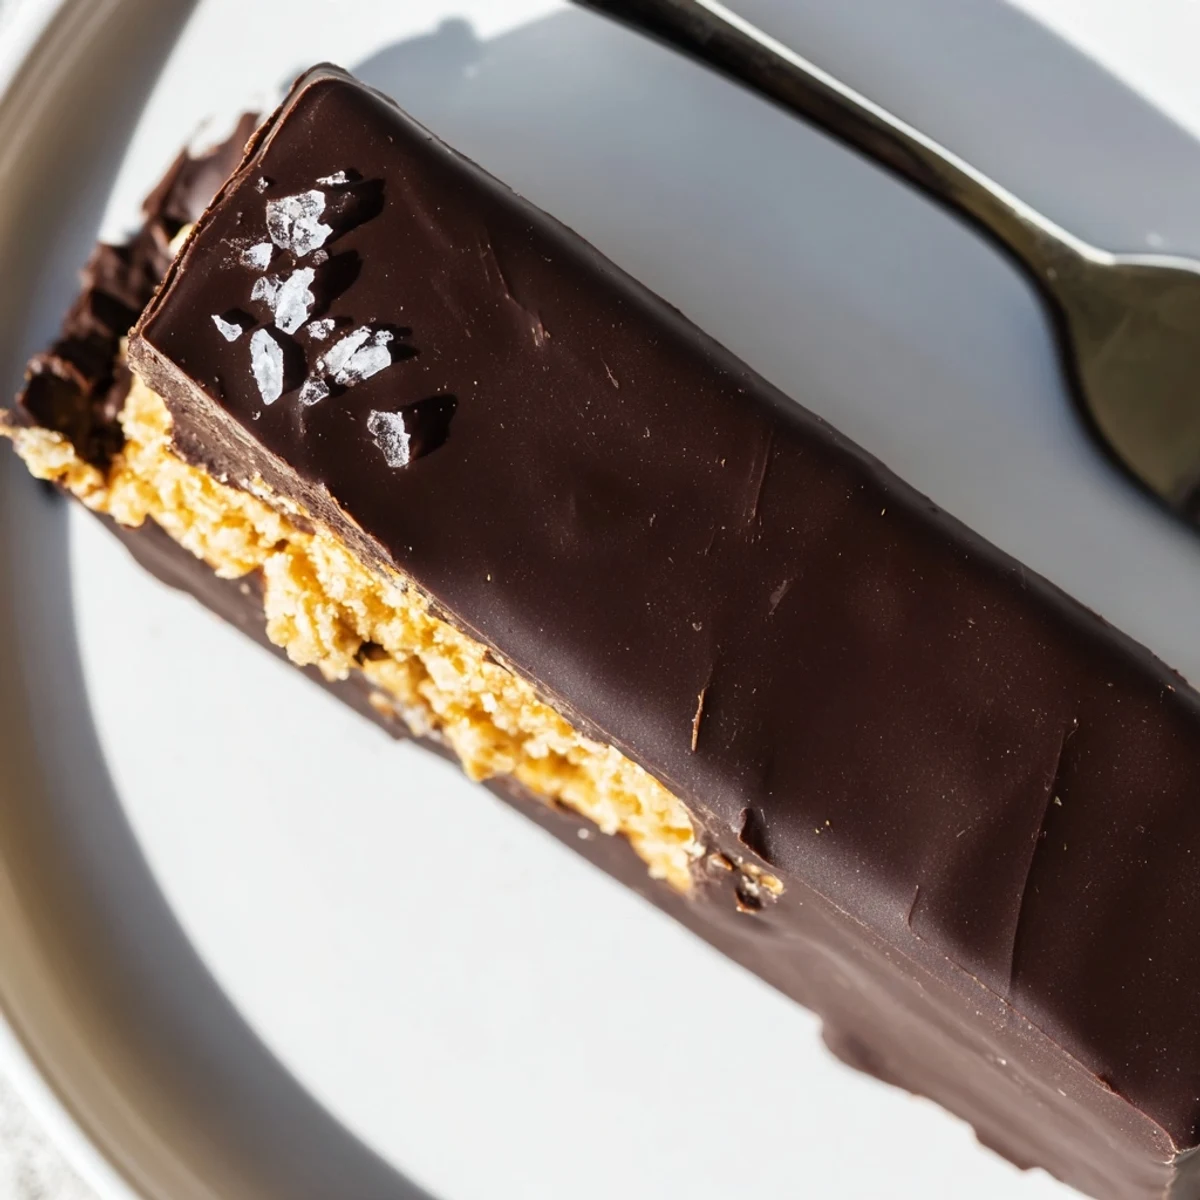
- A tiny pinch of flaky sea salt on top changes everything
- Let them sit at room temperature for 5 minutes before serving for the best texture
- Cut them while slightly frozen for cleaner edges
 Pin it
 There's something deeply satisfying about recreating a childhood favorite with ingredients that actually nourish you. Now whenever that candy craving hits I head to the kitchen instead of the vending machine.
Recipe FAQs
- → Can I make these Butterfingers vegan?
-
Yes. Use maple syrup instead of honey and choose dairy-free dark chocolate chips. Most dark chocolate with 70% cacao or higher is naturally vegan, but always check the label for milk solids.
- → What can I substitute for peanut butter?
-
Almond butter, sunflower seed butter, or cashew butter all work well. Keep in mind that each will slightly change the flavor profile. Sunflower seed butter is a great nut-free option for school-safe treats.
- → How should I store the finished bars?
-
Store bars in an airtight container in the refrigerator for up to one week. For longer storage, freeze them for up to three months. Let frozen bars sit at room temperature for about 10 minutes before enjoying.
- → Why are my corn flakes getting too crushed when mixing?
-
Fold the corn flakes in gently with a spatula rather than stirring vigorously. You want some texture remaining—light crushing before adding gives the best crunch. Work quickly once combined, as the mixture firms up fast.
- → Can I use milk chocolate instead of dark chocolate?
-
Absolutely. Milk chocolate or semi-sweet chips will give a sweeter, more traditional candy bar flavor. Add the coconut oil either way—it helps the coating set with a nice snap and glossy finish.
- → Are corn flakes naturally gluten-free?
-
Many corn flakes contain barley malt, which has gluten. Look for certified gluten-free brands if this is a concern. The rest of the ingredients—peanut butter, maple syrup, and chocolate—are naturally gluten-free.