 Pin it
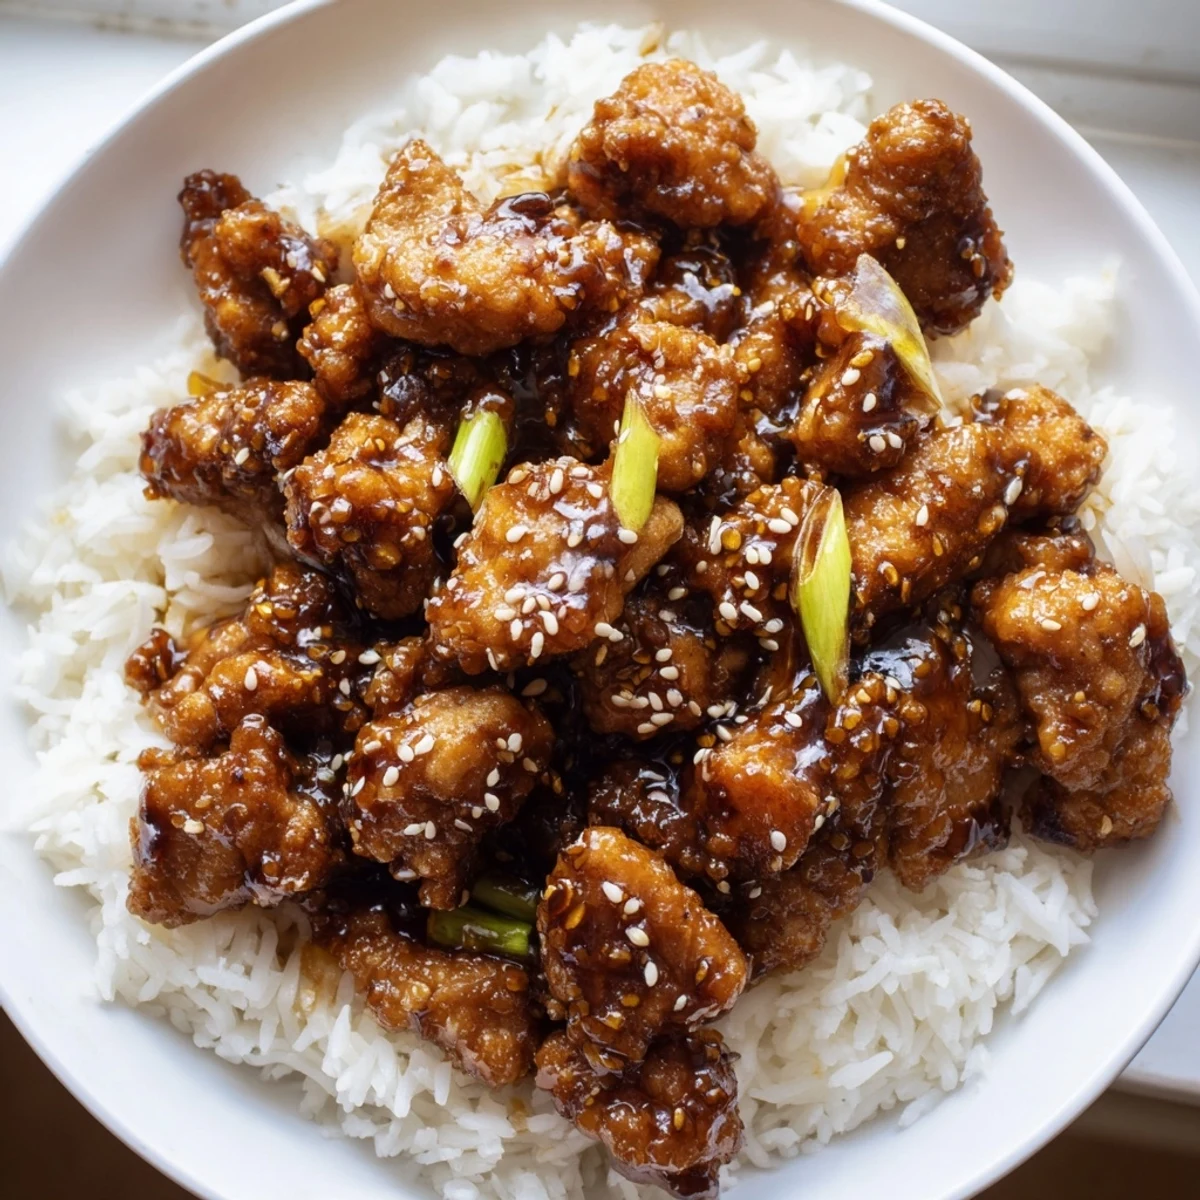
 This Chinese-American classic features tender pieces of chicken coated in cornstarch and pan-fried until golden, then simmered in a glossy sauce made from soy sauce, brown sugar, fresh ginger, garlic, and rice vinegar. The sauce thickens beautifully with a simple cornstarch slurry, creating that signature sticky coating that clings to every bite. Fresh scallions add a mild onion crunch and pop of color, while optional dried chilies bring gentle heat. Serve over steamed white rice for a complete meal that rivals your favorite takeout spot.
I'd been ordering Mongolian Chicken from our local takeout spot for years before it occurred to me that I could probably recreate it at home. The first attempt was a total disaster—my sauce was too thin and the chicken turned out soggy. But something about that sweet-savory combination kept me trying, and honestly, now I prefer my homemade version to anything we used to get delivered.
Last winter, my sister came over unexpectedly and I had to throw something together quickly. This recipe saved the day. She still asks me to make it whenever she visits, and honestly, it's become one of those meals I can make without even thinking about it—like second nature now.
Ingredients
- 1½ lbs boneless chicken thighs or breasts: Thighs stay juicier but breasts work fine too, just don't overcook them
- 2 tablespoons cornstarch: This creates that light coating that helps the sauce cling to every piece
- ½ cup low-sodium soy sauce: Regular soy sauce makes it too salty for my taste
- ½ cup brown sugar: The molasses in brown sugar gives the sauce that gorgeous color and depth
- 3 cloves garlic, minced: Fresh garlic is non-negotiable here, don't even think about using the jarred stuff
- 1 tablespoon fresh ginger, grated: Peel it with a spoon and you won't waste any of the good stuff
- 5 scallions, cut into 1-inch pieces: Save the green tops for garnish if you want it to look pretty
- 1-2 dried red chilies: These add just a whisper of heat, skip them if you're sensitive to spice
Instructions
- Get the chicken ready:
- Toss the chicken pieces with cornstarch, salt, and pepper until everything's well-coated. Let it sit for about 10 minutes while you make the sauce.
- Whisk together the sauce:
- Mix the soy sauce, brown sugar, water, garlic, ginger, rice vinegar, and sesame oil in a small bowl. Stir until the sugar dissolves completely.
- Make your slurry:
- Combine 1 teaspoon cornstarch with 2 teaspoons water in another small bowl. This will thicken your sauce later.
- Cook the chicken:
- Heat oil in a large skillet over medium-high heat. Add chicken in a single layer and cook 4-5 minutes per side until golden and cooked through. Remove and set aside.
- Bring it all together:
- If using dried chilies, add them to the pan for 30 seconds. Return the chicken, pour in the sauce, and bring to a simmer. Stir in the slurry and cook 2-3 minutes until thickened.
- Finish and serve:
- Add scallions and stir-fry for 1 minute. Serve hot over steamed rice with sesame seeds if you're feeling fancy.
 Pin it
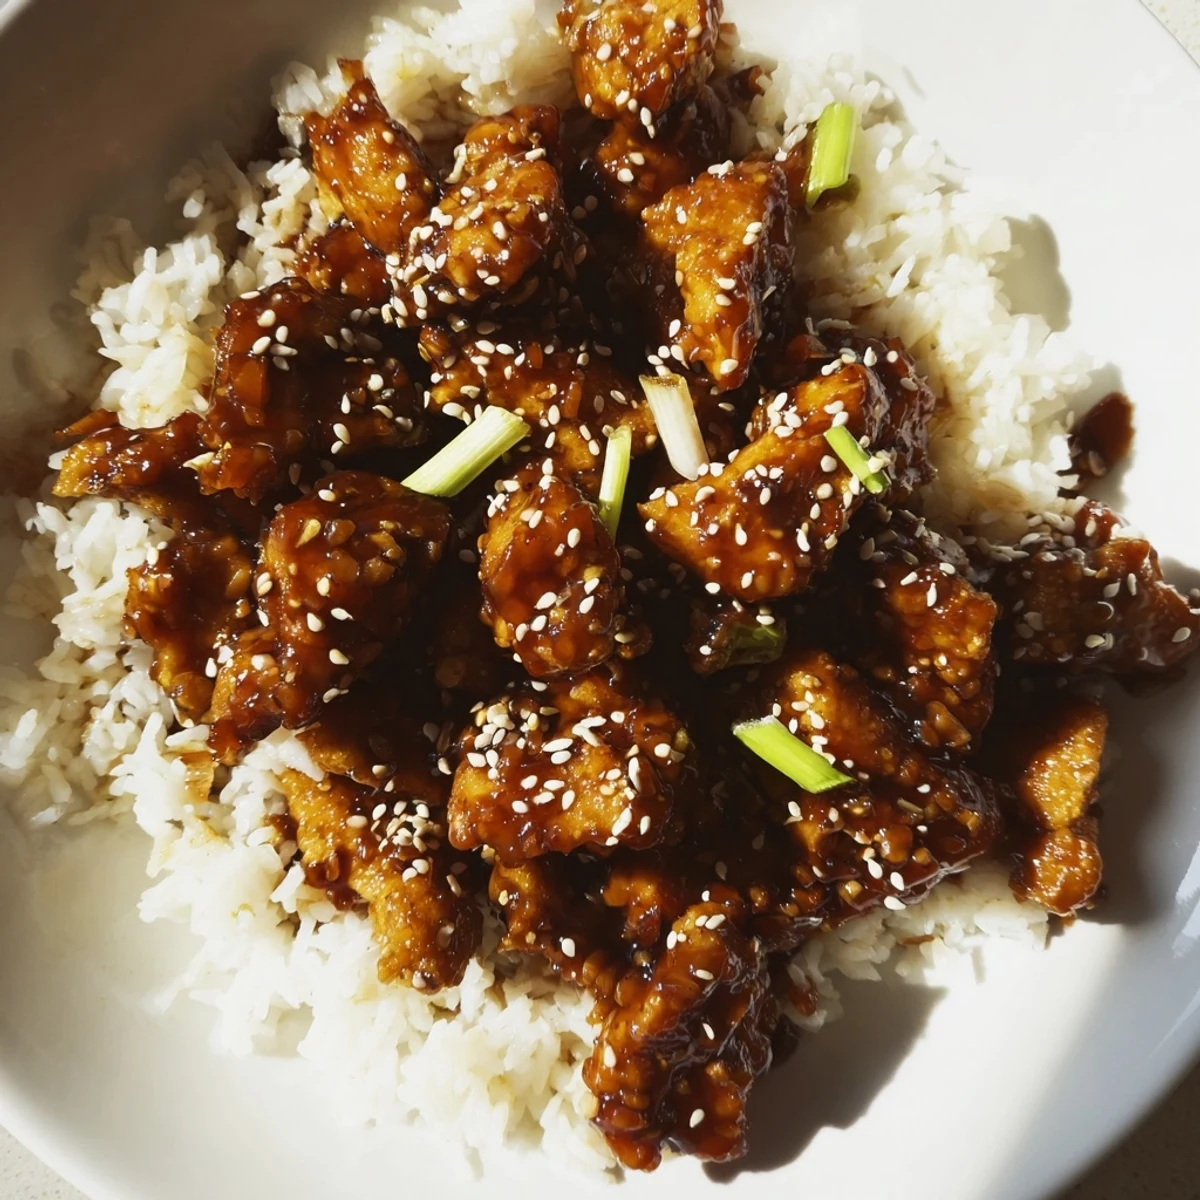
 My husband took one bite of this and declared it better than our favorite restaurant version. That's when I knew this recipe was a keeper. It's become our go-to Friday night dinner, the kind of meal that makes the whole week feel worth it.
Getting That Restaurant Texture
I've learned that the secret to restaurant-style Mongolian chicken is in the cornstarch coating. Don't skip it or try to substitute flour. And if you really want that crispy exterior, try double-coating the chicken—toss it in cornstarch, let it sit, then toss again right before cooking.
Balancing Sweet and Salty
Everyone's taste is different, so I recommend starting with less brown sugar if you're not into super sweet sauces. You can always add more, but you can't take it away. I've found the half cup is perfect for us, but taste as you go and trust your own preferences.
Make-Ahead Magic
You can prep everything hours before cooking—cut the chicken, mix the sauce, chop the scallions. Keep them refrigerated in separate containers. When it's time to eat, this comes together in literally 15 minutes flat.
- Cut the chicken into uniform pieces so everything cooks evenly
- Have your rice cooking before you start the chicken so everything's ready at the same time
- Warm your serving bowls in the oven for that restaurant-quality presentation
 Pin it
 This recipe has become such a staple in our house that I keep all the ingredients on hand pretty much all the time now. There's something so satisfying about making takeout favorites better at home.
Recipe FAQs
- → What makes this dish different from regular stir-fry?
-
The sauce distinguishes this dish—brown sugar creates a glossy, caramel-like coating while soy sauce provides deep umami. Unlike lighter stir-fries, the sauce thickens to cling to each piece of chicken, and fresh ginger and garlic deliver aromatic warmth rather than just heat.
- → Can I use chicken breasts instead of thighs?
-
Yes, though thighs remain more juicy due to higher fat content. If using breasts, avoid overcooking—remove from heat once the center reaches 165°F. Pound thicker pieces to even thickness for consistent cooking.
- → How do I get the sauce to thicken properly?
-
Let the sauce reach a full simmer before adding the cornstarch slurry, then maintain gentle bubbling while stirring constantly for 2–3 minutes. The mixture will transform from thin to glossy and thick enough to coat the back of a spoon.
- → What vegetables work well in this?
-
Broccoli florets, bell pepper strips, snap peas, or sliced carrots all complement the sweet-savory flavors. Add hearty vegetables like broccoli and carrots with the chicken during the initial cooking, but quick-cooking options like snap peas during the final minute.
- → Can I make this ahead of time?
-
The sauce keeps refrigerated for up to 5 days and improves in flavor. Store cooked chicken separately from sauce and reheat gently on the stove, adding a splash of water if the sauce has thickened too much. Avoid freezing as the texture becomes watery when thawed.
- → Is this gluten-free?
-
Substitute tamari or coconut aminos for the soy sauce, and verify your cornstarch is certified gluten-free. With these simple swaps, the entire dish becomes gluten-free without sacrificing flavor or texture.
