 Pin it
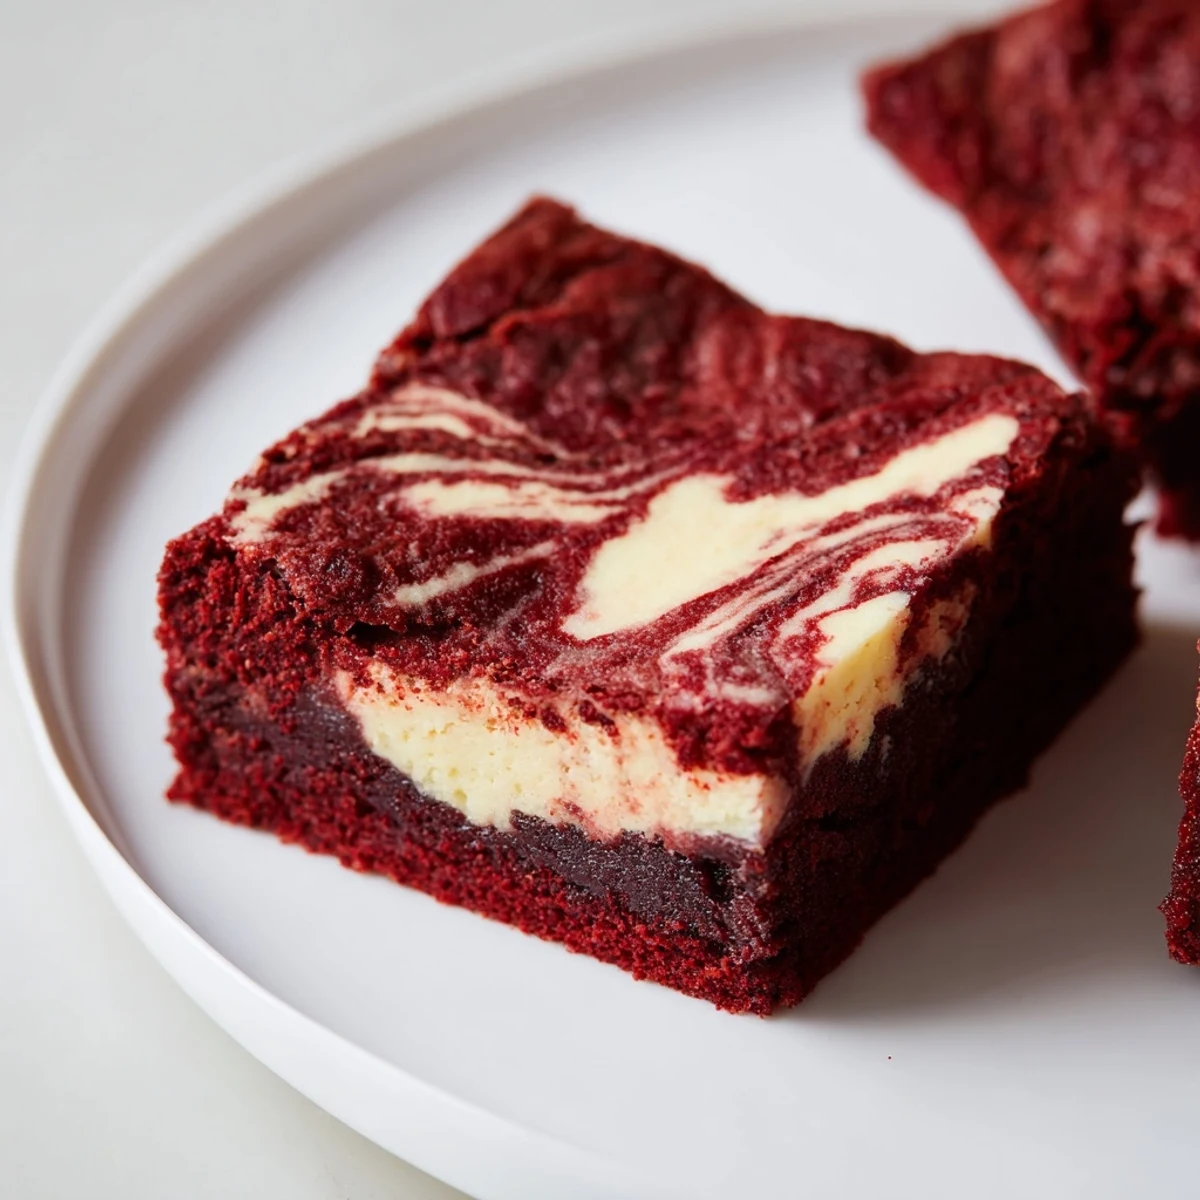
 These red velvet brownies offer a rich, fudgy texture combined with a creamy, tangy cheesecake swirl. Prepared by layering and gently swirling velvety chocolate batter with softened cream cheese mixture, they bake into perfectly moist squares. Ideal for sharing, they deliver a balance of deep cocoa flavors and smooth sweetness, brightened by a hint of vanilla and a striking marbled look. Easily stored and wonderfully indulgent, this dessert suits medium skill levels and makes for an impressive finish to any meal.
The first time I brought these to a dinner party, my friend Sarah literally gasped when I cut into the pan. That marbled pattern creates such a striking contrast against the deep crimson that people sometimes hesitate to eat them, convinced something this beautiful belongs behind glass. Then they take that first bite where tangy cream cheese meets fudgy chocolate, and suddenly the whole pan disappears. I have learned to always make a double batch because the stunning visual appeal draws everyone in like a magnet.
Last Christmas Eve, my kitchen smelled like cocoa and cream cheese while snow fell outside the window. My daughter stood on a stool watching me swirl the layers together, mesmerized by how the white cream cheese ribbons danced through the red batter. We left them cooling on the counter while we watched movies, sneaking tiny edge pieces every time we walked past. By Christmas morning, only one lonely square remained.
Ingredients
- Unsalted butter, melted: The foundation of that fudgy texture we all crave in brownies, so do not substitute with oil or the richness will suffer
- Granulated sugar: This creates the crackly top layer that forms when sugar and eggs are properly whipped together
- Large eggs, room temperature: Cold eggs can cause the butter to seize and create streaks in your batter
- Red food coloring: Gel coloring gives you that dramatic restaurant quality crimson without thinning the batter
- All purpose flour: Do not reach for cake flour here or you will lose that dense, chewy brownie structure
- Unsweetened cocoa powder: The subtle chocolate note keeps the red velvet flavor authentic and not overwhelmingly sweet
- Cream cheese, softened: Leave it out for a full hour so your swirl layer stays silky smooth without any lumps
- Egg yolk: Using only the yolk adds incredible richness without making the cheesecake layer too loose
Instructions
- Prepare your stage:
- Pan preparation matters more than most people realize. Line your baking pan with parchment paper, leaving those overhanging edges like little handles. This trick saves you from stuck brownies and makes lifting the whole batch out feel like professional kitchen magic.
- Build the red velvet base:
- Whisk your melted butter and sugar until the mixture transforms from separate ingredients into something glossy and smooth. Add the eggs one at a time, followed by vanilla extract and that vibrant red food coloring. Watch the color develop as you whisk.
- Fold in the dry ingredients:
- Sift together your flour, cocoa powder, and salt to ensure no lumps disrupt the texture. Gently fold the dry mixture into the wet using a spatula, being careful to stop as soon as the flour streaks disappear. Overmixing leads to tough, cakey brownies instead of fudgy ones.
- Set aside your swirl batter:
- Remove about one quarter cup of the red velvet batter and set it aside. This will be used later to create those beautiful marbled patterns on top of the cheesecake layer.
- Spread the foundation:
- Pour the remaining brownie batter into your prepared pan. Use an offset spatula or the back of a spoon to spread it evenly, pushing the batter into the corners.
- Whip up the cheesecake layer:
- Beat the softened cream cheese until it is completely smooth with no lumps remaining. Add the sugar, egg yolk, and vanilla extract, then beat until the mixture is creamy and uniform.
- Create the marble effect:
- Drop spoonfuls of the cheesecake mixture randomly over the brownie batter. Dollop your reserved red velvet batter on top of the cream cheese. Use a knife or skewer to gently swirl through both layers, being careful not to over swirl and muddy the pattern.
- Bake to perfection:
- Bake for 32 to 35 minutes until the center is just set. The edges should be slightly puffy, and a toothpick inserted into the center should come out with just a few moist crumbs.
- Patience pays off:
- Let the brownies cool completely in the pan on a wire rack. Use the parchment overhang to lift the entire batch out, then slice into perfect squares.
 Pin it
 My neighbor asked for the recipe after tasting just one square at a block party, and now she makes them for every family birthday. The way the tangy cheesecake cuts through the rich chocolate creates something that feels sophisticated yet completely approachable. I have started keeping a stash in the freezer for unexpected guests.
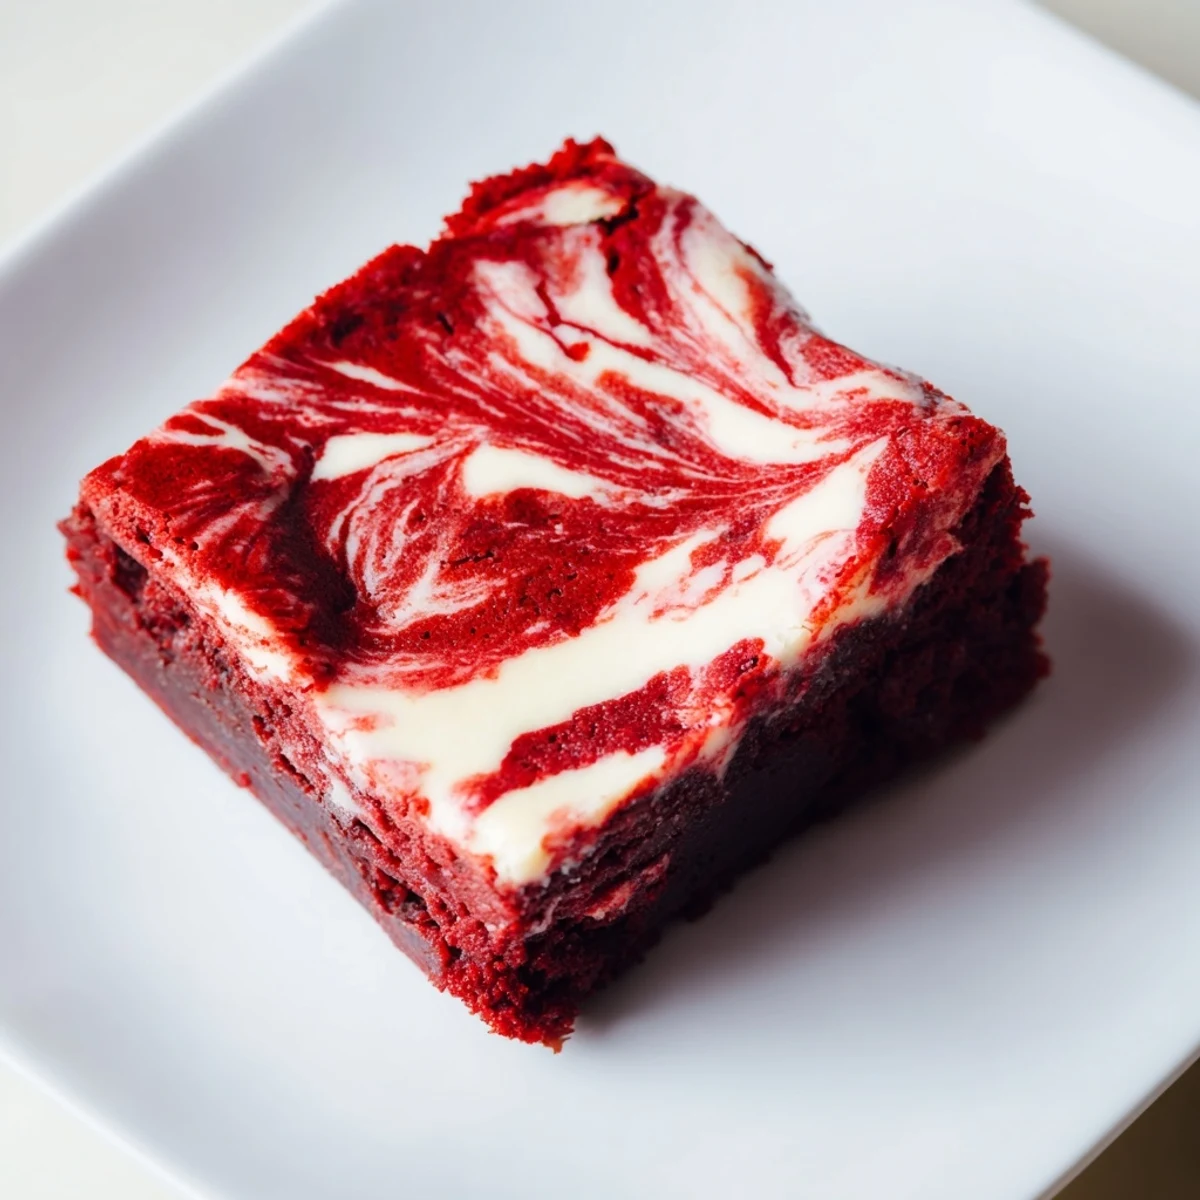
Getting That Perfect Swirl
The secret to restaurant quality marbling is using just two or three gentle figure eight motions with your knife rather than aggressive swirling. Run your knife through the layers about half an inch deep, then lift and move to another section. This creates those distinct, beautiful ribbons instead of a muddy blur.
Room Temperature Magic
Setting out your butter, cream cheese, and eggs one hour before baking transforms the entire experience. Warm ingredients emulsify beautifully, creating that silky batter that bakes into uniformly textured brownies. Cold ingredients fight each other and create streaks that never quite disappear in the oven.
Storage and Serving Secrets
These brownies actually improve after a night in the refrigerator, as the flavors meld together and the texture becomes even more fudgy. Let them come to room temperature before serving for the best experience.
- Place a piece of parchment paper between layers if you stack them in an airtight container
- For gifting, wrap individual squares in clear bags tied with red ribbon for a stunning presentation
- Refrigerate for up to five days, but they rarely last that long in my house
 Pin it
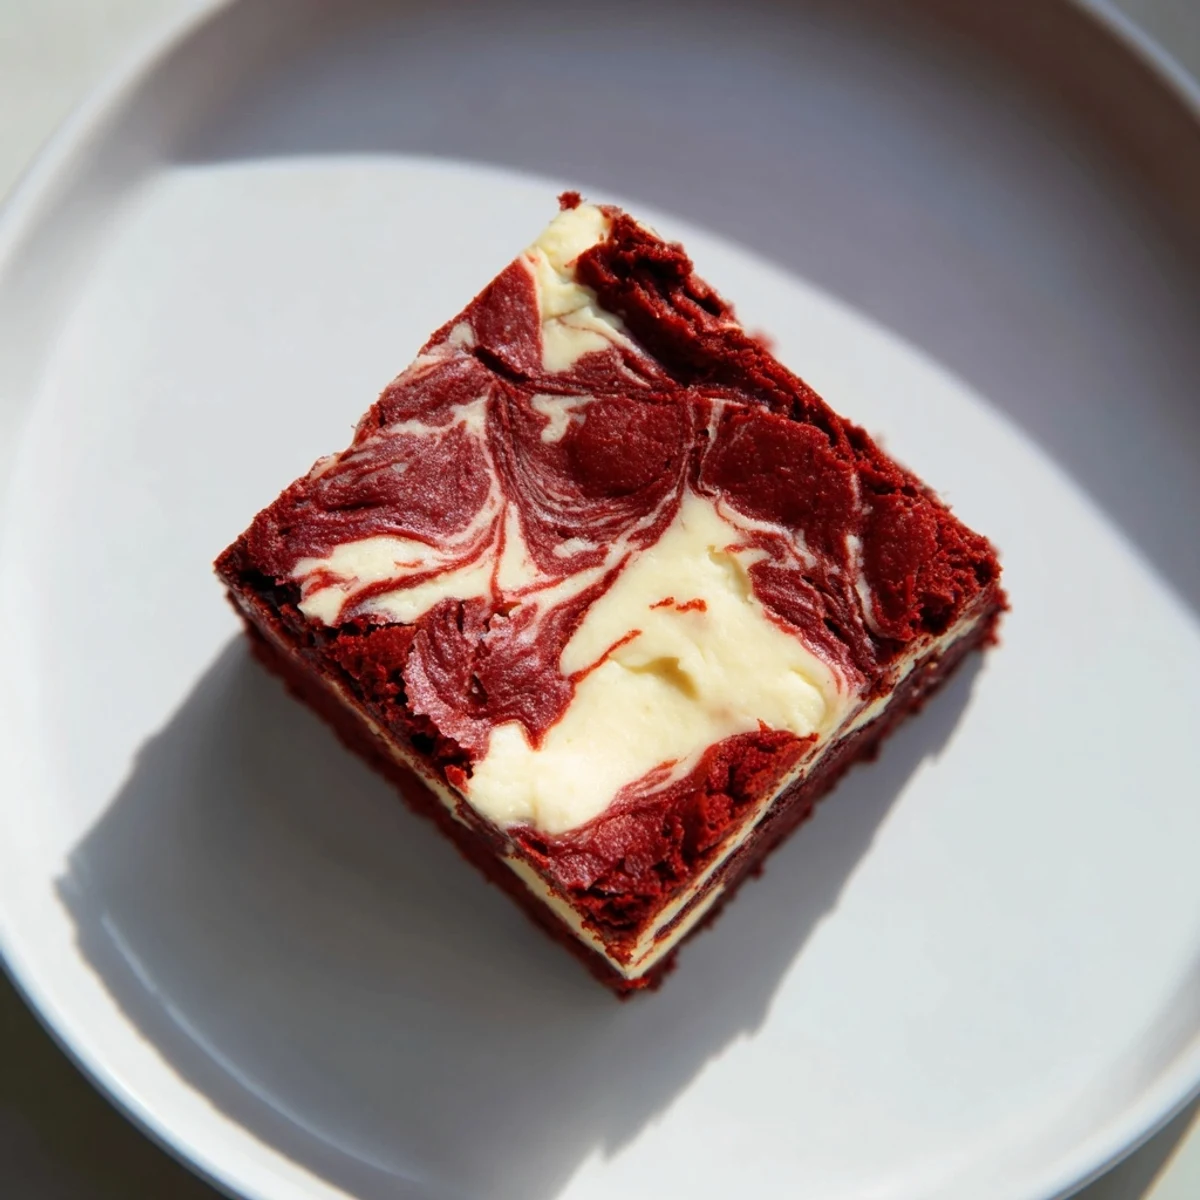
 Watch people's eyes light up when you cut into that marbled masterpiece. Some desserts are meant to be shared, and this one always brings people together.
Recipe FAQs
- → What gives the brownies their red color?
-
The vibrant red tint comes from adding red food coloring, which can be liquid or gel, to the brownie batter before baking.
- → How do I create the cheesecake swirl effect?
-
After spreading most of the brownie batter, spoon dollops of cheesecake mixture and reserve brownie batter on top, then gently swirl with a knife or skewer to create a marbled pattern.
- → Can I prepare these brownies in advance?
-
Yes, once cooled, store the brownies in an airtight container in the refrigerator for up to five days to maintain freshness.
- → What texture should I expect from these brownies?
-
The brownies are rich and fudgy, complemented by the smooth, creamy texture of the tangy cheesecake swirl for a balanced bite.
- → Are there any common allergens in this dish?
-
This dessert contains dairy, eggs, and gluten, so it’s not suitable for those with these allergies.
