 Pin it
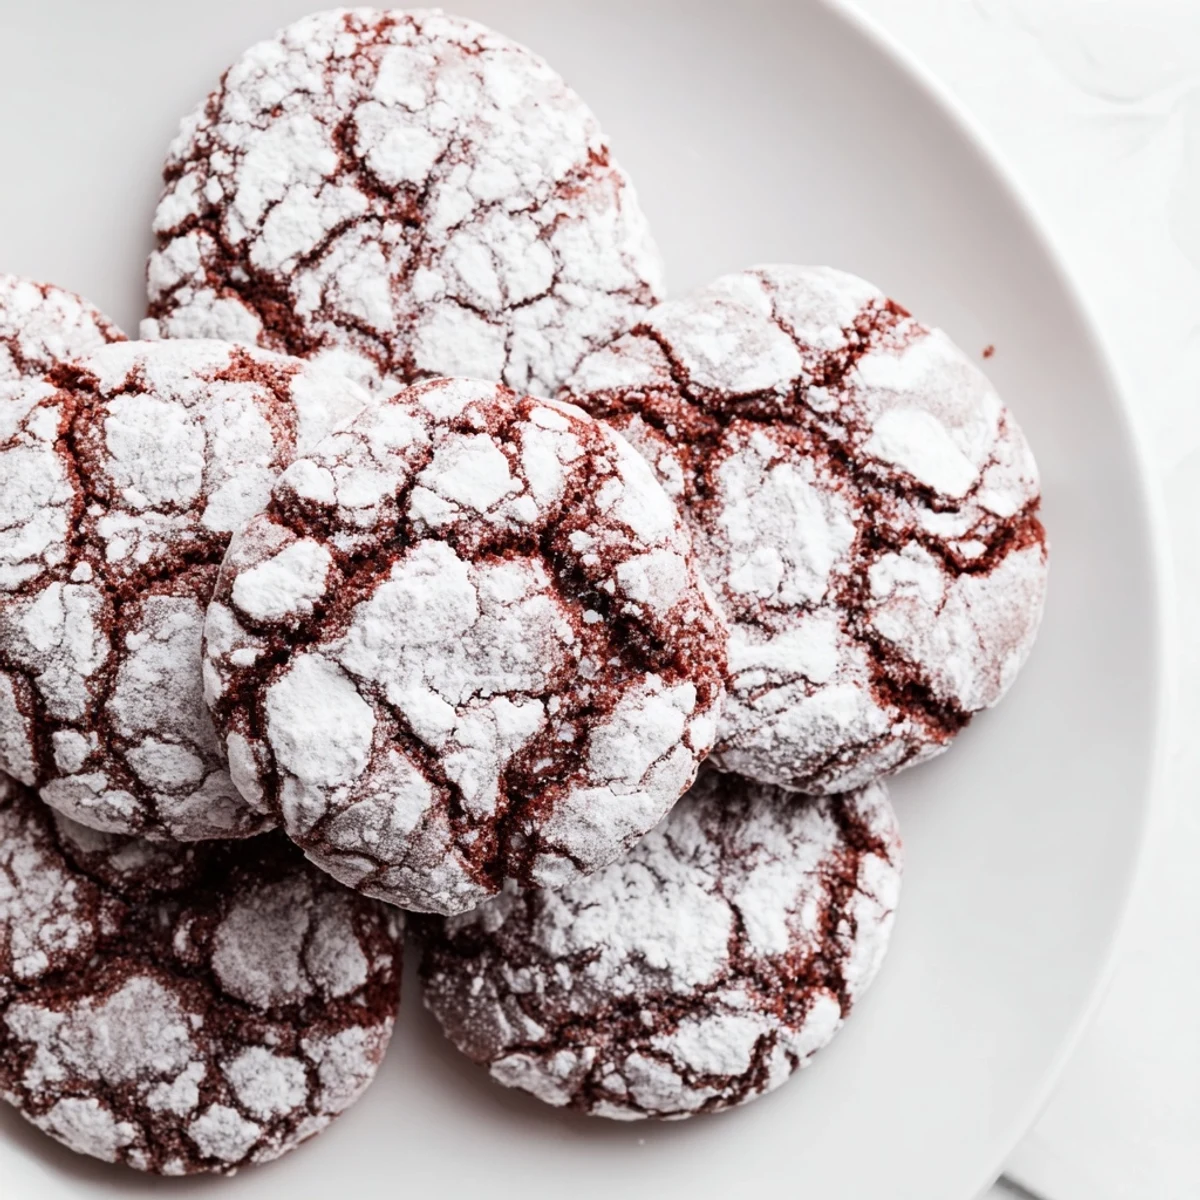
 These soft red velvet cookies offer a perfect balance of chewiness and subtle cocoa flavor, enhanced by a light dusting of powdered sugar. The dough is chilled before baking to achieve the ideal texture, while the powdered sugar provides a distinctive crinkled surface. Easy to prepare, they bake quickly and make a delightful treat for holidays or any time you crave something sweet and festive.
The first time I made red velvet crinkle cookies, I was rushing to a holiday potluck and accidentally doubled the food coloring. My hands were stained pink for three days, but those cookies with their dramatic red cracks against snowy white sugar disappeared in minutes. Now I make them every December, and people still talk about the year of the bright red cookies that tasted like little bites of velvet.
Last winter my neighbor smelled these baking through our shared wall and knocked on my door with an empty Tupperware container. She thought I was making red velvet cake, but when she saw the crinkled cookies, she asked for the recipe immediately. Now we bake them together every Sunday during the holidays, timing our ovens so both apartments smell like warm cocoa and sugar.
Ingredients
- 1 2/3 cups all-purpose flour: The foundation that gives these cookies their structure without making them dense or cakey
- 2 tbsp unsweetened cocoa powder: Just enough to deepen the flavor without overpowering the delicate red velvet taste
- 1 tsp baking powder: Helps create those signature cracks as the cookies rise in the oven
- 1/4 tsp baking soda: Works with the baking powder for the perfect lift and texture
- 1/2 tsp salt: Balances the sweetness and enhances the chocolate undertones
- 1/2 cup unsalted butter, softened: Room temperature butter creams properly and creates that melt in your mouth texture
- 1 cup granulated sugar: Creamed with butter to create the perfect cookie base
- 2 large eggs: Bind everything together while adding richness
- 1 tsp pure vanilla extract: Rounds out the chocolate flavor beautifully
- 1 tbsp red food coloring: Gel coloring gives the most vibrant hue without altering the dough consistency
- 1/2 tsp white vinegar: The secret ingredient that activates the cocoa and deepens the red color
- 1/2 cup powdered sugar: For rolling and creating that signature snowy crinkle effect
Instructions
- Set yourself up for success:
- Preheat your oven to 350°F and line two baking sheets with parchment paper so you are ready to bake as soon as the dough is chilled.
- Whisk the dry ingredients:
- In a medium bowl, combine the flour, cocoa powder, baking powder, baking soda, and salt until everything is evenly distributed.
- Cream the butter and sugar:
- Beat the softened butter and granulated sugar for 2 to 3 minutes until the mixture is pale and fluffy, which creates the tender cookie texture.
- Add the wet ingredients:
- Add the eggs one at a time, beating well after each, then mix in the vanilla, red food coloring, and vinegar until no streaks remain.
- Bring it all together:
- Gradually add the dry ingredients to the wet mixture, mixing just until combined so you do not overwork the dough.
- Chill for better results:
- Cover the dough and refrigerate for at least 30 minutes, or up to 2 hours, so it firms up and the flavors develop.
- Create the crinkles:
- Scoop tablespoon sized portions of dough, roll them into balls, and coat each generously in powdered sugar until completely covered.
- Bake to perfection:
- Place the balls 2 inches apart on your prepared baking sheets and bake for 11 to 13 minutes until set around the edges but still soft in the center.
- Let them rest:
- Cool on the baking sheet for 5 minutes before transferring to a wire rack to cool completely, which helps them set without becoming hard.
 Pin it
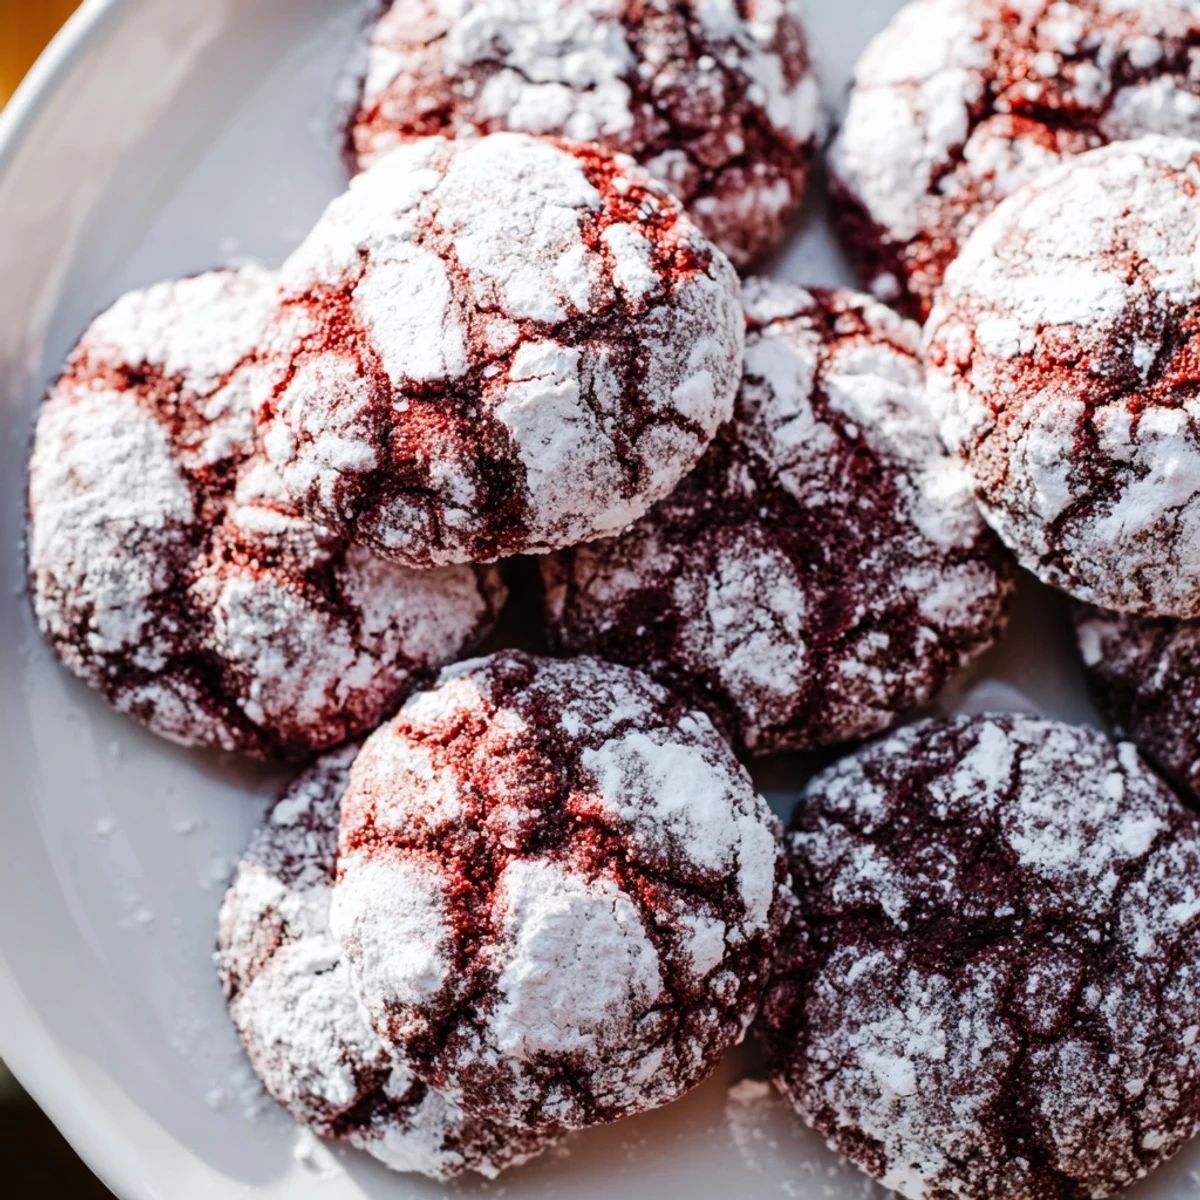
 My daughter requested these for her birthday instead of cake last year, and watching her carefully choose the most perfectly crinkled cookie from the plate made me realize how special simple recipes become. Her friends now request them for every sleepover, and I always double the batch because one sheet pan disappears before they even cool completely.
Getting the Best Crinkles
The cracks happen because the powdered sugar creates a surface that dries faster than the inside, causing the dough to split as it rises. Make sure your sugar coating is thick and even for the most dramatic effect.
Food Coloring Wisdom
Gel food coloring is my go to because it does not add extra liquid to the dough. If you use liquid coloring, you might need to add a teaspoon more flour to compensate for the moisture.
Make Ahead Tips
The dough actually improves after a day in the refrigerator, so you can make it the night before and bake fresh cookies the next day. The flavors deepen and the texture becomes even more tender.
- Scoop and freeze the dough balls before rolling in sugar for up to 3 months
- Bake frozen dough balls for an extra 1 to 2 minutes, no thawing needed
- Roll frozen dough balls in powdered sugar immediately before baking
 Pin it
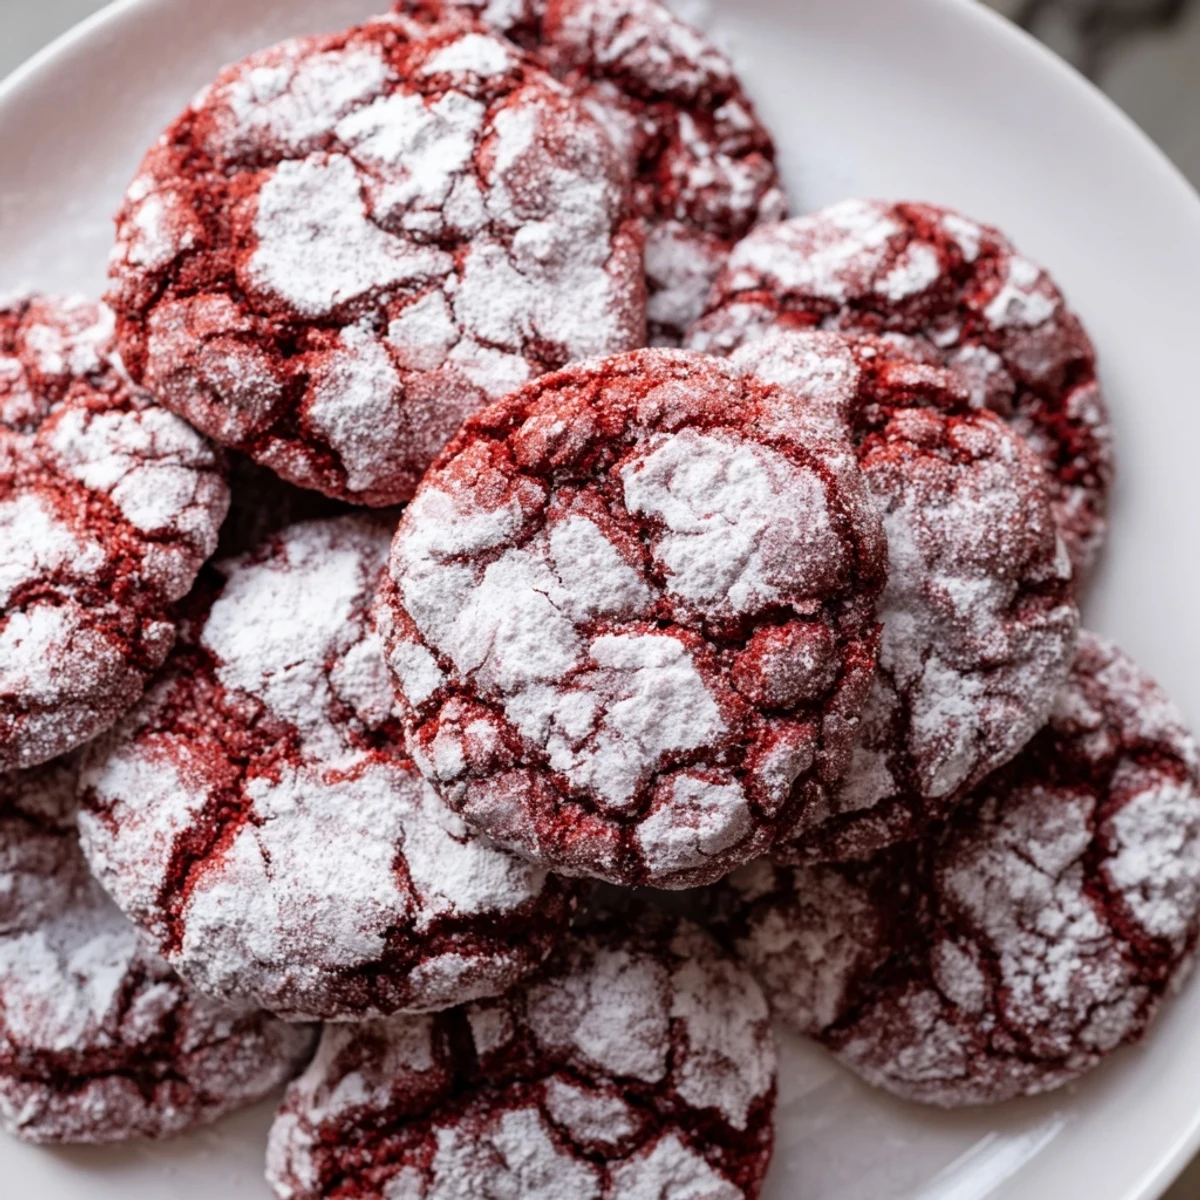
 There is something magical about pulling these from the oven and watching the red cracks appear through the white sugar. They are the kind of cookie that makes people pause and smile before taking a bite.
Recipe FAQs
- → What makes these cookies red velvet?
-
The deep red color comes from adding red food coloring combined with cocoa powder for that rich velvet taste.
- → Why are the cookies rolled in powdered sugar?
-
Rolling the dough balls in powdered sugar before baking creates the signature crinkled surface and adds sweetness.
- → How do you achieve a soft and chewy texture?
-
Chilling the dough before baking and not overbaking ensures the cookies stay soft and chewy inside.
- → Can I substitute the food coloring?
-
Yes, gel food coloring can be used for a more vibrant and concentrated red hue.
- → How should these cookies be stored?
-
Keep them in an airtight container at room temperature for up to five days to maintain freshness.
- → Can I add mix-ins like chocolate chips?
-
White chocolate chips pair well and can be folded into the dough for extra flavor and texture.
