 Pin it
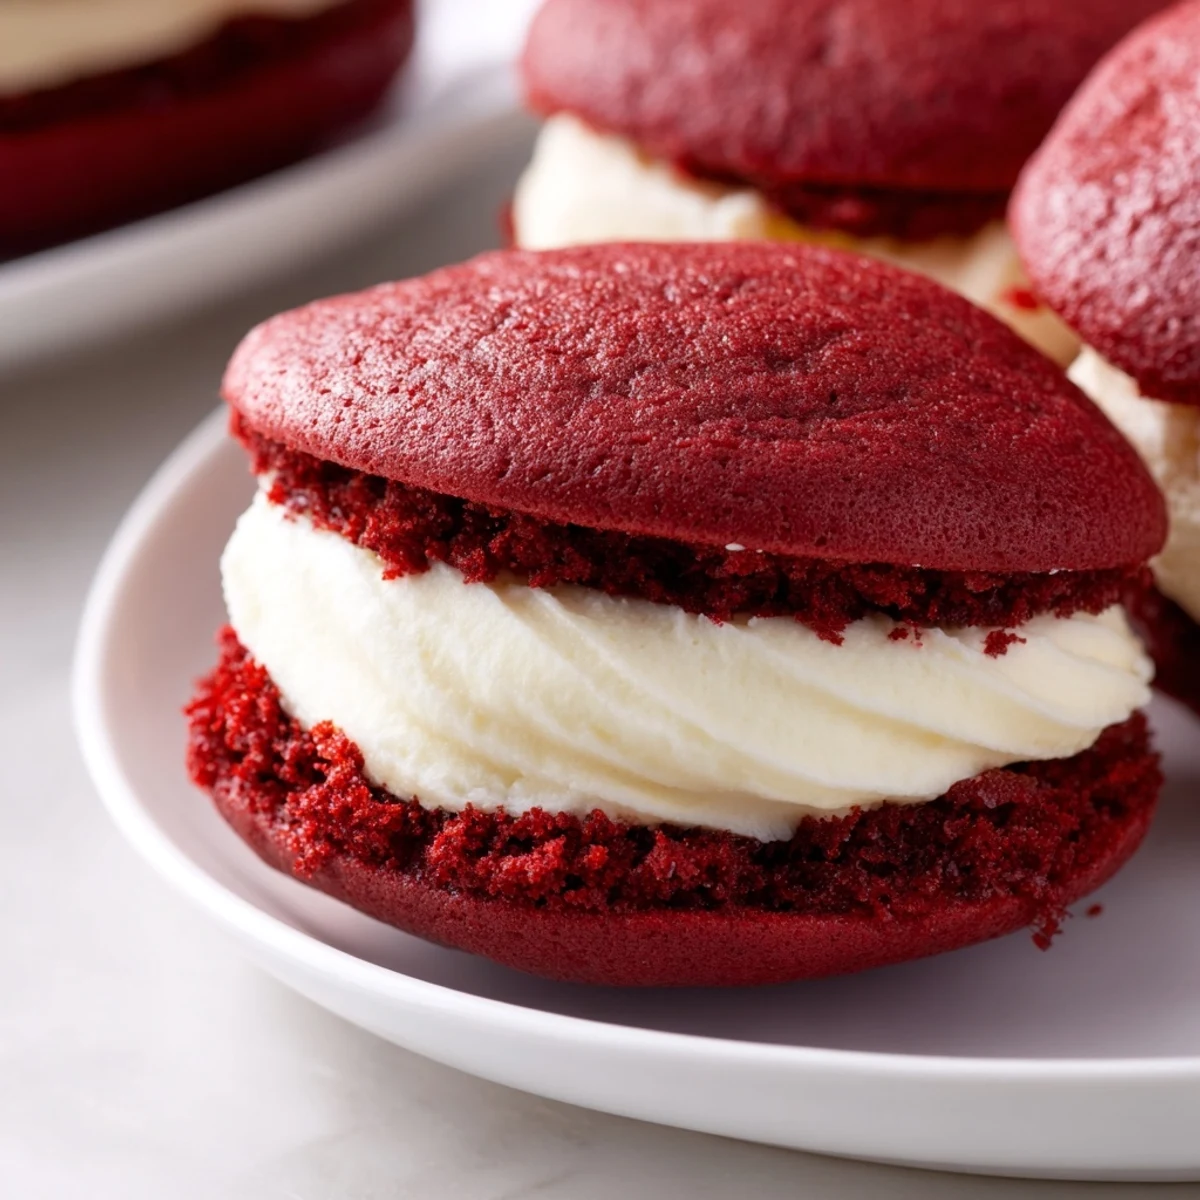
 Experience soft, tender red velvet cakes infused with cocoa and a touch of vanilla, paired perfectly with a creamy, rich cream cheese filling. These treats combine a gentle crumb with a smooth, luscious center, offering balanced sweetness and vibrant color. Ideal for sharing during celebrations or sweet cravings, they showcase classic American flavors with a homemade touch. Preparation involves mixing a delicate batter with buttermilk and gentle folding to keep the texture light. The filling is whipped to creamy perfection, then sandwiched between pairs of cakes for easy serving and indulgence.
The first time I attempted red velvet whoopie pies, I accidentally dyed my kitchen counter pink. I was in a rush and tapped the food coloring bottle too hard, sending bright red droplets flying across everything. My husband walked in, took one look at the crime scene, and asked if Id been murdered. We still laugh about it every time I pull out that little red bottle.
I made these for my daughters birthday last year instead of a traditional cake, and honestly, it was the best decision. The kids went absolutely wild for them, and I loved that there was no slicing or serving drama. Everyone just grabbed their own personal cake sandwich and went to town. Now they request them for every celebration.
Ingredients
- All-purpose flour: The foundation that gives these cookies their tender crumb without becoming tough or dry
- Unsweetened cocoa powder: Just enough to create that classic red velvet depth without overpowering the delicate flavor
- Baking powder and baking soda: The dynamic duo that makes these puff up beautifully and stay soft
- Salt: A tiny amount that balances all the sugar and makes the chocolate flavor pop
- Unsalted butter: Room temperature is crucial here for proper creaming and that velvety texture
- Granulated sugar: Sweetens while creating those gorgeous cracks and texture on the surface
- Large egg: Binds everything together and adds richness
- Vanilla extract: Pure vanilla is worth the extra cost for such a simple recipe
- Red food coloring: Gel coloring gives you that dramatic red with less liquid
- Buttermilk: The secret ingredient that makes these tender and tangy
- White vinegar: Reacts with the baking soda for extra lift and that classic red velvet tang
- Cream cheese: Full fat and completely softened for the silkiest filling
- Powdered sugar: Sifting first prevents any lumps in your smooth frosting
Instructions
- Get your oven ready:
- Preheat to 350°F and line two baking sheets with parchment paper for easy cleanup
- Whisk the dry ingredients:
- Combine flour, cocoa powder, baking powder, baking soda, and salt in a medium bowl
- Cream the butter and sugar:
- Beat them together until the mixture looks pale and fluffy, about 2 to 3 minutes
- Add the egg and vanilla:
- Mix until everything is well incorporated and the batter looks smooth
- Add the color:
- Mix in the red food coloring and vinegar until the batter turns that signature shade
- Combine everything:
- Add half the dry ingredients, then the buttermilk, then remaining dry ingredients, mixing gently until just combined
- Scoop the batter:
- Drop tablespoon sized mounds onto prepared baking sheets, leaving 2 inches of space between each
- Bake to perfection:
- Bake for 10 to 12 minutes until they spring back when touched, then cool completely
- Make the filling:
- Beat cream cheese and butter until smooth, then gradually add powdered sugar and vanilla until fluffy
- Assemble the pies:
- Pair similar sized cookies, spread filling on one, and sandwich with its partner
 Pin it
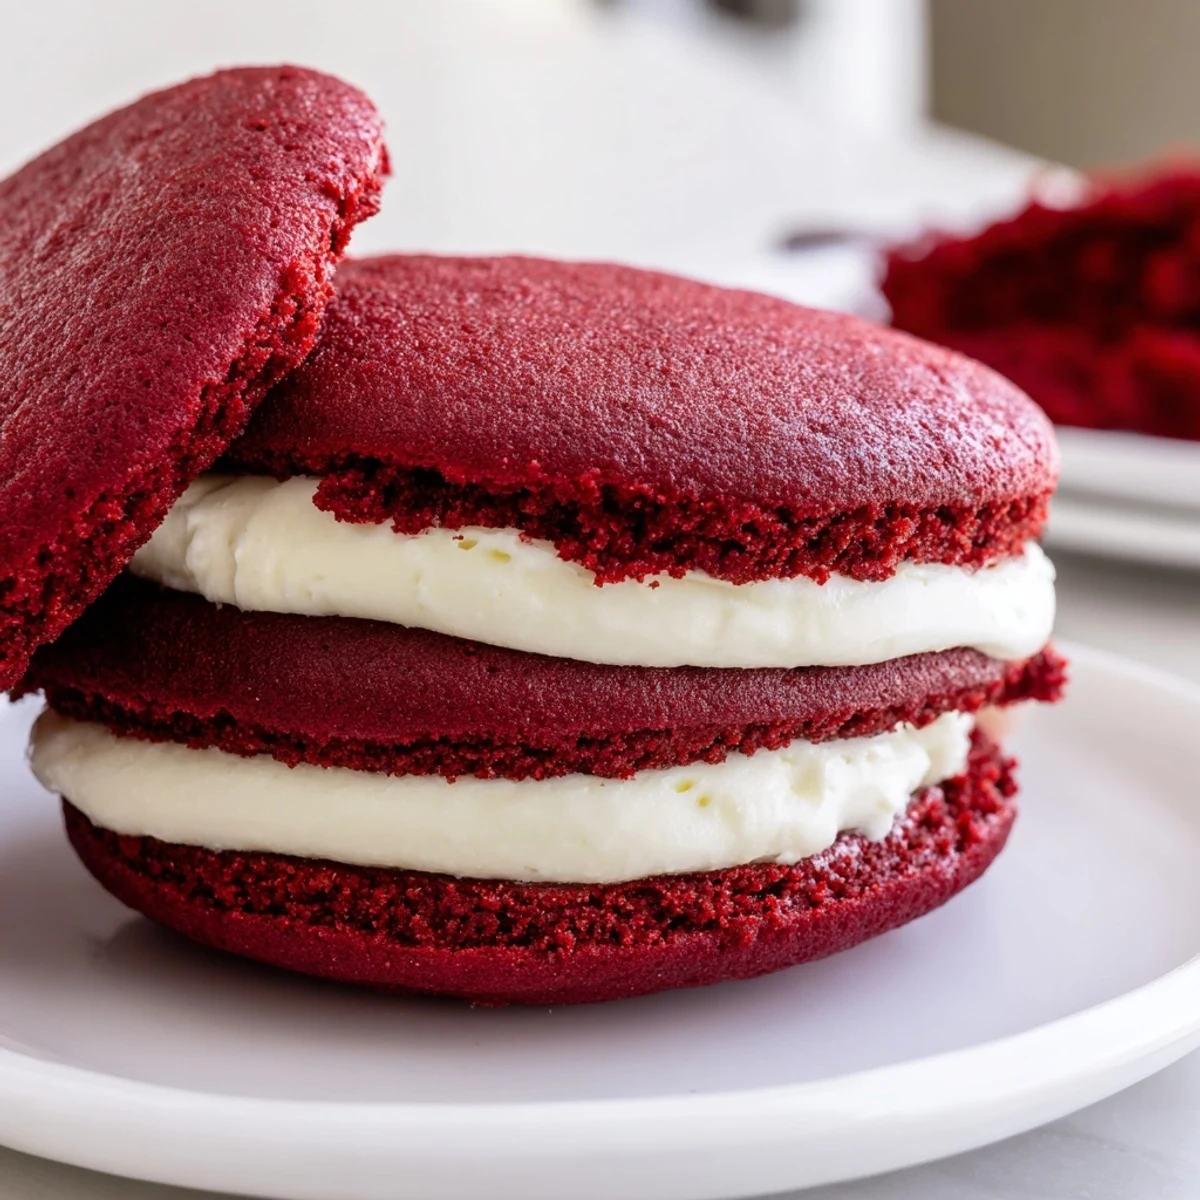
 My grandmother tried one and said they reminded her of the whoopie pies she ate as a girl growing up in Maine. She said the filling ratio was perfect, not too much to make a mess but enough to make you feel like youre getting something special. That might be the best compliment Ive ever received on a baking project.
Getting The Color Right
Red velvet can be tricky because too much coloring leaves a bitter aftertaste but too little looks more pink than red. Gel food coloring is your friend here since it delivers more pigment with less liquid. Start with less than you think you need, you can always add more but you cannot take it back once its mixed in.
Making The Perfect Filling
Cold cream cheese will leave you with lumpy frosting no matter how long you beat it. I learned this the hard way and ended up with more than one batch full of tiny white specks. Take both the cream cheese and butter out of the fridge at least an hour before you plan to make the filling.
Storage And Serving Tips
These actually taste better after a night in the fridge because the flavors have time to meld together. Store them in an airtight container and let them come to room temperature for about 20 minutes before serving. Bring them to room temperature before serving for the best texture and flavor.
- Place a piece of parchment paper between layers if you need to stack them
- The filling firms up nicely in cold weather, making these great for summer picnics
- These freeze beautifully for up to a month if you want to get ahead
 Pin it
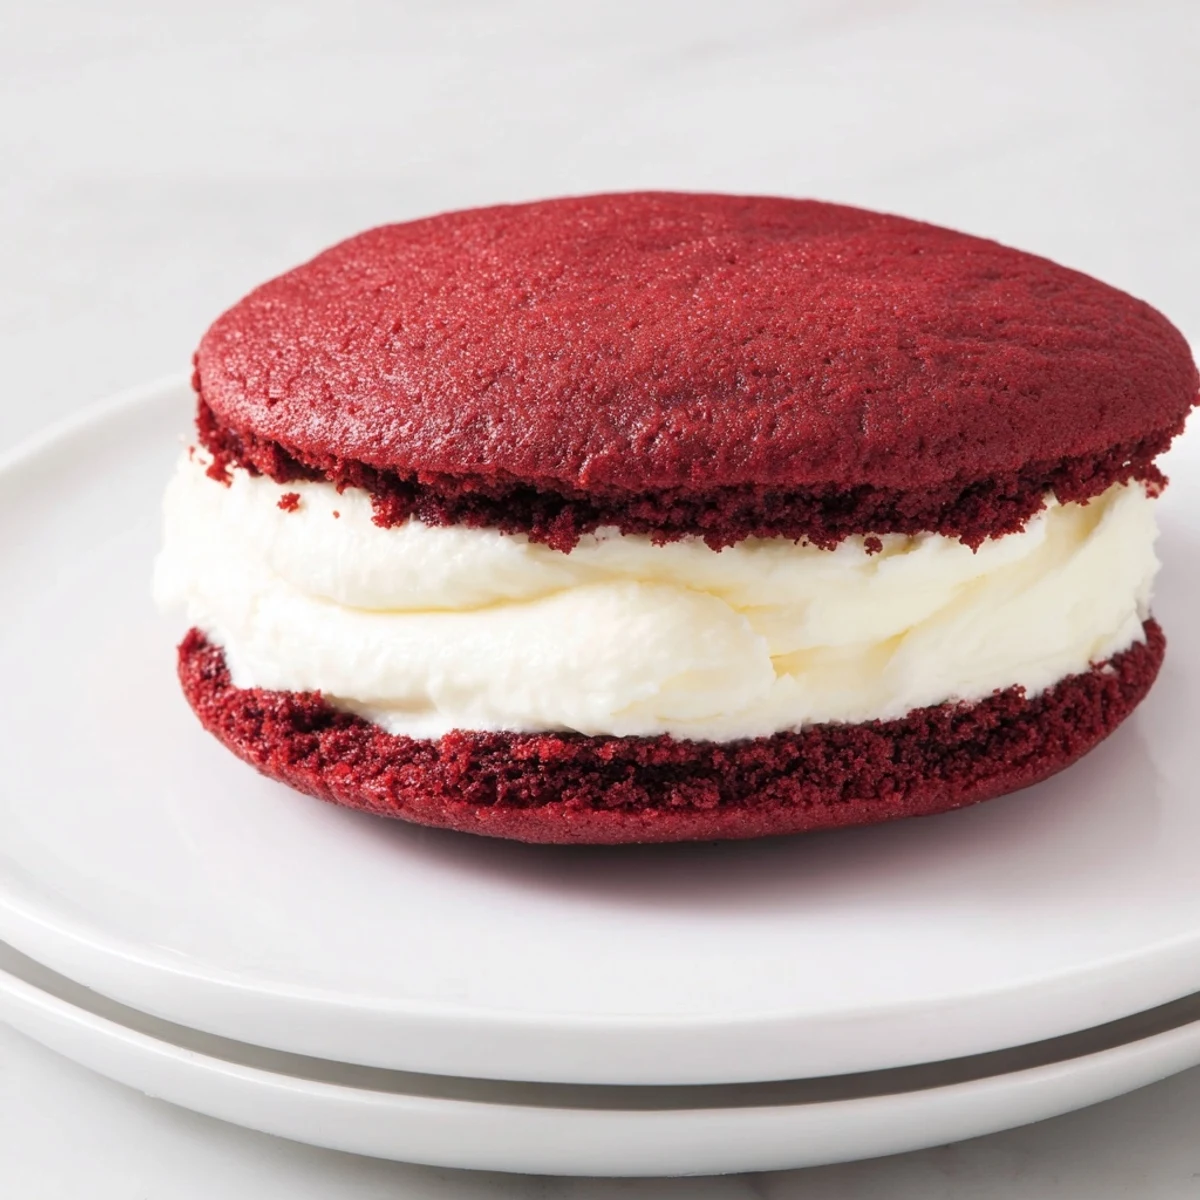
 These red velvet whoopie pies have become my go to for everything from school bake sales to holiday dessert tables. Something about that classic combination just makes people happy.
Recipe FAQs
- → How do I achieve the vibrant red color?
-
Using gel food coloring ensures a deeper, more consistent red hue without altering the batter's texture.
- → What can I use instead of buttermilk?
-
Mix 1/2 cup milk with 1 tsp white vinegar or lemon juice and let it sit for 5 minutes to create a buttermilk substitute.
- → How should I store these whoopie pies?
-
Keep them in an airtight container in the refrigerator for up to three days to maintain freshness and texture.
- → Can I add extra flavors to the filling?
-
A pinch of salt enhances the cream cheese filling's flavor; you can also experiment with citrus zest or vanilla for variation.
- → What is the best way to assemble the cakes and filling?
-
Pair cookies of similar size and spread or pipe about a tablespoon of filling onto the flat side before sandwiching them together for uniform treats.
- → Is an electric mixer necessary?
-
While an electric mixer speeds up creaming and whipping, a sturdy whisk and some elbow grease can also achieve good results.
