 Pin it
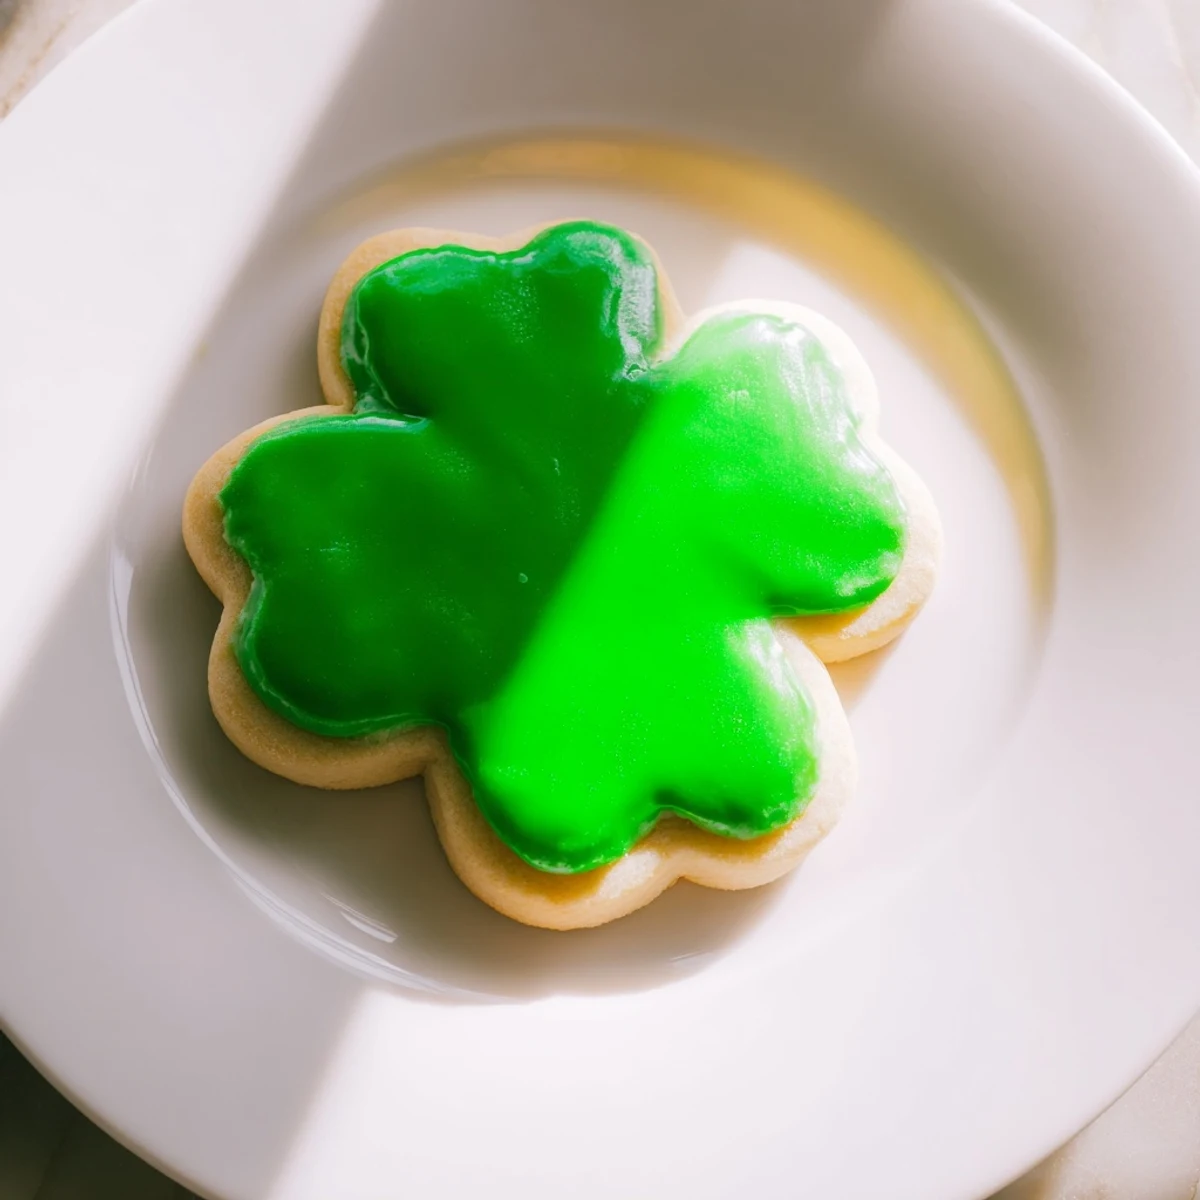
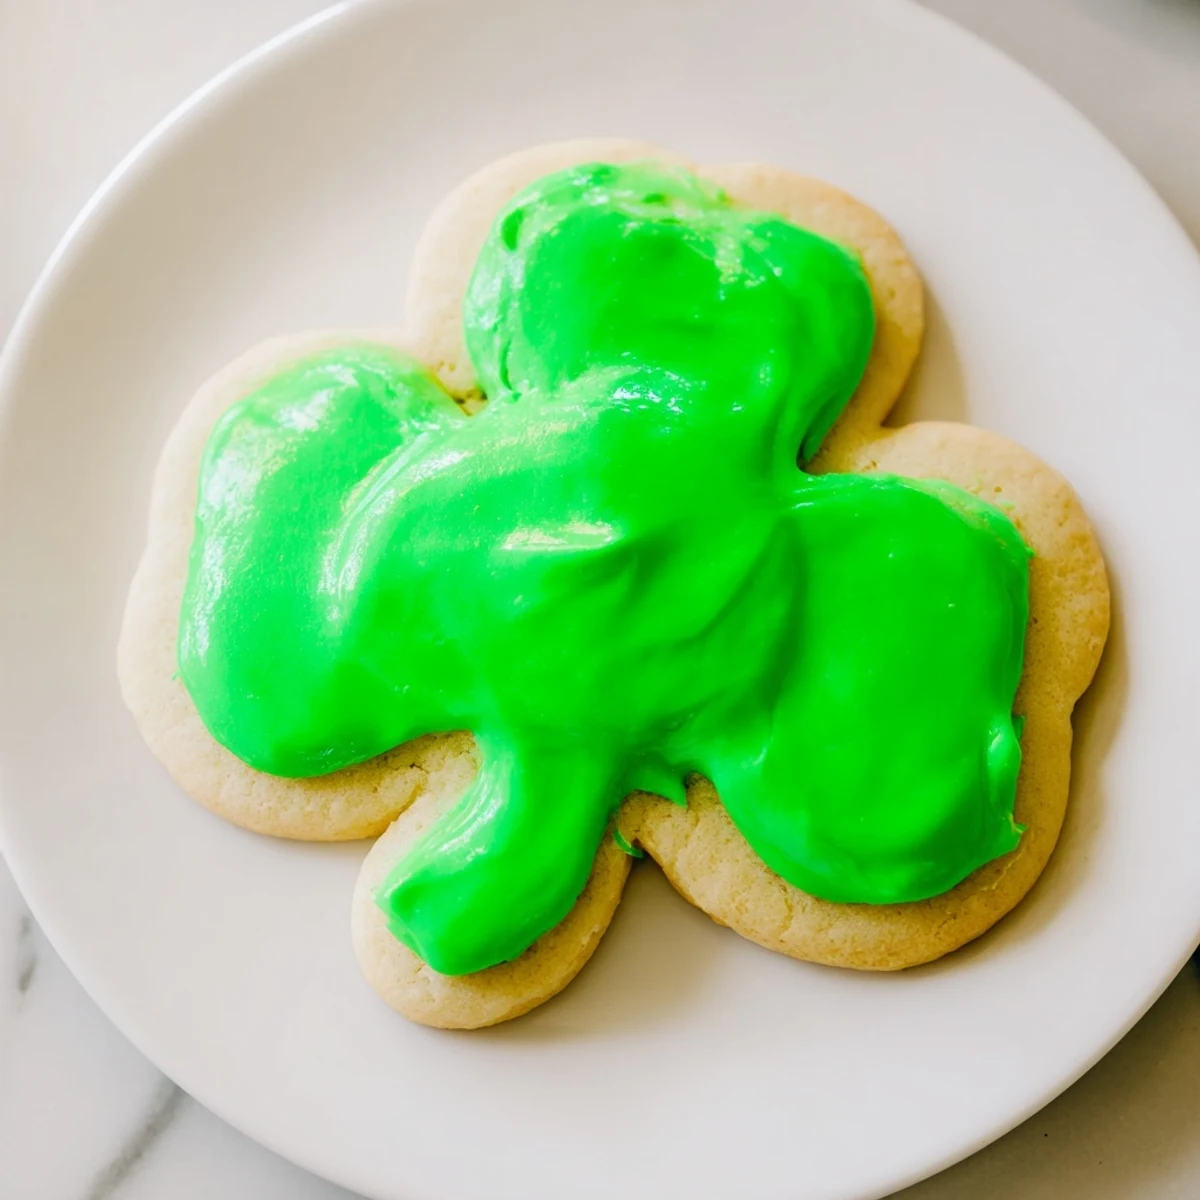
 These shamrock sugar cookies offer a tender, buttery base shaped into festive shamrocks, best chilled before baking to maintain their form. Once baked to a delicate golden edge, they’re adorned with smooth green icing combining powdered sugar, milk, and vanilla extract, tinted to a lively hue. Ideal for celebrations, the icing sets to a gentle sheen and can be enhanced with sanding sugar or a hint of lemon zest for brightness. Perfectly stored airtight, they remain fresh and flavorful for days.
March always makes me crave something bright and cheerful on the counter. Last year I made these shamrock cookies with my niece while a steady rain drummed against the kitchen window. We may have eaten more green icing than actually made it onto the cookies, and neither of us regrets a thing.
I brought a batch to my book club meeting thinking the green color might feel a little too festive for a Tuesday night. They vanished in under ten minutes and three people immediately asked for the recipe. Sometimes the simplest traditions become the most anticipated ones.
Ingredients
- All-purpose flour: Provides the structure for cutouts that hold their shamrock shape beautifully
- Baking powder: Just enough to give these cookies a subtle lift without spreading too much
- Salt: Balances the sweetness and makes all the flavors pop
- Unsalted butter: Softened to room temperature so it creams perfectly into the sugar for that tender texture
- Granulated sugar: Sweetens the dough and creates those delightfully crisp edges
- Large egg: Binds everything together while adding richness
- Pure vanilla extract: The secret ingredient that makes these taste homemade and premium
- Powdered sugar: Sift it first or risk lumpy icing that refuses to smooth out
- Milk: Start with two tablespoons and adjust until you reach that perfect thick but pourable consistency
- Light corn syrup: Keeps the icing shiny and helps it set beautifully without getting rock hard
- Green food coloring: Gel coloring gives you that vibrant emerald shade without thinning the icing
Instructions
- Whisk the dry ingredients:
- In a medium bowl combine the flour baking powder and salt until well blended
- Cream the butter and sugar:
- Beat the softened butter and granulated sugar together for about two minutes until the mixture turns pale and fluffy
- Add the egg and vanilla:
- Crack in the egg and pour in the vanilla then mix until everything comes together smoothly
- Combine the dough:
- Gradually mix in the dry ingredients just until no flour streaks remain
- Chill the dough:
- Divide the dough into two discs wrap tightly and refrigerate for at least one hour
- Prepare for baking:
- Preheat your oven to 350°F and line two baking sheets with parchment paper
- Roll and cut:
- On a floured surface roll one disc to 1/4 inch thickness and cut out shamrock shapes
- Bake to perfection:
- Place cookies one inch apart on prepared sheets and bake for 8 to 10 minutes until edges barely turn golden
- Cool completely:
- Let the cookies rest on the baking sheets for five minutes before moving them to a wire rack
- Make the green icing:
- Whisk together powdered sugar two tablespoons milk corn syrup and vanilla until completely smooth
- Add the color:
- Stir in green food coloring a drop at a time until you reach your desired shade
- Decorate:
- Drizzle or spread the green icing over cooled cookies and let it set before serving
 Pin it
 My daughter now requests these for her class party every single year. I love watching her carefully ice each shamrock with total concentration and a green smudged nose. These cookies have become our official March tradition.
Making The Dough Ahead
You can refrigerate the dough discs for up to three days or freeze them for a month. Just let frozen dough thaw in the fridge overnight before rolling. This has saved me more than once when unexpected party invitations pop up.
Getting That Perfect Green
Gel food coloring gives you the most vibrant green without watering down your icing. Start with a tiny amount on a toothpick and gradually add more. A little goes an incredibly long way and you can always add more but you cannot take it back.
Storage And Serving
Once the icing has completely set layer the cookies between sheets of wax paper in an airtight container. They stay fresh for up to five days at room temperature though good luck keeping them around that long.
- Store unfrosted cookies in the freezer for up to three months and ice them when ready
- If the icing becomes too thick add milk literally one drop at a time
- These freeze beautifully so double the batch and thank yourself later
 Pin it
 Whether you are celebrating something big or just need a little kitchen cheer these shamrock cookies deliver. Happy baking and may your kitchen be filled with warmth and way too much green icing.
Recipe FAQs
- → How do I keep the shamrock shapes sharp during baking?
-
Chilling the dough discs thoroughly before rolling helps retain the cookie shapes and prevents spreading during baking.
- → What gives the icing its vibrant green color?
-
Gel green food coloring is used for a rich, vivid shade without altering the icing’s consistency.
- → Can I add a different flavor to the cookies?
-
Adding lemon zest to the dough brightens the flavor with a subtle citrus twist.
- → How long should I bake these cookies?
-
Bake for 8 to 10 minutes until edges turn lightly golden for a soft yet slightly crisp texture.
- → What is the best way to store these cookies?
-
Keep them in an airtight container to preserve freshness and maintain the icing’s texture for up to five days.
