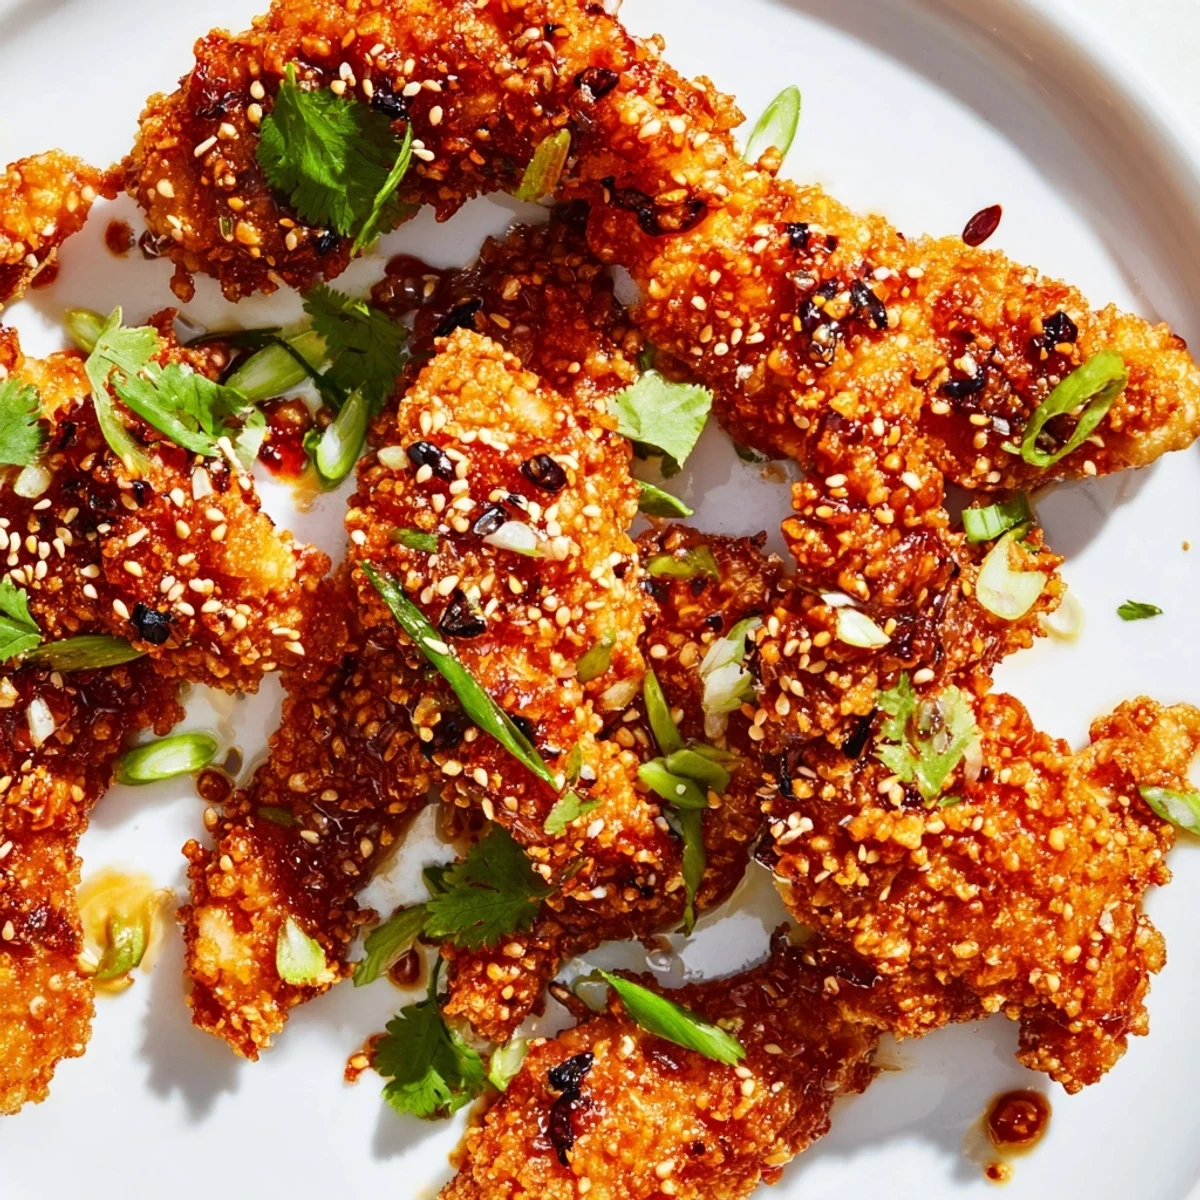
 Pin it
 These crispy chicken fingers feature a crunchy panko coating seasoned with garlic and smoked paprika. After baking until golden, they're tossed in a homemade sticky Thai sauce combining sweet chili, soy sauce, honey, and ginger. The result is an irresistible combination of textures and flavors—crunchy outside, tender inside, with a glossy glaze that balances sweet and heat.
The three-step coating process ensures maximum crispiness while oven baking makes preparation easier than deep frying. Perfect for gatherings, game day, or as an impressive starter.
The first time I made these sticky chicken fingers was during a rainy Sunday when friends dropped by unexpectedly. I had everything on hand except a proper plan, but sometimes those chaotic kitchen experiments turn into the ones everyone asks for later. That afternoon, the aroma of garlic and ginger filling the apartment became the reason this recipe earned permanent rotation in my collection.
Last summer, my niece helped me coat the chicken strips in panko, and she declared the process like making edible sandcastles. We made an enormous batch for her birthday party, and watching adults crowd around the platter the same way kids do was its own kind of victory. Now it is the only appetizer she requests when she visits.
Ingredients
- Chicken tenders: Cutting breasts into strips works perfectly, but tenders save you prep time and stay juicier
- Panko breadcrumbs: These Japanese breadcrumbs create an irresistible crunch that regular breadcrumbs simply cannot match
- Sweet chili sauce: The foundation of the glade, look for a brand with real chili heat not just sugar
- Sriracha: Even if you think you do not like spicy food, this tiny amount rounds out the flavor beautifully
Instructions
- Get your oven ready:
- Preheat to 220°C and line your baking tray now so you are not scrambling later
- Season the chicken:
- Sprinkle salt and pepper evenly over all the strips so every bite has flavor
- Set up your coating station:
- Arrange three shallow bowls with flour, beaten eggs, and panko mixed with garlic powder and paprika
- Coat each strip:
- Dredge in flour, dip in egg, then press the panko mixture firmly onto each piece
- Give them a light oil coating:
- Spray or brush the tops with oil to help them golden up beautifully in the oven
- Bake until golden:
- Cook for 20 to 25 minutes, flipping halfway through so both sides get equally crispy
- Make the magic sauce:
- Combine sweet chili sauce, soy sauce, honey, rice vinegar, sesame oil, sriracha, garlic and ginger in a small pan
- Simmer to perfection:
- Let the sauce bubble gently for 2 or 3 minutes until it thickens slightly
- Bring it all together:
- Toss the baked chicken in the warm sauce until every piece is glossy and coated
- Finish with flair:
- Sprinkle sesame seeds, spring onions and fresh cilantro over the top before serving
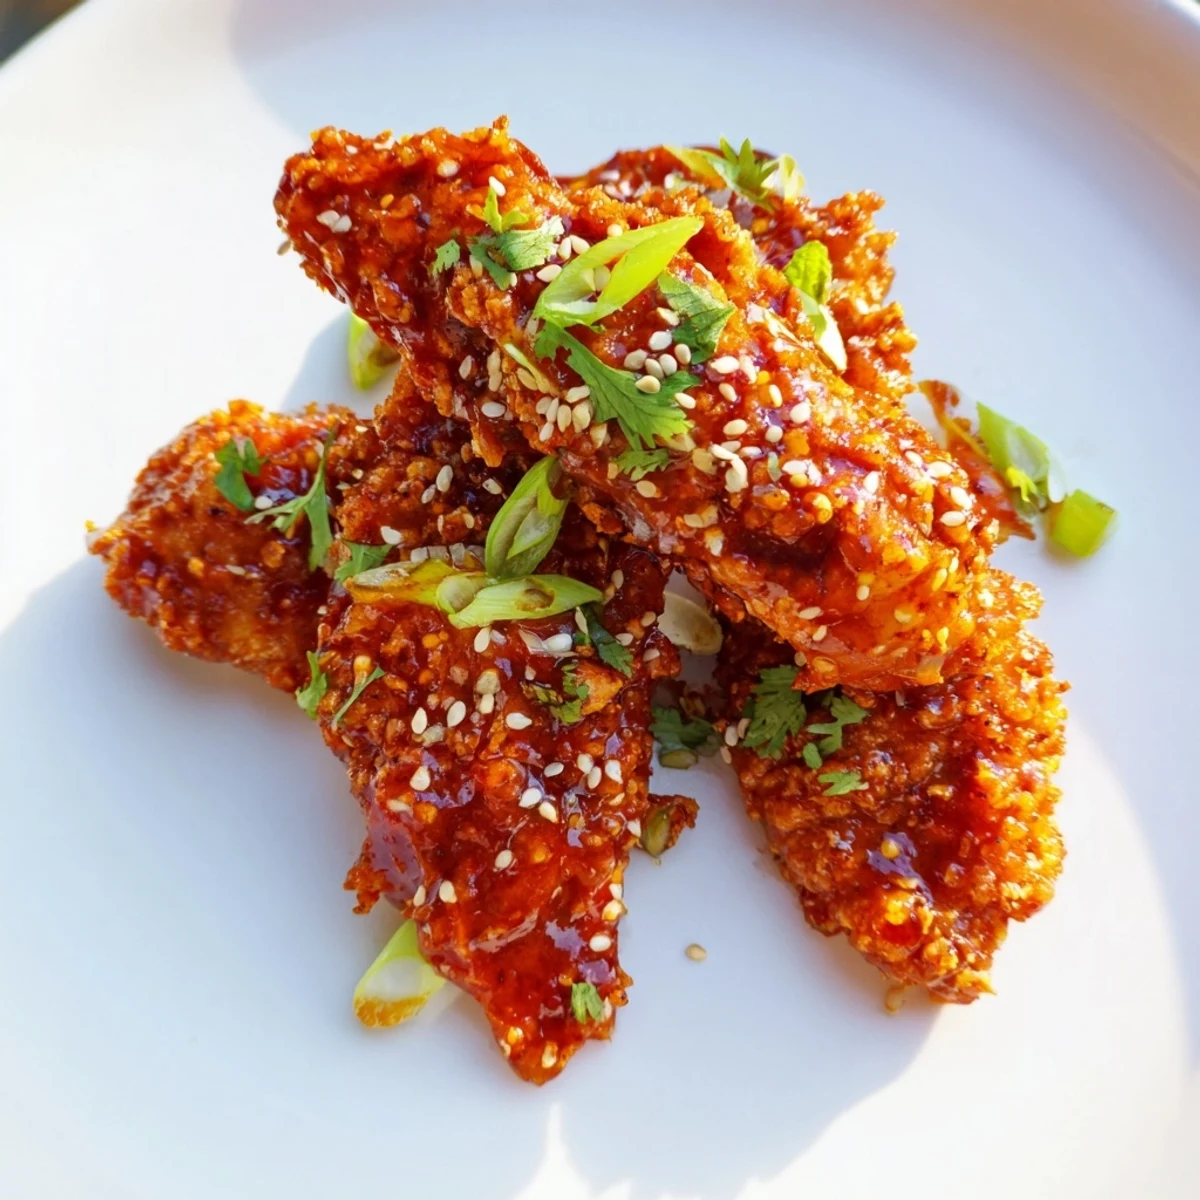 Pin it
 These became my go to contribution for potluck dinners after I showed up with them once and was never allowed to bring anything else again. Something about the combination of textures and flavors makes people instantly comfortable, like putting on your favorite sweatshirt.
Making It Ahead
You can bread the chicken strips up to 6 hours before baking and store them layered between parchment paper in the fridge. The sauce keeps beautifully in the refrigerator for up to a week and actually tastes better after the flavors meld together.
The Crispiness Secret
Let the coated chicken sit for about 10 minutes before baking to help the panko adhere better. The slight drying time creates a stronger bond between the coating and the chicken, resulting in fewer crumbs falling off during baking.
Serving Suggestions
These disappear fastest when served with something cool and fresh to balance the heat. Cucumber rounds, pickled carrots, or even a simple green salad with lime dressing make perfect companions.
- Extra napkins are absolutely necessary
- Small bowls of plain rice help stretch the appetizer into a light meal
- The sauce works just as well over roasted vegetables or grilled shrimp
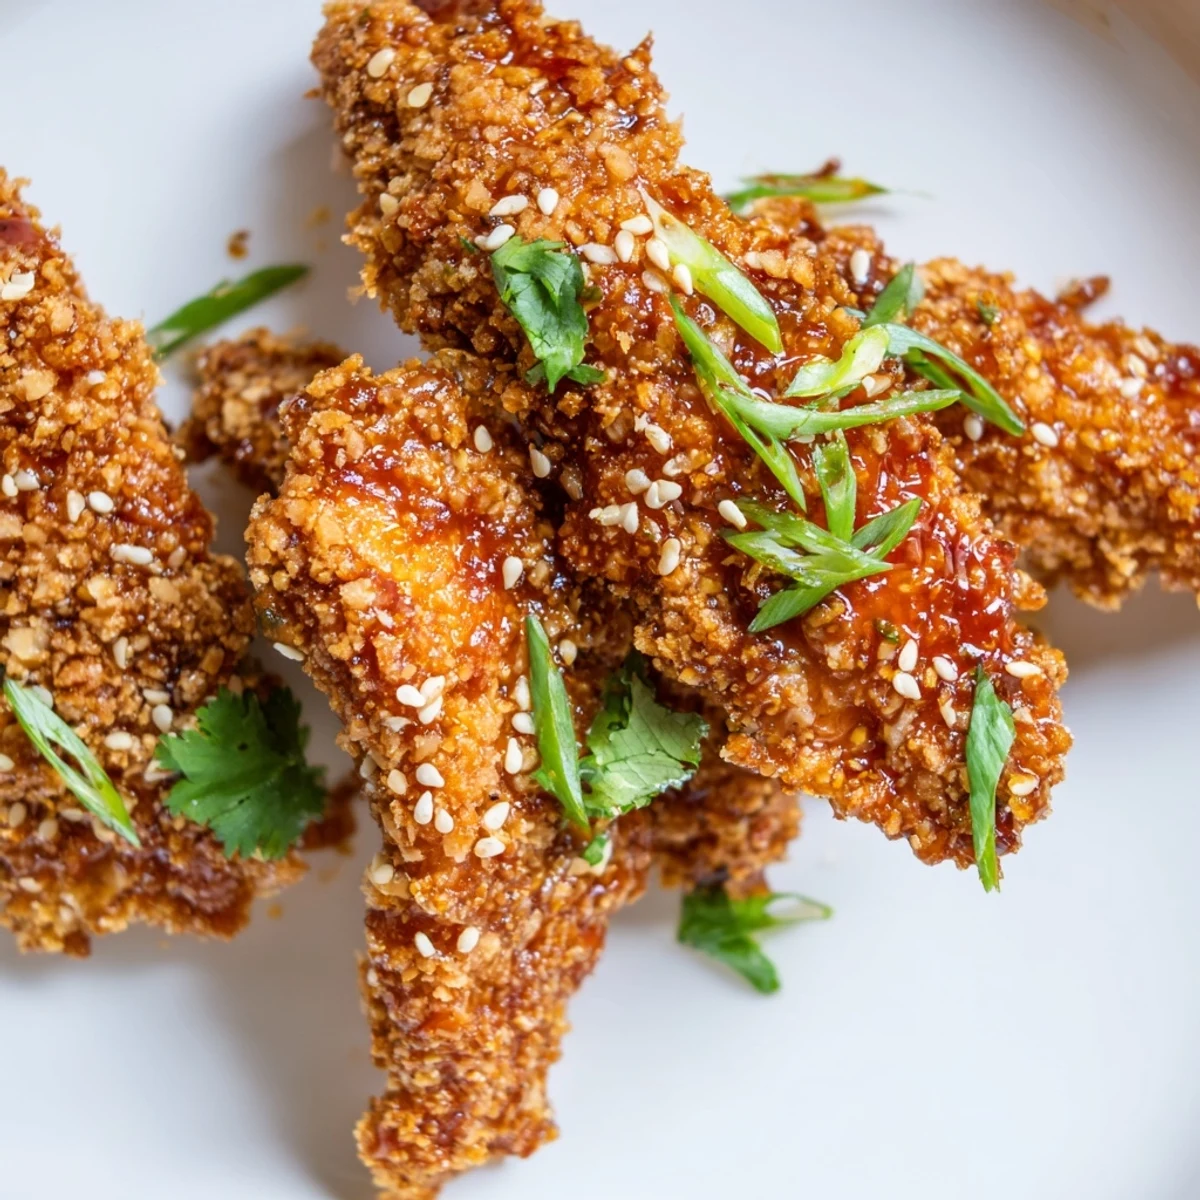 Pin it
 Hope these bring as much joy to your table as they have to mine over the years.
Recipe FAQs
- → Can I make these ahead of time?
-
Yes, you can bread the chicken strips up to 4 hours ahead and refrigerate. Bake just before serving. Keep the sauce separate until ready to toss.
- → How do I store leftovers?
-
Store in an airtight container in the refrigerator for up to 3 days. Reheat in a 200°C oven for 10 minutes to regain crispiness.
- → Can I deep fry instead of bake?
-
Absolutely. Fry in oil at 180°C for 3-4 minutes until golden brown. Drain on paper towels before tossing with sauce.
- → What can I serve with these?
-
Pair with jasmine rice, fresh vegetable sticks, or a simple green salad. They also work well alongside other Asian appetizers like spring rolls.
- → Is the sauce very spicy?
-
The sauce has mild to medium heat from sriracha. Omit sriracha for a milder version, or add extra if you prefer more kick.
