 Pin it
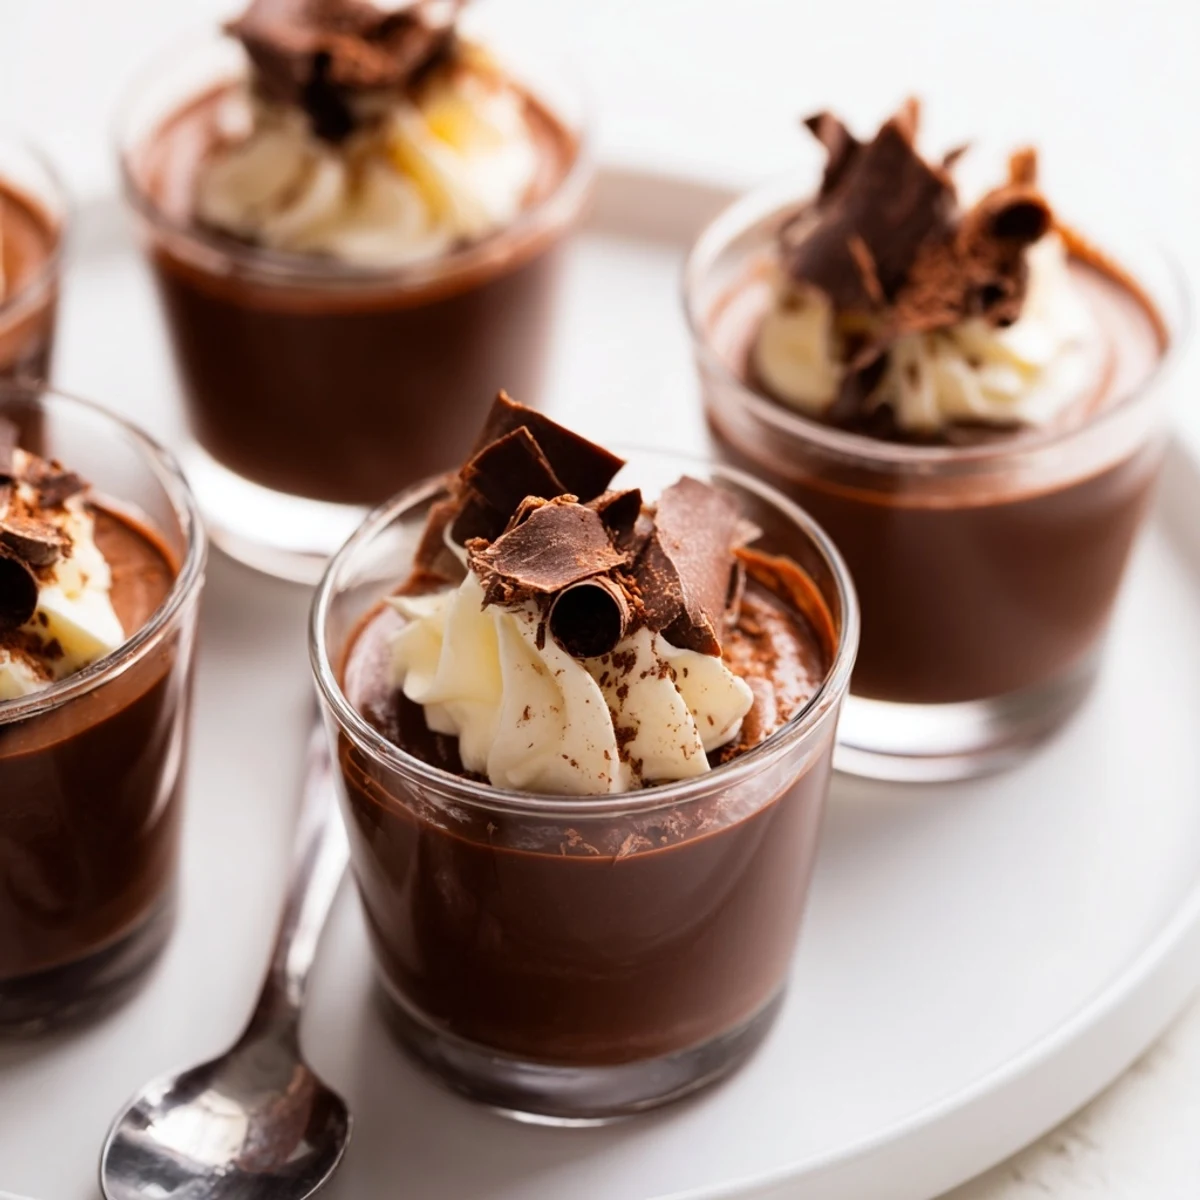
 Layer dark, milk and white chocolate mousses in six small cups for an elegant, multi-textured dessert. Melt each chocolate, fold into egg-yolk and sugar mixture, then incorporate softly whipped cream to keep air and silkiness. Chill between layers to set and finish with shaved chocolate or cocoa. For a boozy note add a splash of coffee liqueur to the dark layer; use high-quality chocolate for best results.
Three kinds of chocolate, three types of anticipation: as I layered these mousse cups for the first time, the kitchen air felt thick with rich, sweet aromas and my own quiet excitement. I still remember the rhythm of whisking—first fast and anxious, then soft and patient—as each mousse took shape in my favorite mixing bowls. You could almost hear the silky promise in the way the chocolate ribbons fell from the spatula. By the end, little swirls of hope sat in each cup, ready to become something decadent.
One winter afternoon, I assembled these for friends who dropped by unexpectedly, and I laughed at how their chattering stopped as soon as we broke through the first layer together. The mousse became an excuse to linger at the table, each cup a sweet silence among good company.
Ingredients
- Dark chocolate (100 g, minimum 60% cocoa): Deep, bitter notes ground every bite, so pick a bar you’d sneak pieces of—chop it small for even melting.
- Egg yolk (1 per layer): Gives each mousse a rich foundation and that custardy depth—bring them to room temperature before whisking to avoid curdling.
- Sugar (1 1/2 tbsp per mousse): Lifts the flavors without making the dessert heavy; I recommend super-fine sugar for smoothness.
- Heavy cream (100 ml per mousse, cold): The magic behind the airy structure—cold cream whips faster and holds the mousse shape.
- Milk chocolate (100 g): Brings a mellow, nostalgic sweetness perfect for the middle layer. Try not to nibble as you chop.
- White chocolate (100 g): Adds creamy, almost vanilla notes at the top—choose one with cocoa butter for a true melt-in-your-mouth feel.
- Garnish (shaved chocolate or cocoa powder, optional): A finishing touch that always tricks people into thinking it’s harder than it was.
Instructions
- Start with dark chocolate:
- Chop the dark chocolate and melt it gently over a bain-marie or in 20-second bursts in the microwave, stirring until glossy. Let it cool slightly, then whisk egg yolk and sugar together until pale—fold the chocolate in slowly.
- Make it airy:
- Whip cold heavy cream until soft peaks form—when you lift your whisk, peaks should gently fold over. Carefully fold the cream into the chocolate mixture to keep all that air, then spoon the mousse evenly into six petite cups.
- Chill and repeat:
- Slide the cups into the fridge while you make the milk chocolate mousse the same way, establishing order in your dessert tower. Spoon this new layer gently atop the dark chocolate and chill again.
- Top with white chocolate:
- Melt white chocolate, whisk yolk and sugar, fold together, and finally fold in cream—you’ll notice how the scent turns almost floral. Smooth a final layer on each cup, then let everything chill for at least an hour until set.
- Final flourish:
- Just before serving, shower each with shaved chocolate or dust with cocoa powder for café-worthy style, and serve cold.
 Pin it
 When I watched my partner sneak back to the fridge for a second cup, I realized these mousses had become one of our quiet traditions—simple, indulgent, and always full of small surprises.
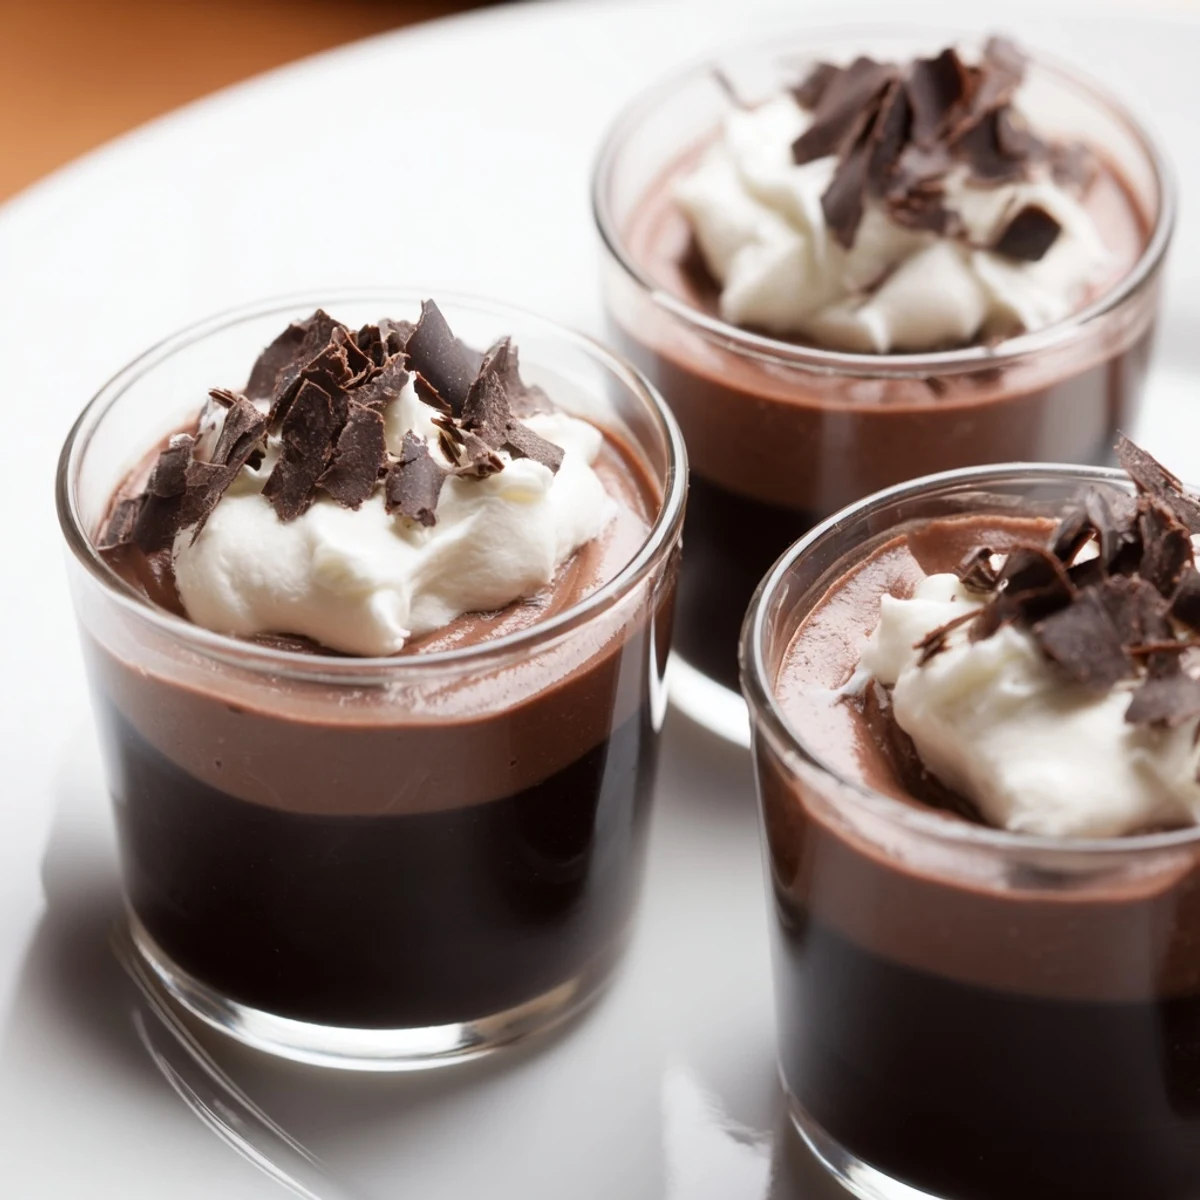
Making the Mousse Layers Look Stunning
Patience with each layer really pays off: I use the back of a spoon to gently spread the mousse edge to edge, always making sure the previous layer is fully set before adding the next. That clean distinction of colors is what makes each cup look so inviting when you take the first bite.
Chocolate Choices and Substitutes
I’ve tried both supermarket and boutique chocolates, and honestly, the difference in quality pops from the spoon—it’s worth splurging. For dairy-free friends, coconut cream works decently, though nothing quite replaces the silkiness of heavy cream.
Timing and Serving Tips for Parties
If you’re making these ahead, cover the cups tightly to keep fridge flavors out and chill up to 24 hours. Just be ready with a peeler for chocolate shavings right before serving so the topping stays fresh.
- Let the dessert sit out for 5 minutes before enjoying for a softer texture.
- Mini glasses or jars turn these into perfect hand-held treats at gatherings.
- Don’t worry if layers aren’t perfectly straight—they always taste just as good.
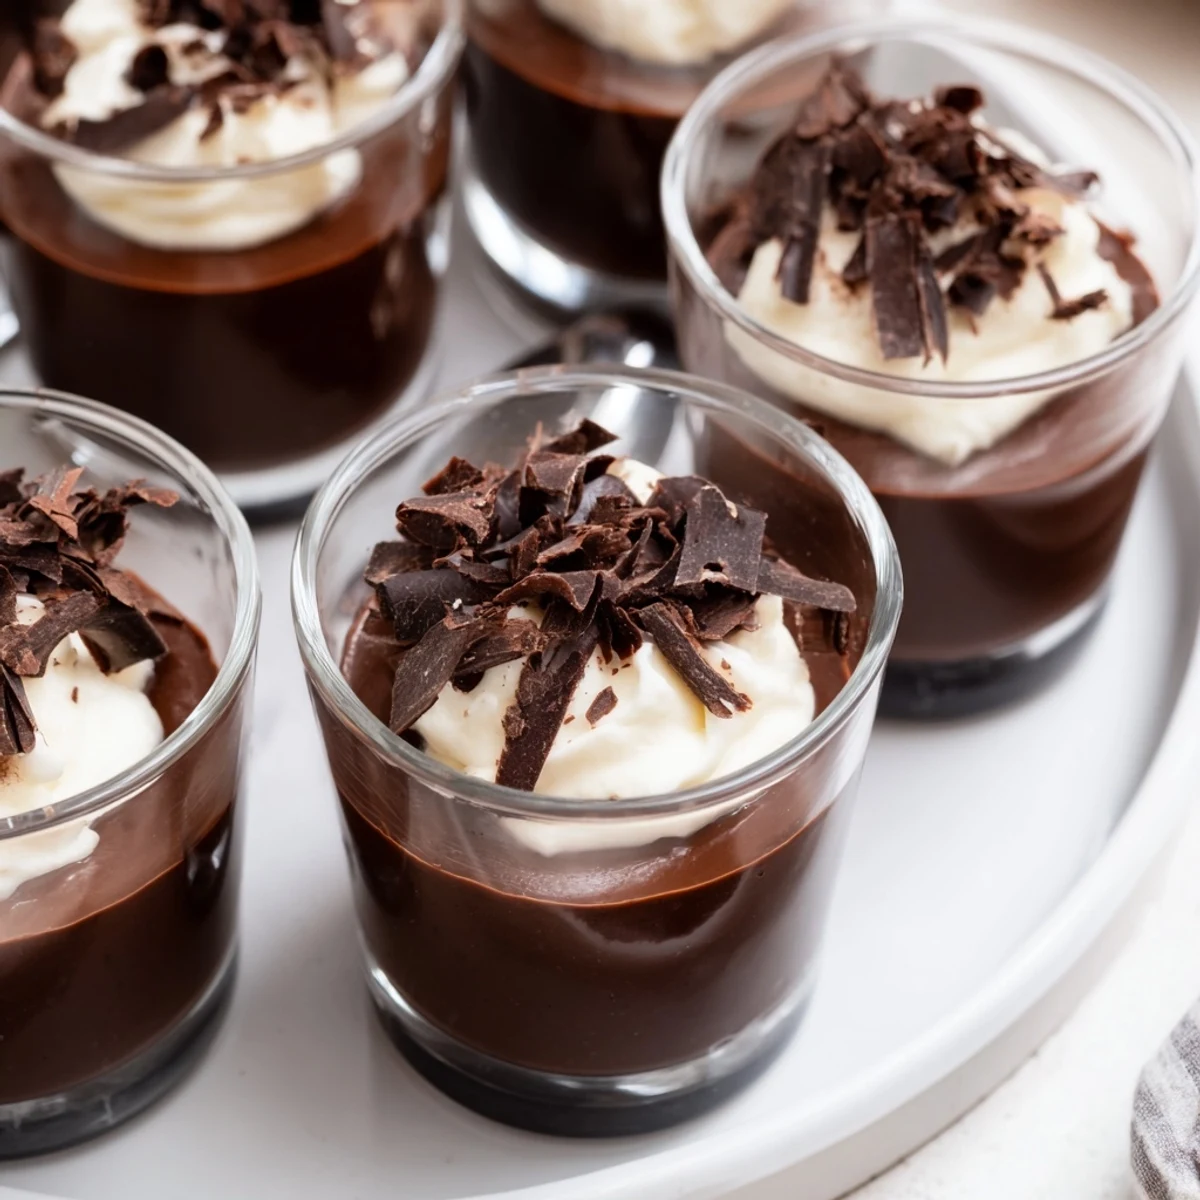 Pin it
 Triple chocolate mousse cups turn everyday moments into a little celebration. Don’t be surprised if they disappear before you even get to ask what everyone thinks.
Recipe FAQs
- → How do I prevent the chocolate from seizing when melting?
-
Melt chocolate slowly over a bain-marie or in short microwave bursts, stirring frequently. Ensure no water contacts the chocolate and remove from heat while a few glossy lumps remain; they will melt with gentle stirring.
- → What’s the best way to keep mousses light and airy?
-
Whip the heavy cream to soft peaks and fold it gently into each chocolate mixture using a spatula. Use wide, sweeping motions to preserve air and avoid overmixing, which can deflate the mousse.
- → Can I make the cups ahead of time and how should I store them?
-
You can prepare the cups a day in advance. Cover and refrigerate for up to 48 hours to maintain texture. Chill between layers while assembling to help each layer set cleanly.
- → Are there safe alternatives for raw egg yolks?
-
Use pasteurized eggs if you want to avoid raw yolks. Alternatively, gently cook yolks with sugar over a bain-marie until thickened and smooth before folding in chocolate for added safety.
- → What non-dairy substitutions work for the mousse?
-
Use full-fat coconut cream whipped to soft peaks as a dairy-free option; note it will add a subtle coconut flavor and slightly change the mouthfeel compared with heavy cream.
- → How can I vary flavors beyond the three chocolates?
-
Add a splash of coffee liqueur to the dark layer, fold in a hint of orange zest to the milk layer, or finish with flaky sea salt on top to enhance contrast and complexity.
