 Pin it
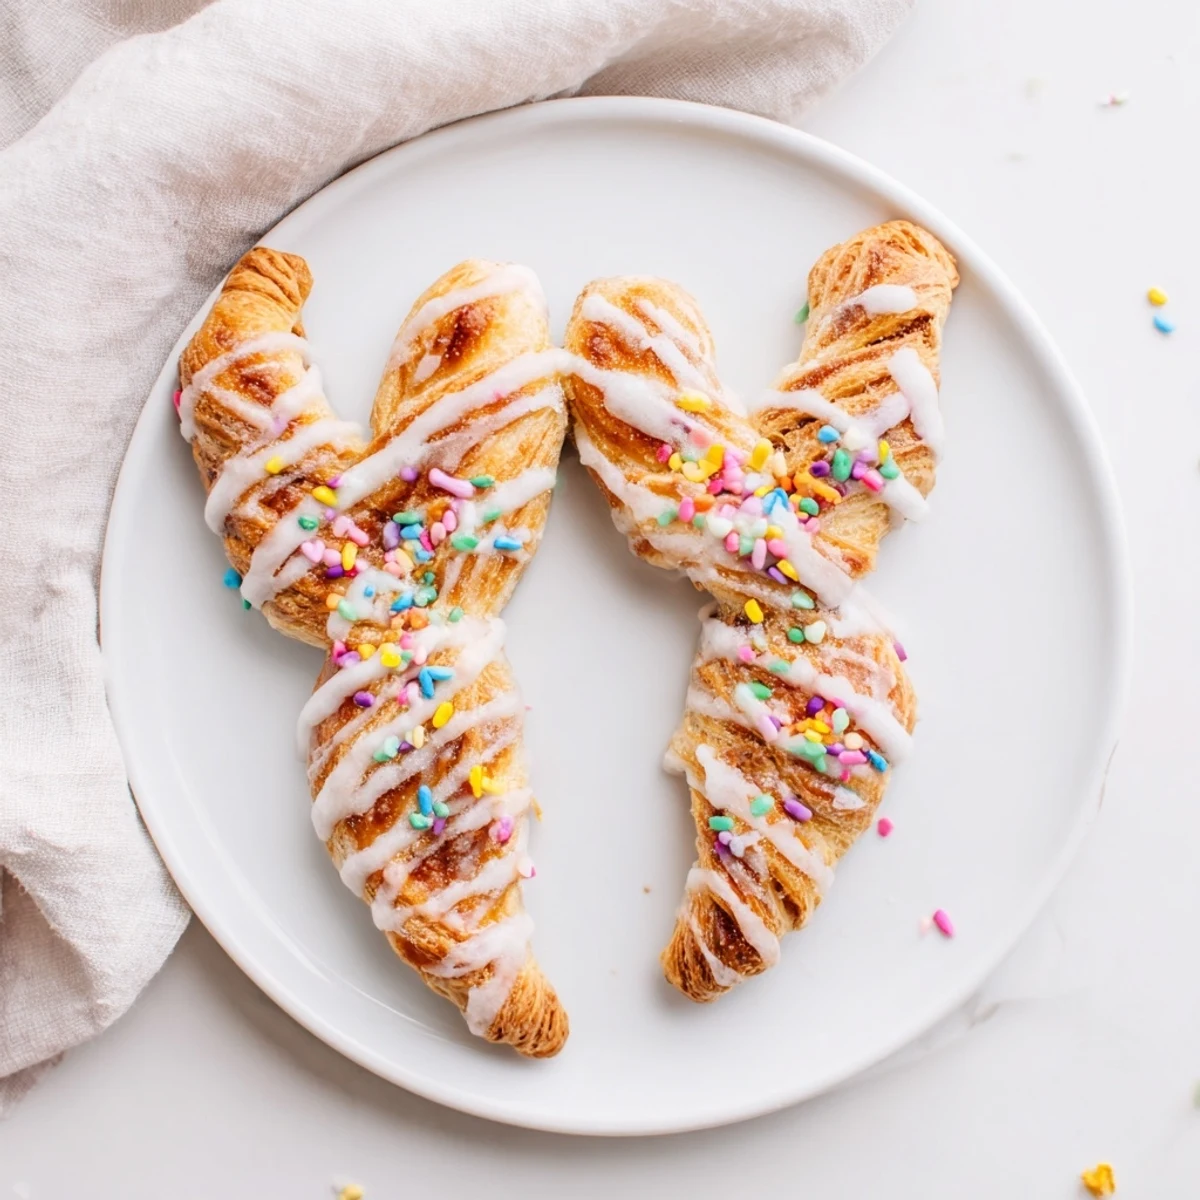
 These charming pastries combine flaky puff pastry with butter and cinnamon sugar, twisted into whimsical bunny ear shapes. Ready in just 35 minutes, they make an ideal centerpiece for Easter brunch or children's parties. The golden, puffed pastry gets a sweet finish with glace icing and optional sprinkles, creating a treat that's as delightful to look at as it is to eat.
Last Easter morning, my kitchen smelled like butter and cinnamon while my niece sat on the counter watching me roll pastry. We made these bunny twists together, and her eyes lit up when she saw the first batch come out of the oven, golden and twisted into little ear shapes. Now they're the one thing she asks for as soon as spring arrives.
I brought a plate to our neighborhood brunch last year, and within minutes, parents were asking for the recipe while their children were already on their second twist. Something about the playful shape makes people smile before they even take a bite.
Ingredients
- Puff pastry: Thaw it completely but keep it cold to the touch, warm pastry loses its signature puff in the oven
- Unsalted butter: Melted and brushed on creates layers that separate beautifully while baking
- Granulated sugar: Mixes with cinnamon to form that classic crunchy topping we all love on morning pastries
- Ground cinnamon: Use fresh cinnamon for the best aroma, older spices lose their punch
- Icing sugar: Creates the sweet drizzle that makes these feel fancy without any real effort
- Milk: Just enough to loosen the icing into a pourable consistency
Instructions
- Preheat and prepare:
- Heat your oven to 190°C (375°F) and line a baking tray with parchment paper, this saves you from scrubbing baked on sugar later
- Roll the pastry:
- Lay out your thawed puff pastry on a lightly floured surface and give it a gentle roll just to smooth out any creases from folding
- Add the butter:
- Brush the entire surface with melted butter using a pastry brush, getting right into the corners
- Sprinkle the cinnamon sugar:
- Mix your granulated sugar and cinnamon in a small bowl then scatter it evenly across the buttered pastry
- Cut into strips:
- Use a sharp knife or pizza cutter to slice the pastry into 12 even strips, about 2 cm wide
- Shape the bunny ears:
- Take each strip and twist the ends in opposite directions a few times, then gently form a small loop at the bottom to create that ear shape
- Arrange on the tray:
- Place each twist on your prepared baking sheet, pressing the ends down lightly so they hold their shape while baking
- Bake until golden:
- Slide the tray into the oven for 12 to 15 minutes, watching for that perfect golden brown color and puffed layers
- Cool slightly:
- Let them rest on a cooling rack for just a few minutes, they should be warm not piping hot when glazed
- Make the icing:
- Whisk icing sugar with a teaspoon of milk, adding more milk drop by drop until it reaches a drizzle consistency
- Finish and serve:
- Drizzle the icing over the cooled twists and add sprinkles while it is still wet so they stick, then serve warm
 Pin it
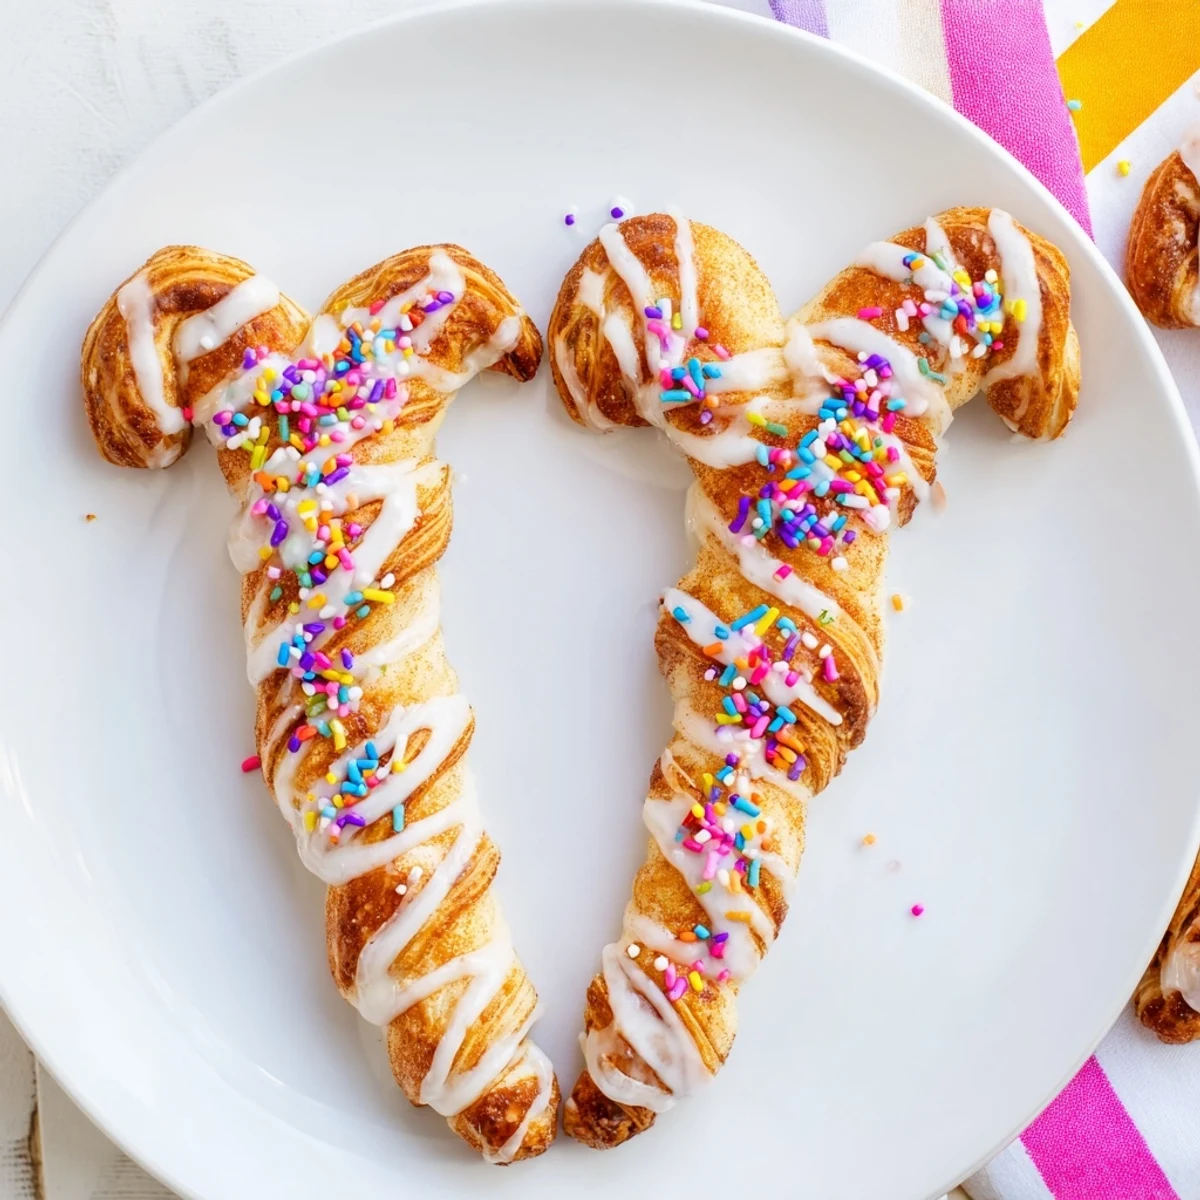
 My neighbor texted me the next day saying her daughter insisted on having bunny ear pastries for every Sunday breakfast now. I told her that is exactly what happened in my house too.
Making These With Kids
Little hands are surprisingly good at twisting the pastry strips into shape. I set up a station with bowls of sprinkles and let them go to town with the decorating, the messier the better.
Flavor Variations
Swap the cinnamon for cocoa powder and add a handful of mini chocolate chips before twisting. Or try lemon zest in the sugar mixture for a bright spring version that feels lighter than the classic cinnamon.
Make Ahead Tips
You can cut and twist the pastries the night before, then store them on a parchment lined tray in the fridge covered tightly. In the morning, just brush with butter and bake, they taste just as fresh.
- Freeze unbaked twists on a tray then transfer to a bag for up to 3 months
- Bake from frozen adding 2 to 3 extra minutes to the cooking time
- Warm baked twists in a 150°C oven for 5 minutes to refresh them
 Pin it
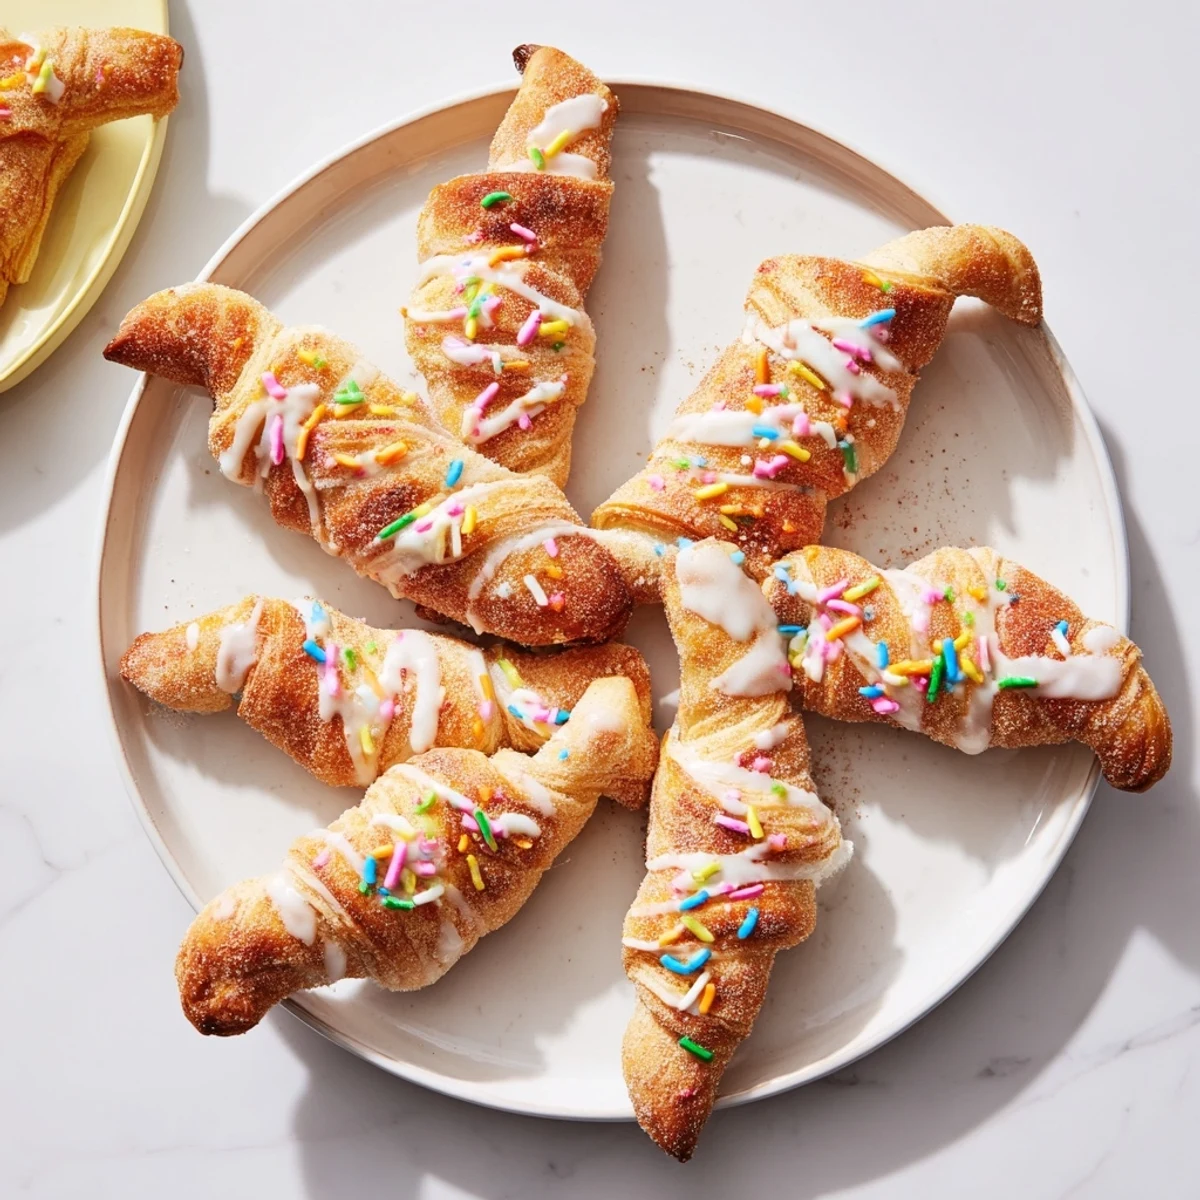
 These are best enjoyed the day they are made, surrounded by family and maybe a few too many chocolate eggs on the side.
Recipe FAQs
- → Can I prepare these bunny twists ahead of time?
-
Yes, you can shape the twists and refrigerate them on a baking tray for up to 24 hours before baking. Alternatively, freeze unbaked twists and bake directly from frozen, adding a few extra minutes to the cooking time.
- → What other spices work well in these pastries?
-
Beyond cinnamon, try cardamom for a Scandinavian flair, nutmeg for warmth, or mixed spice for traditional Easter flavoring. Cocoa powder creates a chocolate variation that kids especially love.
- → How do I get the best bunny ear shape?
-
Twist the pastry strips firmly in opposite directions, then form a loose loop at the bottom. Pinch the ends gently where they meet the tray to prevent unraveling during baking. Don't twist too tightly or the pastry may tear.
- → Can I make these without icing?
-
Absolutely. The pastries are delicious plain, or you can brush them with extra butter and sprinkle with pearl sugar before baking for a crunchier, sweeter finish that holds up better for packing.
- → What's the best way to store leftovers?
-
Keep in an airtight container at room temperature for up to 2 days. For longer storage, freeze un-iced twists and refresh in a 180°C oven for 5 minutes before adding fresh icing.
- → Can I use homemade rough puff pastry?
-
Homemade rough puff works beautifully and adds an extra layer of accomplishment. Ensure it's thoroughly chilled before shaping, and handle gently to maintain those delicate flaky layers.
