 Pin it
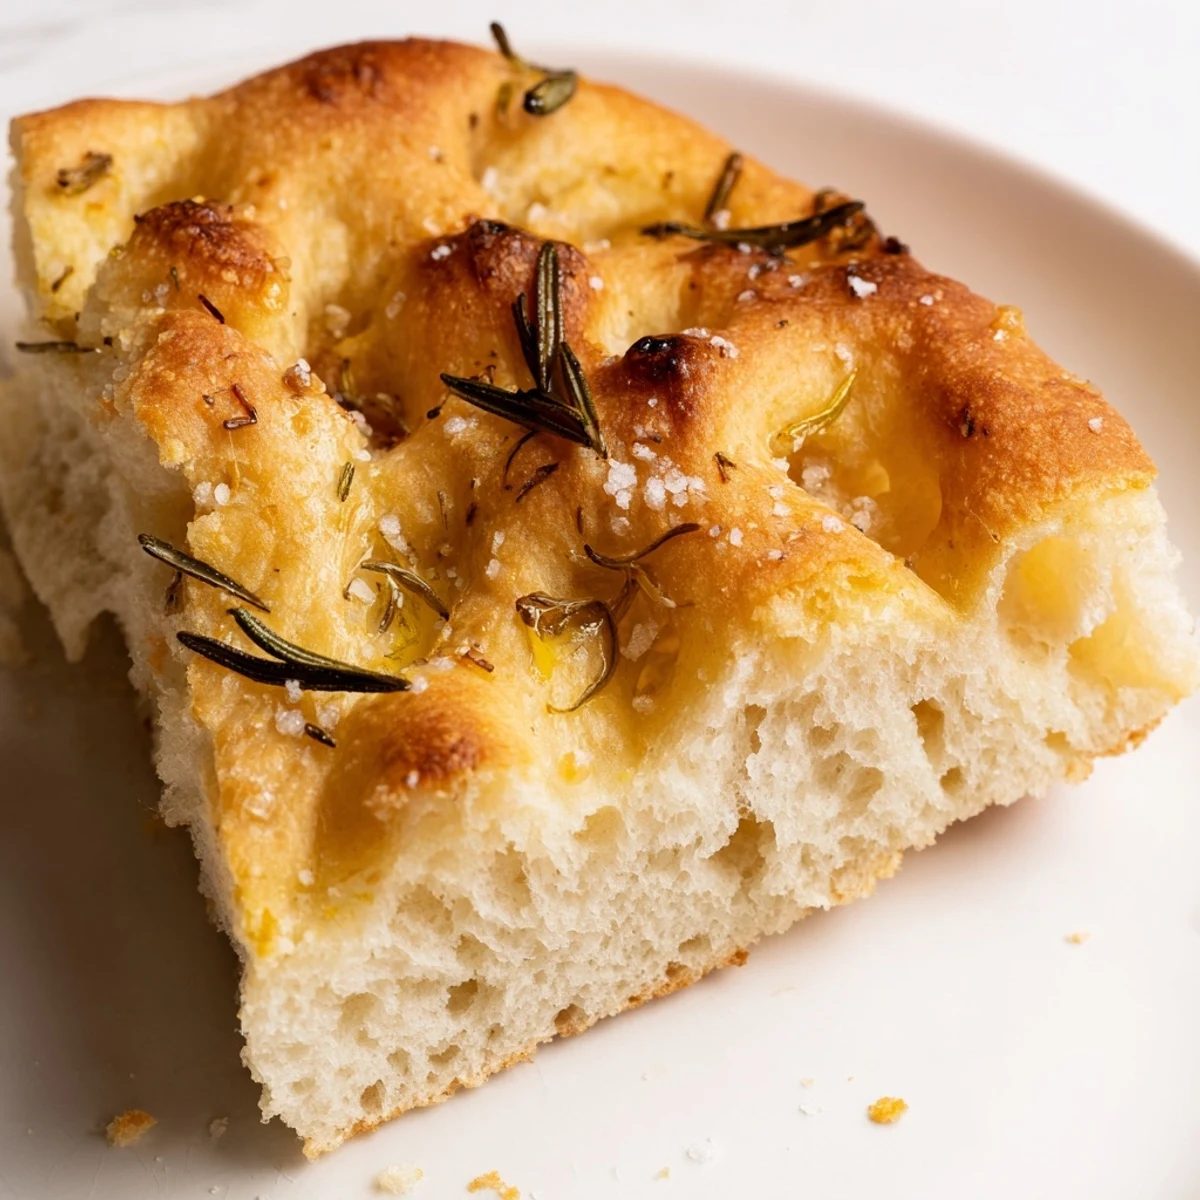
 This focaccia features a soft, airy crumb with a golden crust, enriched by garlic and fresh rosemary. A simple dough rises twice before baking, ensuring a tender texture enhanced by olive oil's richness. Dimming the dough's surface holds an herb-infused olive oil topping, delivering fragrant, savory notes. Perfect warm with dipping oil or as a sandwich base, it blends traditional Italian flavors in every bite.
I discovered focaccia by accident at a small bakery in Rome, where the baker pulled a golden sheet from the oven and let me taste it still warm. That dimpled surface, glistening with garlic-herb oil, changed how I thought about bread entirely. Now whenever I make it at home, that kitchen fills with the same aromatic warmth, and somehow it tastes like a memory.
I made this for my partner one rainy afternoon when we were supposed to be doing something productive, and instead we just sat at the kitchen counter breaking pieces off the warm loaf while it was still steaming. The rosemary smell had filled every room in the apartment, and somehow that mattered more than whatever we were supposed to be doing.
Ingredients
- Bread flour (500 g): Use a flour with at least 12% protein content so your dough develops structure and rises predictably without collapsing.
- Instant dry yeast (7 g): Keep it stored in the refrigerator after opening, and always check the expiration date because old yeast will give you a flat, dense loaf.
- Warm water (350 ml at 40°C): Water that is too hot kills the yeast, and water that is too cold slows fermentation, so use a thermometer if you are uncertain.
- Extra virgin olive oil (60 ml for dough, 3 tbsp for topping): The quality matters here because it is the main flavor, so choose one you would actually taste on bread.
- Garlic (3 cloves, minced): Mince it finely so it distributes evenly and does not burn dark spots into the topping.
- Fresh rosemary (2 tbsp, chopped): Fresh rosemary has a brighter, more complex flavor than dried, and its oils release when your fingers dimple the dough.
- Flaky sea salt (1 tsp): Flaky salt clings to the dimples and adds bursts of salinity without dissolving into the crumb like fine salt would.
Instructions
- Mix your dry ingredients:
- In a large bowl, whisk together flour, yeast, and salt so the yeast is evenly distributed and will activate predictably. This only takes a minute and prevents the yeast from clumping when you add water.
- Bring the dough together:
- Add warm water and olive oil, then stir with your hand or a wooden spoon until a shaggy, sticky dough forms. Do not worry if it looks wet and rough because kneading transforms it.
- Knead until smooth:
- On a lightly floured surface, knead for 8 to 10 minutes (or 6 to 8 minutes in a stand mixer) until the dough becomes smooth, elastic, and barely sticky. You will feel the difference when gluten develops because the dough stops tearing and holds together like skin.
- Let it rise in warmth:
- Oil a clean bowl, transfer the dough, cover it loosely with plastic wrap or a damp towel, and set it somewhere warm (like a turned off oven with the light on). After about 1 hour, it should have doubled in size and feel airy when you poke it.
- Stretch it into the pan:
- Lightly oil a 9x13 inch pan, then gently transfer the risen dough and stretch it to fit, using your fingertips rather than your fists so you do not deflate all the air bubbles you just created. It will not cover the entire pan at first, but it will expand.
- Give it a second rise:
- Cover the pan and let the dough proof for 30 to 40 minutes until it looks puffy and fills the pan. You can tell it is ready when a gentle poke leaves a slight indentation that does not spring back completely.
- Prepare the topping:
- While the dough rises the second time, preheat your oven to 220°C (425°F) and combine olive oil, minced garlic, and chopped rosemary in a small bowl. Let the mixture sit so the garlic and herbs infuse into the oil.
- Dimple and oil the surface:
- Using your fingertips, press dimples all over the dough surface about 1 cm deep, working methodically so every area gets dimpled and will hold the garlicky oil. Pour the herb oil over the top slowly, pressing it into the dimples with your fingers and making sure the herbs distribute evenly, then sprinkle with flaky salt.
- Bake until golden:
- Bake for 22 to 25 minutes until the top is deep golden and the edges are crispy and pull away slightly from the pan. The focaccia should sound hollow when you tap the bottom, signaling that the crumb has set.
- Cool slightly before serving:
- Remove from the oven and let it rest on a wire rack for a few minutes so the steam escapes and the crust sets, then slice and serve warm. The crumb is still tender and the oil is still warm, which is honestly the best way to taste it.
 Pin it
 The first time someone told me they made this focaccia for a dinner party and everyone kept coming back to the bread instead of eating the main course, I understood something important. Bread is not an afterthought or a filler. When you make it with care, it becomes the reason people gather.
Why This Bread Works So Well
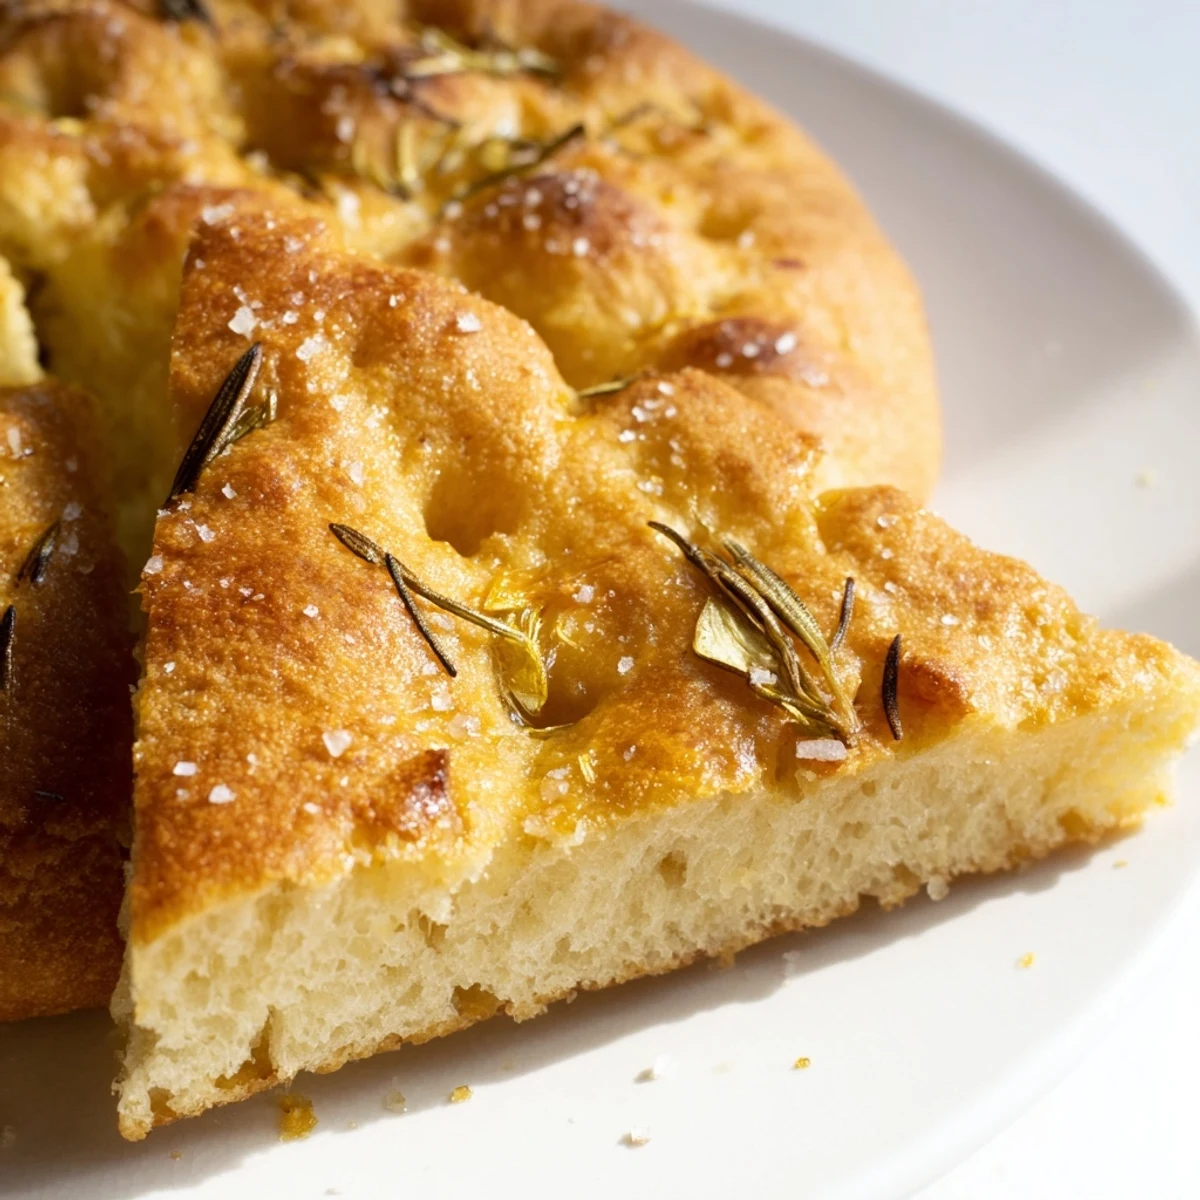
Focaccia sits in that perfect middle ground between a pizza and a sandwich bread. The high hydration in the dough (the ratio of water to flour) creates steam during baking, which gives you those open crumbs and a crust that is crispy but not hard. The olive oil works double duty, enriching the dough from inside while the topping oil creates those caramelized bits at the dimples that catch light and flavor.
Variations and Substitutions
While rosemary and garlic are classic, this focaccia is forgiving enough to adapt to what you have or what you are craving. You can swap the rosemary for thyme, oregano, or even chopped fresh sage, each giving a slightly different character to the bread. Some people add a thin layer of caramelized onions or sautéed mushrooms before baking, and others sprinkle everything with a drizzle of hot pepper oil for heat. I once made a version with just sea salt and it tasted like the Ligurian coast.
Serving and Storage Ideas
Focaccia tastes best warm or at room temperature, so do not refrigerate it unless you must. Serve it torn into pieces with good olive oil and aged balsamic vinegar for dipping, or split it horizontally and turn it into the best sandwich bread you have ever had. Leftovers stay fresh for two days in a paper bag on the counter, and you can refresh any staleness by wrapping the bread in damp paper towels and heating it in a 180°C oven for five minutes.
- For a softer crust, brush the warm focaccia with extra olive oil as soon as it comes out of the oven.
- Pair it with soups, stews, or simply sit by the window and eat it slowly with nothing else at all.
- Slice any leftovers and freeze them layered with parchment paper so you can toast individual pieces whenever the craving strikes.
 Pin it
 Making focaccia teaches you something quiet about patience and timing. It is not complicated, but it does require you to show up at a couple of specific moments and pay attention. There is something restorative about that.
Recipe FAQs
- → What type of flour is best for this focaccia?
-
Bread flour with high protein content helps develop gluten, providing the desired chewy texture crucial for focaccia.
- → How does the double rise affect the bread?
-
The first rise helps the dough develop flavor and gluten, while the second rise creates a light, airy structure before baking.
- → Can I substitute rosemary with other herbs?
-
Yes, thyme or oregano work well as alternatives, offering different but complementary aromatic profiles.
- → What is the purpose of dimpling the dough?
-
Dimpling creates pockets that hold the garlic-rosemary oil, enhancing flavor and preventing the dough from puffing unevenly.
- → How can I achieve a softer crust?
-
Brushing additional olive oil on the bread right after baking keeps the crust tender and flavorful.
