 Pin it
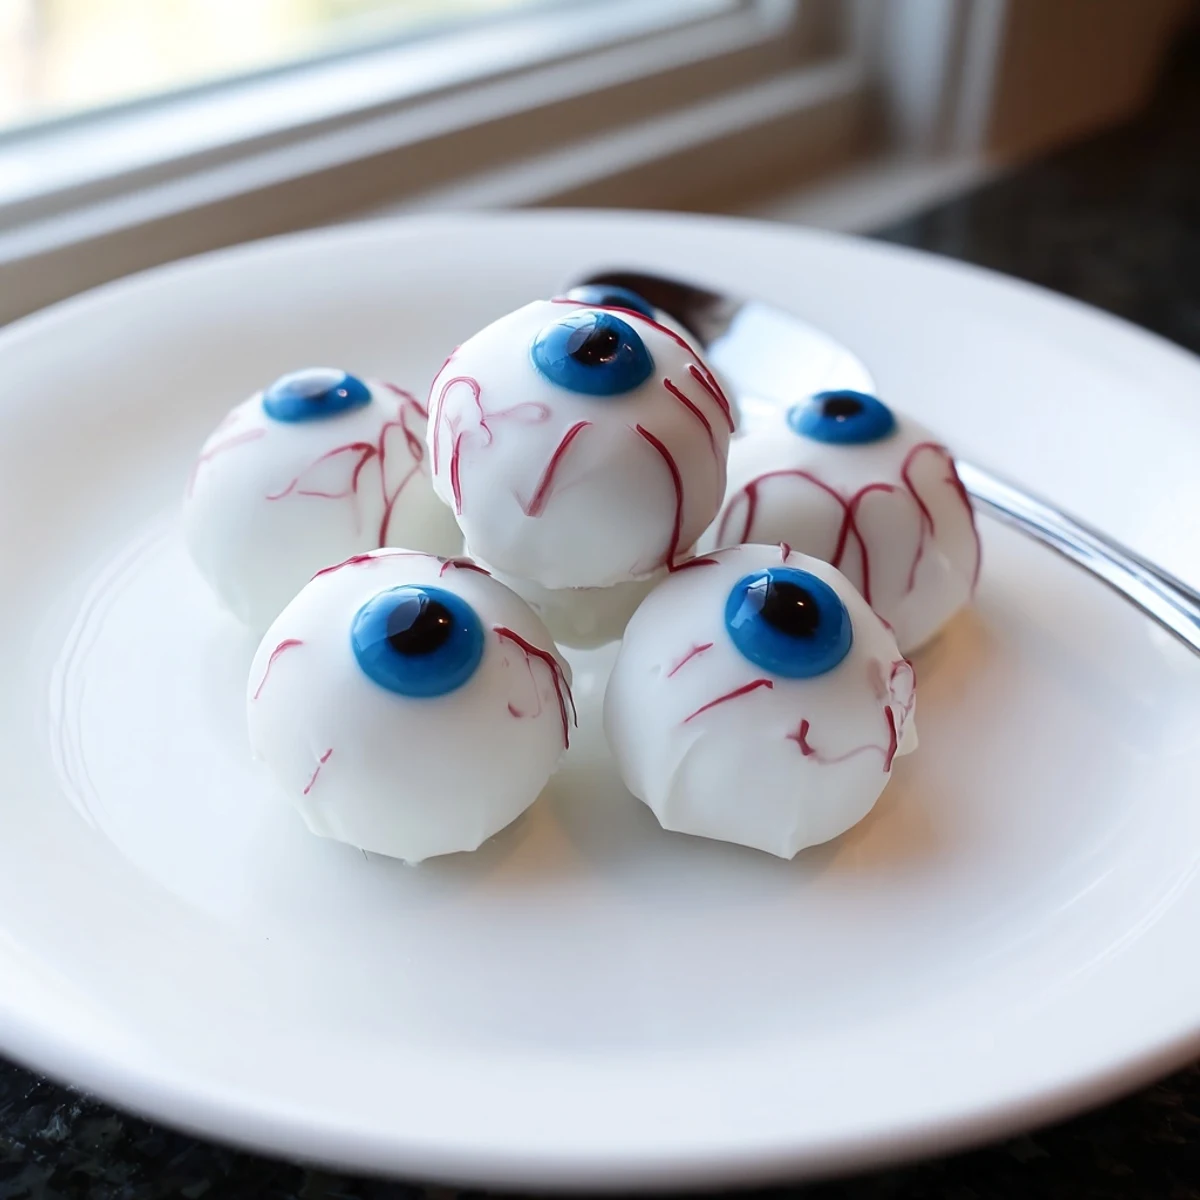
 These Halloween-themed treats combine crumbled vanilla cake with cream cheese frosting, shaped into balls and coated in white chocolate. Decorate with colored candy melts for irises, dark chocolate pupils, and red gel for realistic veins. The result is a moist, creamy center with a crisp chocolate shell—perfect for Halloween gatherings and kids' parties.
Preparation involves baking or using prepared cake, crumbling it, mixing with frosting, rolling into balls, and chilling before coating. The decoration process creates the eyeball effect using melted chocolates and gels. Each serving delivers 180 calories with a satisfying sweet treat that balances the smooth interior with the crunchy exterior.
Last October my daughter decided we needed something weirder than pumpkin cookies for her class party. She found a picture of cake eyeballs online and would not let it go. We made three batches that weekend and by the third try the kitchen looked like a crime scene of red gel and white chocolate splatters.
My nephew took one bite then spent ten minutes pretending his eyeball had fallen out. The adults were worse honestly gently poking at them and making nervous laughter before finally giving in. Every Halloween request now involves these creepy little treats.
Ingredients
- Vanilla cake mix or homemade cake: The box version works perfectly fine here but homemade vanilla cake gives you control over sweetness
- Cream cheese and butter: Room temperature is non negotiable for that silky smooth frosting texture that holds everything together
- Powdered sugar: Sift it first to avoid any grainy surprises in your filling
- White chocolate or candy melts: Candy melts are easier for beginners because they set faster and tolerate temperature fluctuations better
- Dark chocolate for pupils: A tiny amount goes a long way so save those leftover chocolate chips from baking
- Red gel food coloring: Gel rather than liquid gives you those crisp realistic veins without watering down your coating
Instructions
- Bake and cool your cake completely:
- Warm cake will turn your filling into a sad sticky situation so let it cool to room temperature then pop it in the fridge for an hour
- Crumble the cake into fine crumbs:
- Use your hands to break it down until no large chunks remain think wet sand consistency
- Make the creamy frosting:
- Beat the cream cheese butter powdered sugar and vanilla until light and fluffy about three minutes with a hand mixer
- Combine cake and frosting:
- Start with half the frosting and mix gently you want a dough that holds shape when squeezed not a wet mush
- Roll into balls and chill:
- Scoop tablespoon portions roll between your palms and freeze for 20 minutes so they hold their shape during dipping
- Dip in white chocolate:
- Melt the white chocolate in 30 second bursts then use a fork to lower each ball tap off excess and slide onto parchment
- Add the colored iris:
- Work quickly while the white coating is still soft adding a blue or green circle in the center of each eyeball
- Create pupils and veins:
- Once the iris sets add a dark chocolate dot then use a toothpick with red gel to draw squiggly spiderweb veins around the edge
 Pin it
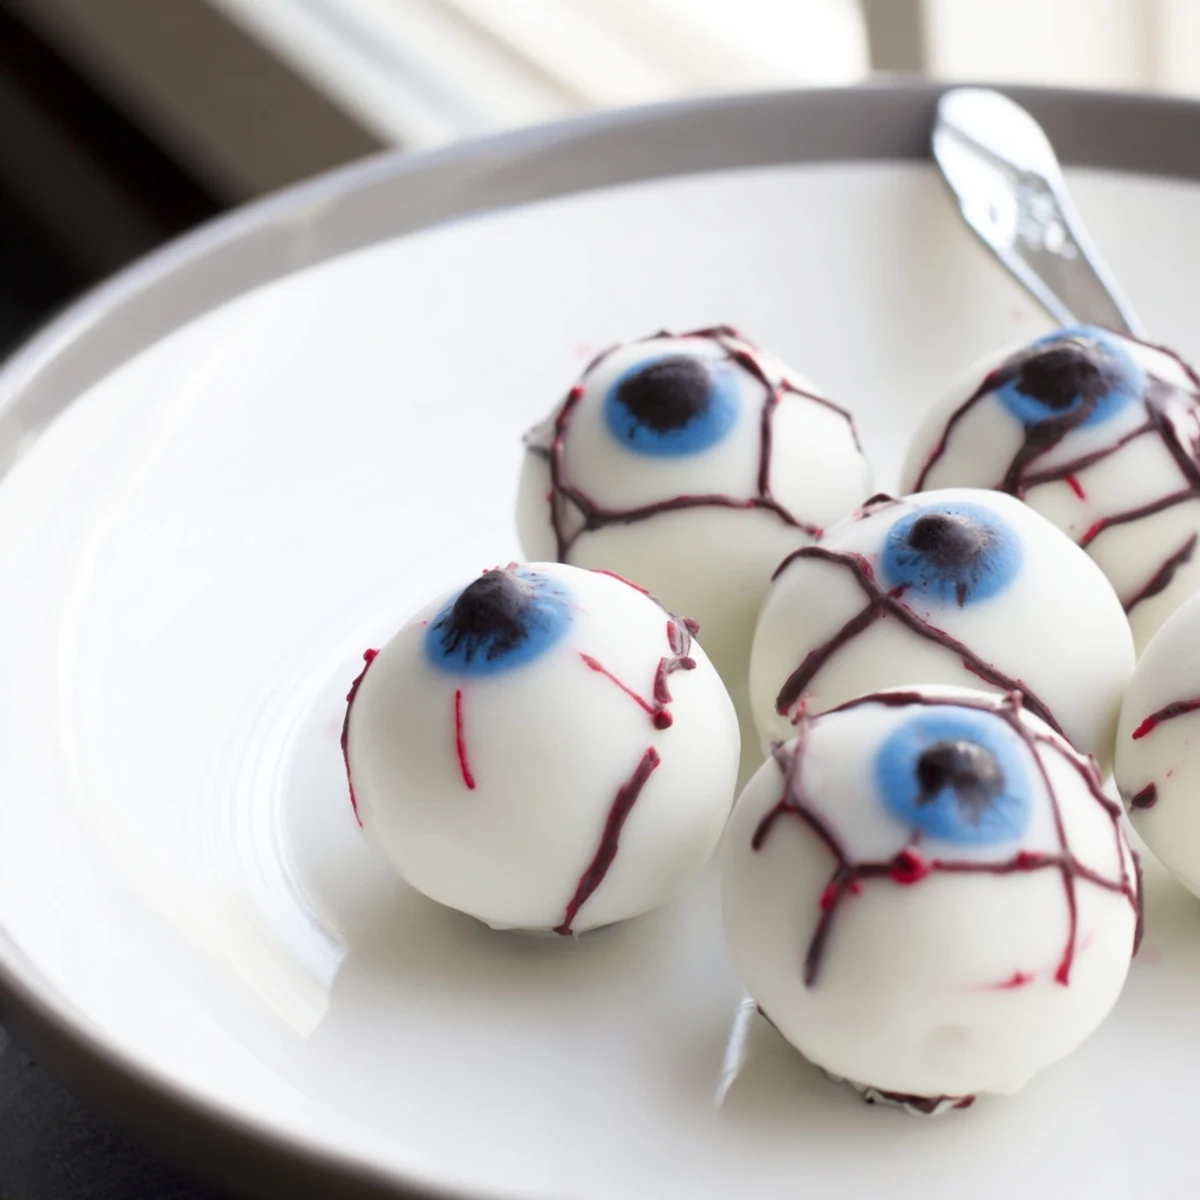
 Last year my friend brought these to a potluck and arranged them on a platter with fake blood syrup drizzled around the edges. Nobody touched them for twenty minutes then suddenly they were gone and people were demanding the recipe.
Making Them Ahead
You can prepare the cake balls up to three days before decorating and store them in the refrigerator. Dip and decorate the day before your event for the freshest appearance without the last minute panic.
Flavor Variations
Chocolate cake works beautifully too just use orange candy melts for an eerie contrast. For adults try adding a splash of irish cream or orange liqueur to the frosting mixture.
Presentation Ideas
Set them in cupcake liners or arrange them in rows on a dark platter for maximum impact. I like to group them in threes as if they are watching whoever reaches for one first.
- Keep them chilled until serving time or the coating might soften
- Work in small batches when adding the irises so the white chocolate stays tacky
- Store leftovers in the fridge for up to five days though they rarely last that long
 Pin it
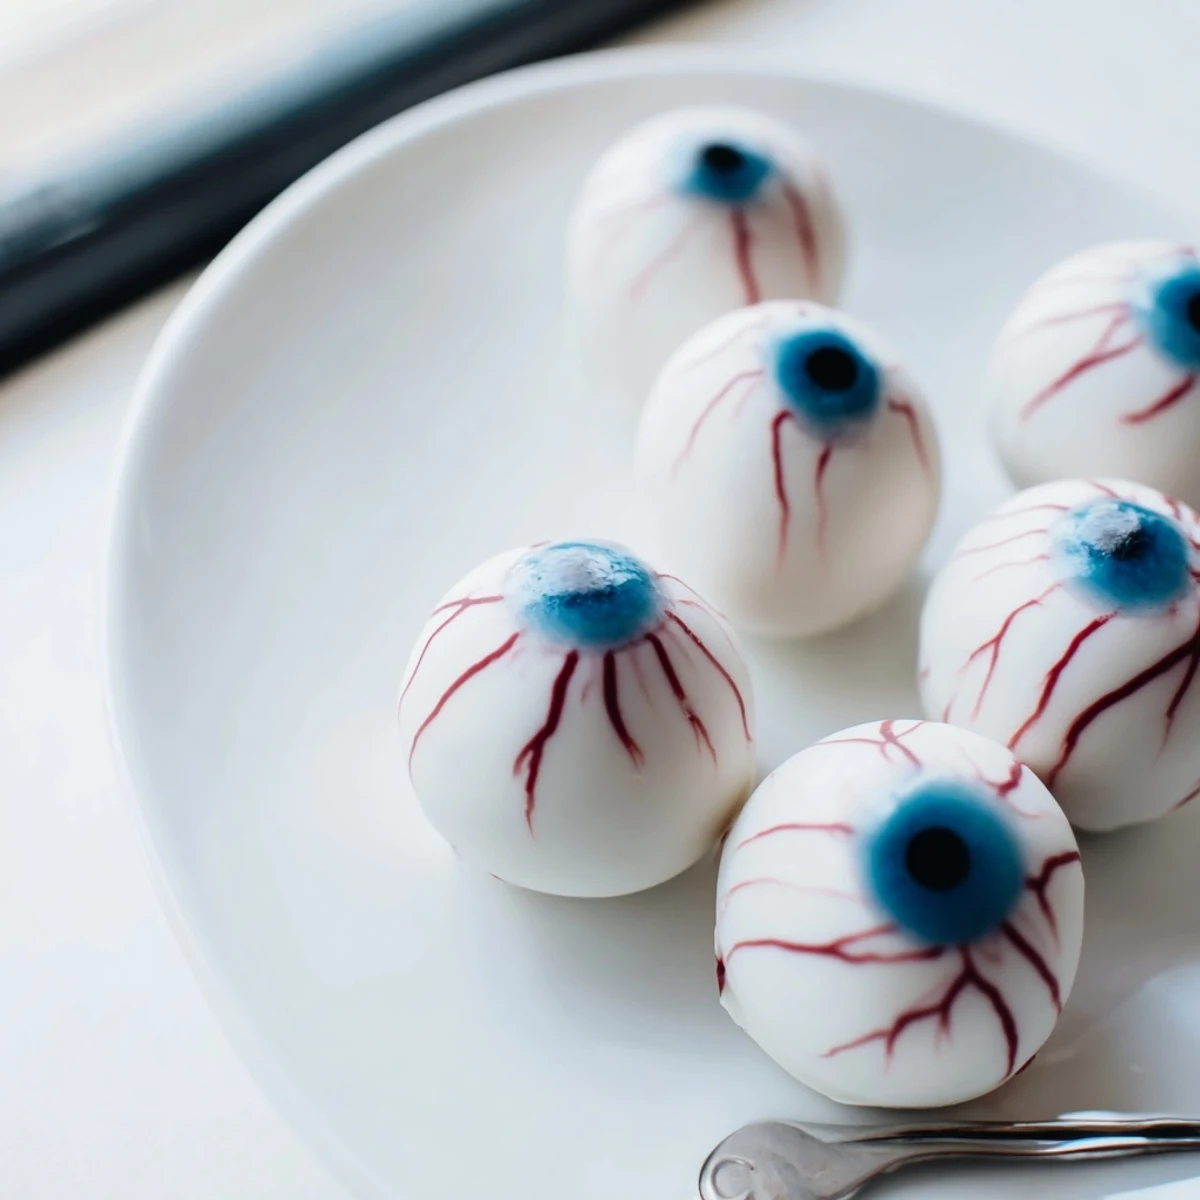
 Hope these creepy little treats make your Halloween gathering unforgettable in the best possible way.
Recipe FAQs
- → How long do Halloween cake eyeballs stay fresh?
-
Store in an airtight container in the refrigerator for up to 5 days. The coating remains firm and the center stays moist. For longer storage, freeze undecorated balls for up to 3 months and decorate when ready to serve.
- → Can I make these ahead of a Halloween party?
-
Yes, prepare and chill the cake balls up to 2 days before decorating. Coat with chocolate and decorate the day of your event for the freshest appearance. If decorating earlier, store in the refrigerator to prevent the chocolate from becoming soft.
- → What's the best way to melt chocolate for coating?
-
Use a microwave-safe bowl and heat in 30-second intervals at 50% power, stirring between each interval. Alternatively, use a double boiler on the stovetop. The chocolate should be smooth and fluid but not overheated, which causes seizing.
- → How do I prevent the cake balls from falling off the stick?
-
Chill the shaped balls thoroughly for at least 20 minutes before coating. When inserting sticks, dip the tip in melted chocolate first, then insert halfway into the ball. Let set completely before dipping in the full coating.
- → Can I use different cake flavors?
-
Absolutely. Chocolate, red velvet, or spice cakes work wonderfully. The flavor pairs well with the cream cheese frosting and white chocolate coating. Consider using devil's food cake for an even darker, spookier appearance.
- → What alternatives work for candy melts?
-
White chocolate chips or chopped white chocolate bars substitute well for candy melts. For colored irises, tint white chocolate with oil-based food coloring or use colored frosting piped onto the set white coating.
