 Pin it
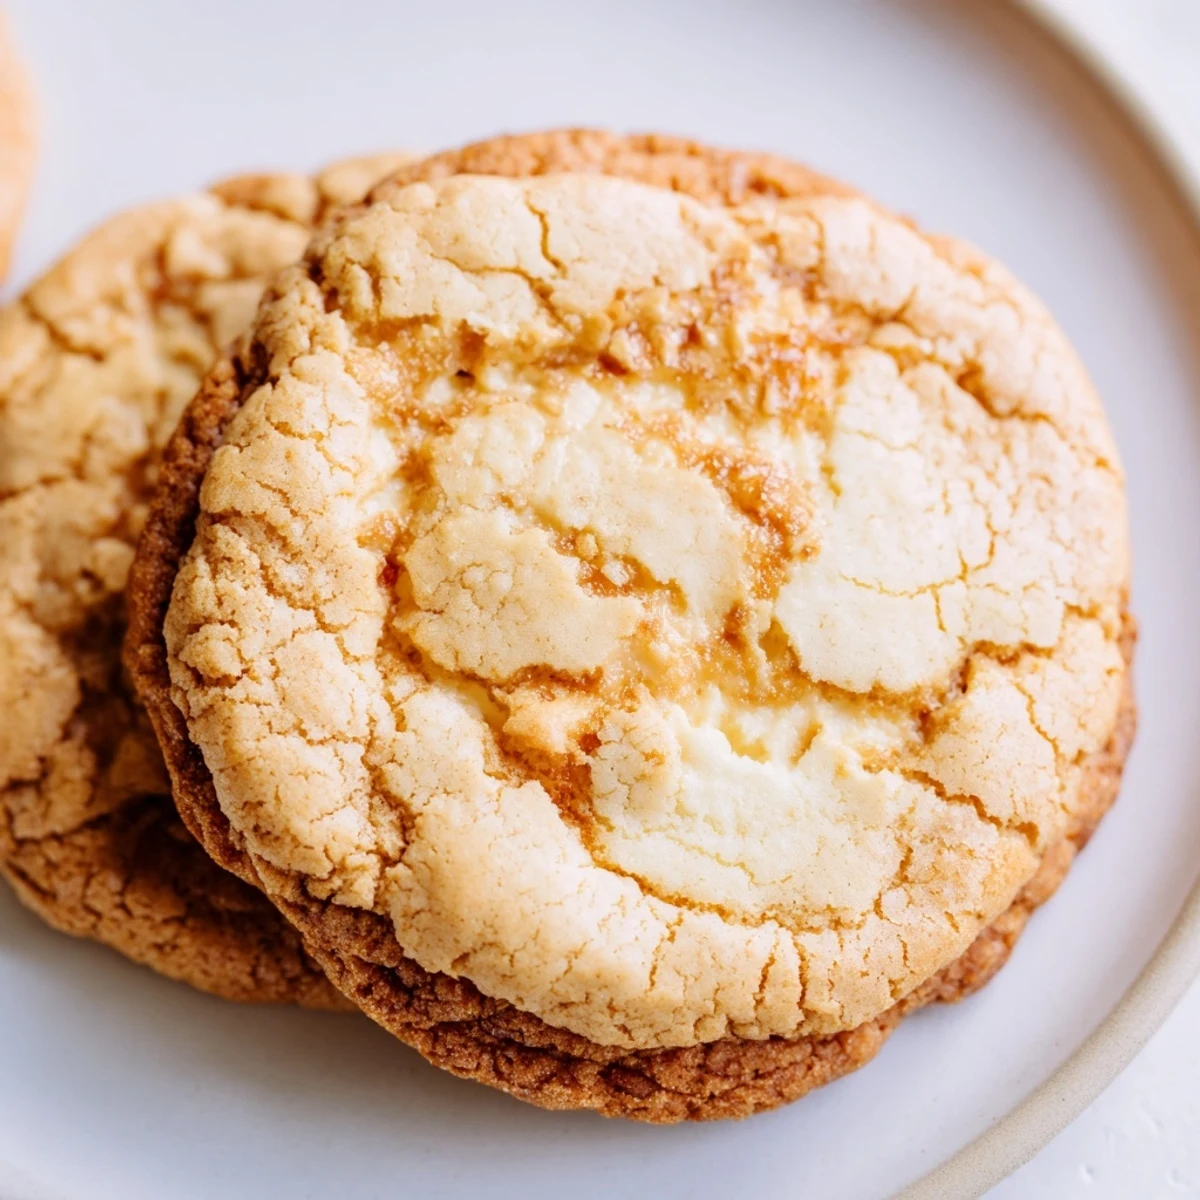
 These soft baked cookies capture the essence of classic French crème brûlée in cookie form. Each treat features a tender vanilla dough wrapped around a smooth cream cheese filling, topped with a layer of caramelized sugar that creates that signature crackly crunch. The dough uses sour cream for extra softness, while the filling delivers rich vanilla flavor. A kitchen torch creates the perfect brûlée finish, though your oven broiler works as an alternative. With 18 cookies per batch, these elegant treats are perfect for gatherings or special occasions.
The kitchen smelled like a French bakery gone rogue when I first attempted these cookies. I had this wild idea to merge the crackle of crème brûlée with the comfort of a soft-baked cookie, and honestly, my roommates thought I had lost my mind trying to torch sugar on top of freshly baked treats. But when that first golden sugar crust shattered under my spoon, revealing the creamy vanilla center beneath, everyone suddenly understood the mission.
I made these for a dinner party last fall when someone mentioned they were craving crème brûlée but nobody wanted to turn on the oven for individual custards. The cookies disappeared faster than I could torch them, with people actually lingering near the kitchen island watching me brûlée each batch like it was some kind of performance art. My friend Sarah still texts me every few months asking when Ill make them again.
Ingredients
- All-purpose flour: The foundation of our cookie shell, providing structure while keeping things tender
- Baking soda: Just enough lift to create those perfect pillowy centers
- Salt: Essential for balancing all that sugar and enhancing the vanilla
- Unsalted butter: Softened to room temperature for that ideal creaminess
- Granulated sugar: Sweetens the dough and creates our signature crackled topping
- Egg yolks: Richness builder that adds to the luxurious mouthfeel
- Pure vanilla extract: Dont skimp here, this is the backbone of the flavor
- Sour cream: The secret ingredient that keeps these cookies incredibly soft
- Cream cheese: Forms our dreamy vanilla filling reminiscent of the classic custard
- Vanilla bean paste: Those beautiful little specks make everything feel extra special
Instructions
- Preheat your oven:
- Get it to 350°F and line those baking sheets with parchment paper now so you are not scrambling later
- Whisk the dry team:
- Combine flour, baking soda, and salt in a medium bowl, then set it aside while you tackle the wet ingredients
- Cream the butter and sugar:
- Beat them together until they are light and fluffy, then mix in the egg yolks, vanilla extract, and sour cream until everything is fully combined
- Bring it all together:
- Gradually add those dry ingredients to the wet mixture, mixing just until a soft dough forms, and remember, overmixing is the enemy here
- Make the filling:
- In a small bowl, beat the cream cheese, sugar, and vanilla bean paste until it is smooth and creamy enough to make you want to eat it with a spoon
- Stuff those cookies:
- Scoop about 2 tablespoons of dough, flatten it into a disc, place a teaspoon of filling in the center, then fold and pinch the dough around it like a little edible gift
- Arrange for baking:
- Place each filled cookie seam side down on your prepared sheets, giving them at least 2 inches of space to spread out and do their thing
- Bake to perfection:
- Slide them in for 11 to 13 minutes until the edges are set but centers still look soft, then let them cool on the pan for 10 minutes before moving them to a wire rack
- The grand finale:
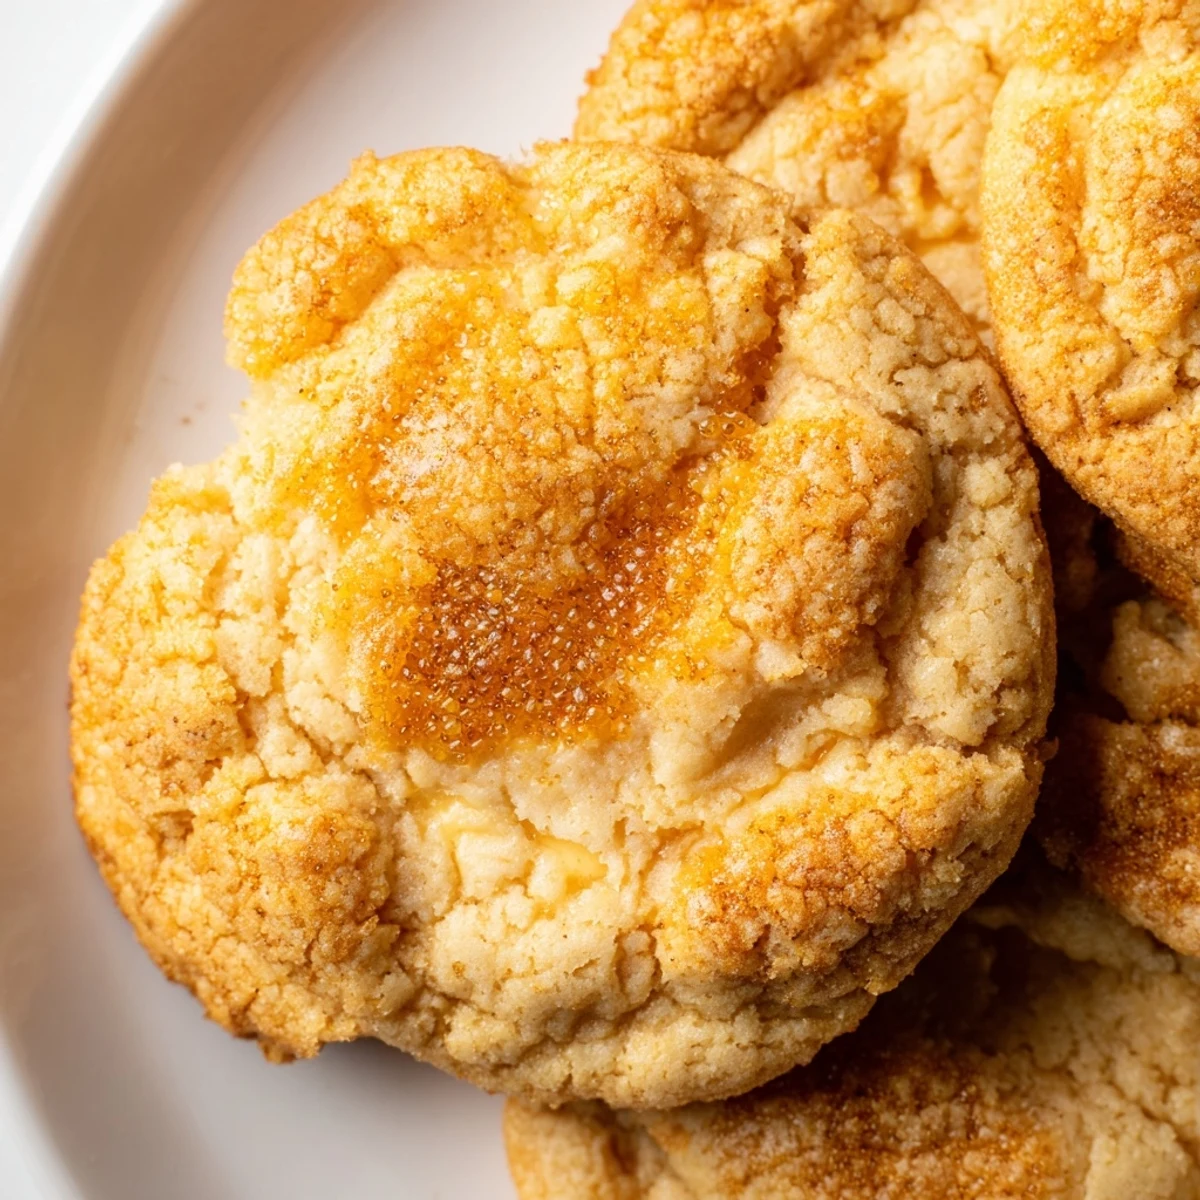
- Sprinkle a thin, even layer of sugar on each cooled cookie and torch it until golden and crisp, then wait 5 minutes for that sugar to harden into the perfect crackle
 Pin it
 My mom accidentally torched one too close to the filling during her first attempt and ended up with a mini marshmallow situation, but she declared it even more delicious that way. Now she intentionally lets the torch linger a bit longer, claiming the slightly toasted cream cheese filling is her happy accident discovery.
Making The Perfect Filling
The cream cheese filling needs to be soft enough to pipe or spoon easily but not so warm that it melts into the dough during baking. I take it out of the fridge about 30 minutes before I start mixing, and if I am being extra particular, I will beat it for a full 2 minutes until it is practically silky.
Mastering The Brûlée Technique
Hold your torch about 2 inches above the sugar and keep it moving in small circles until you see the sugar start to bubble and turn amber. The key is patience, rushing this step leads to burnt spots that taste bitter and ruin all your careful work.
Storage And Make-Ahead Tips
These cookies are actually fantastic the next day, though that signature crackle will soften slightly as time passes. If you are planning ahead, you can store the unfilled cookies in an airtight container and fill and torch them right before serving for maximum drama.
- The dough balls freeze beautifully for up to 3 months, just thaw overnight in the fridge before baking
- If you do not own a kitchen torch, most kitchen stores sell them for under $20 and they are worth every penny
- These are best enjoyed within 2 days but honestly, they rarely last that long in my house
 Pin it
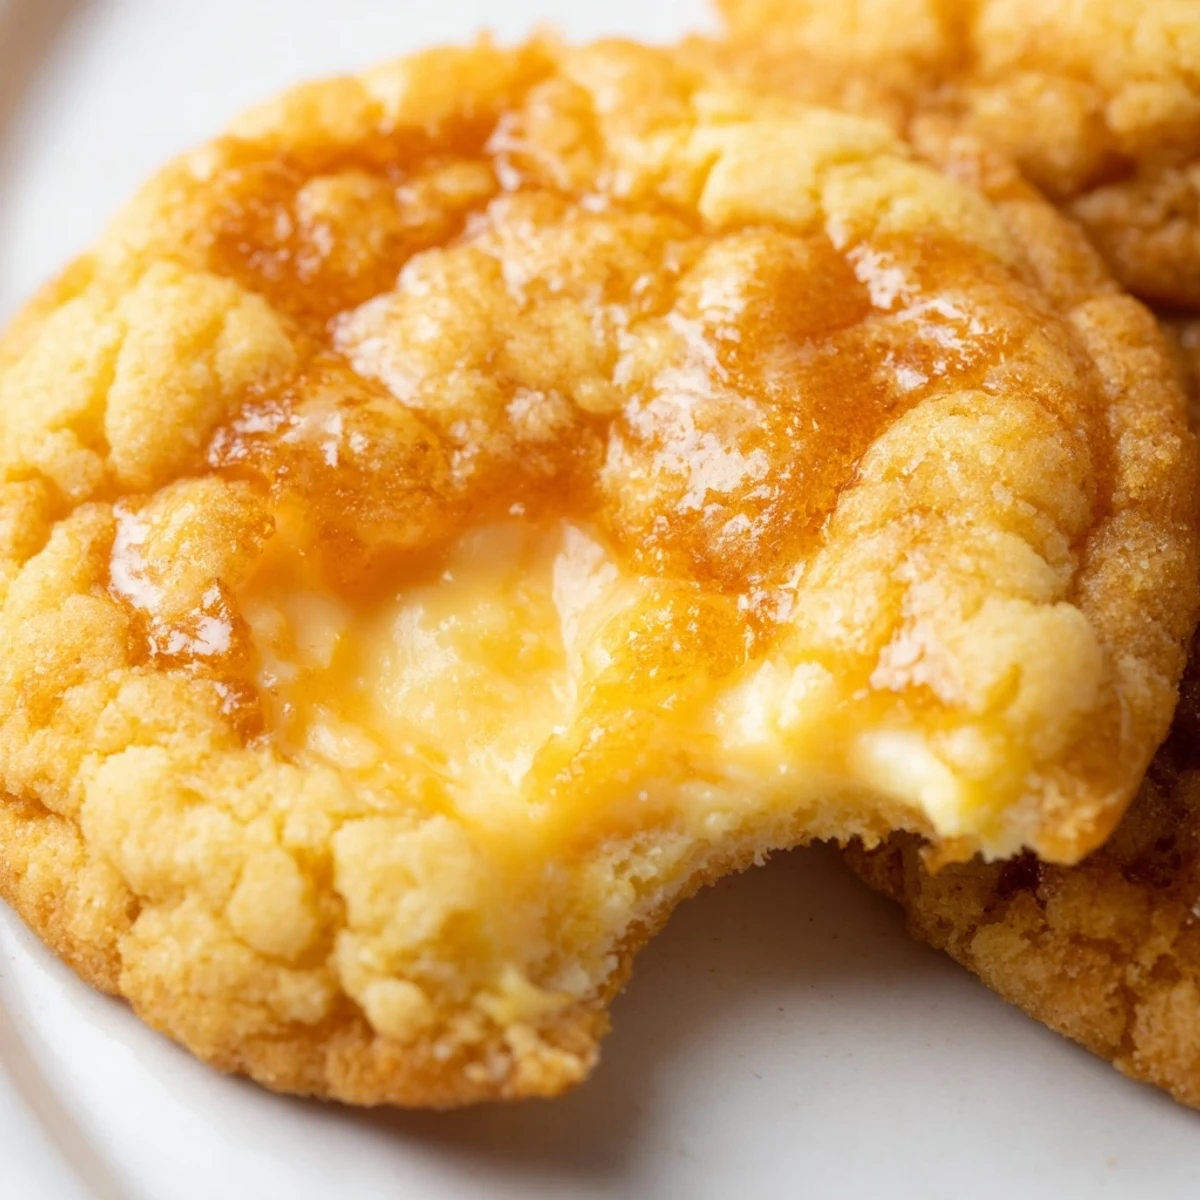
 There is something deeply satisfying about hearing that sugar crust crack when you take that first bite, revealing the soft creamy center underneath. These cookies have become my go-to when I want to serve something that feels fancy but still delivers pure cookie comfort.
Recipe FAQs
- → Can I make these without a kitchen torch?
-
Yes, you can caramelize the sugar under your oven broiler. Place cookies on a baking sheet and broil for 1-2 minutes, watching closely to prevent burning. The sugar will bubble and brown quickly.
- → How should I store these cookies?
-
Store in an airtight container at room temperature for up to 3 days. For longer storage, refrigerate for up to a week. The caramelized topping may soften slightly over time but remains delicious.
- → Can I freeze the dough or baked cookies?
-
Yes, freeze assembled unbaked cookies on a baking sheet until firm, then transfer to a freezer bag for up to 3 months. Bake from frozen, adding 1-2 minutes to baking time. Baked cookies also freeze well for up to 2 months.
- → What's the difference between vanilla bean paste and extract?
-
Vanilla bean paste contains tiny vanilla seeds and has a more intense flavor profile. Pure extract works perfectly as a substitute and provides excellent vanilla flavor throughout the filling and dough.
- → Why do I need to chill the dough?
-
Chilling isn't required for this dough, but if your kitchen is warm or the dough becomes too sticky, refrigerating for 15-20 minutes makes shaping easier and helps cookies hold their shape while baking.
- → Can I double this batch?
-
Absolutely. The recipe scales easily. You may need to bake in batches depending on your baking sheet size. The filled cookies can be prepared ahead and baked when needed.
