 Pin it
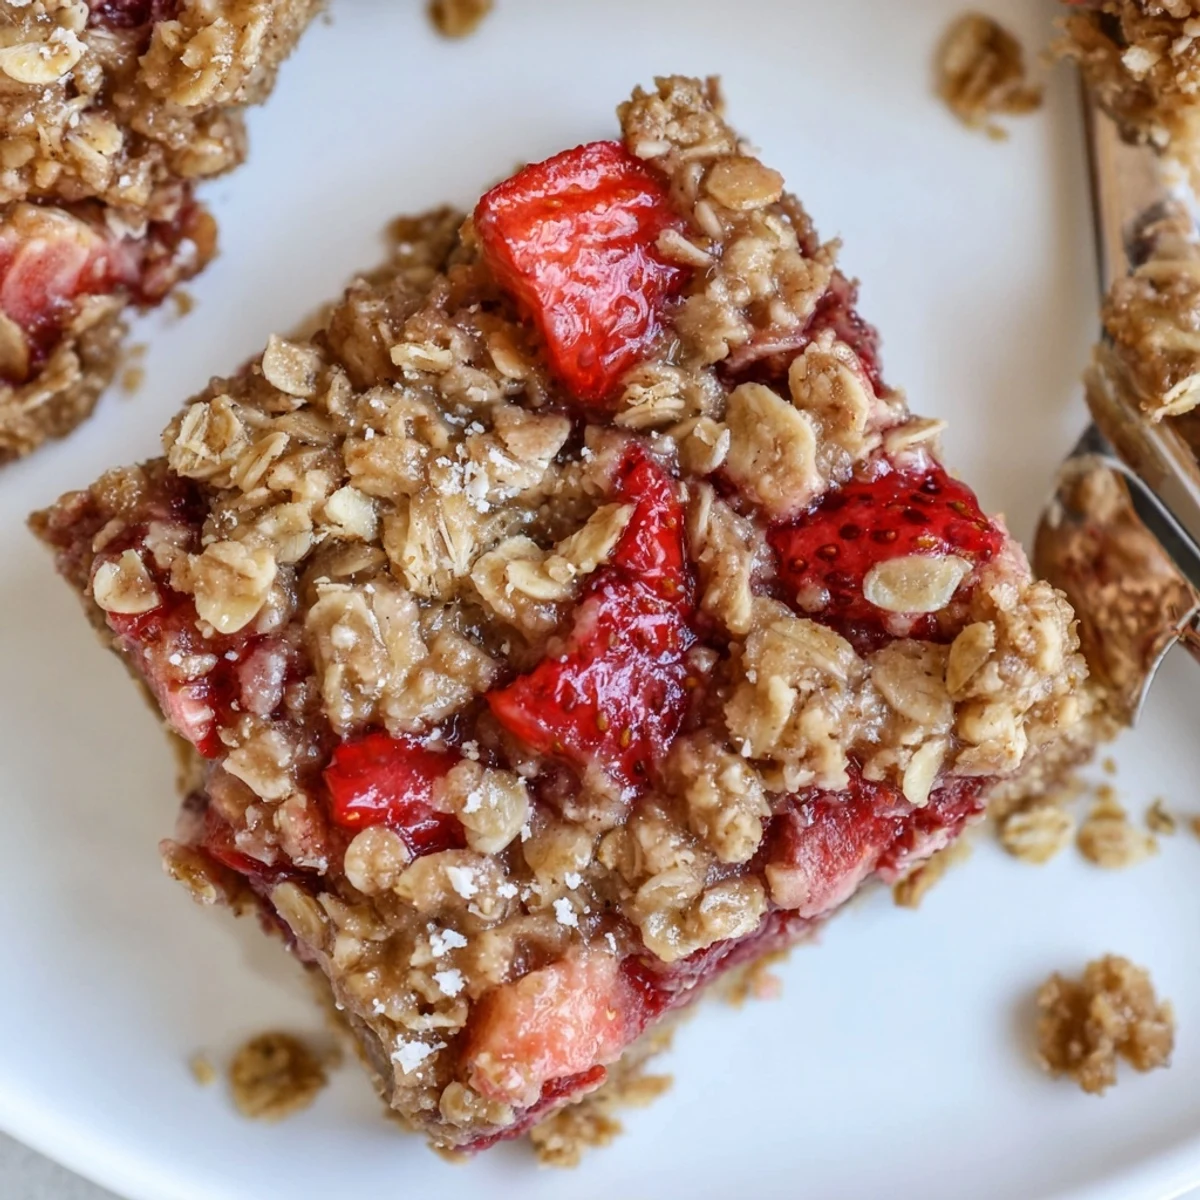
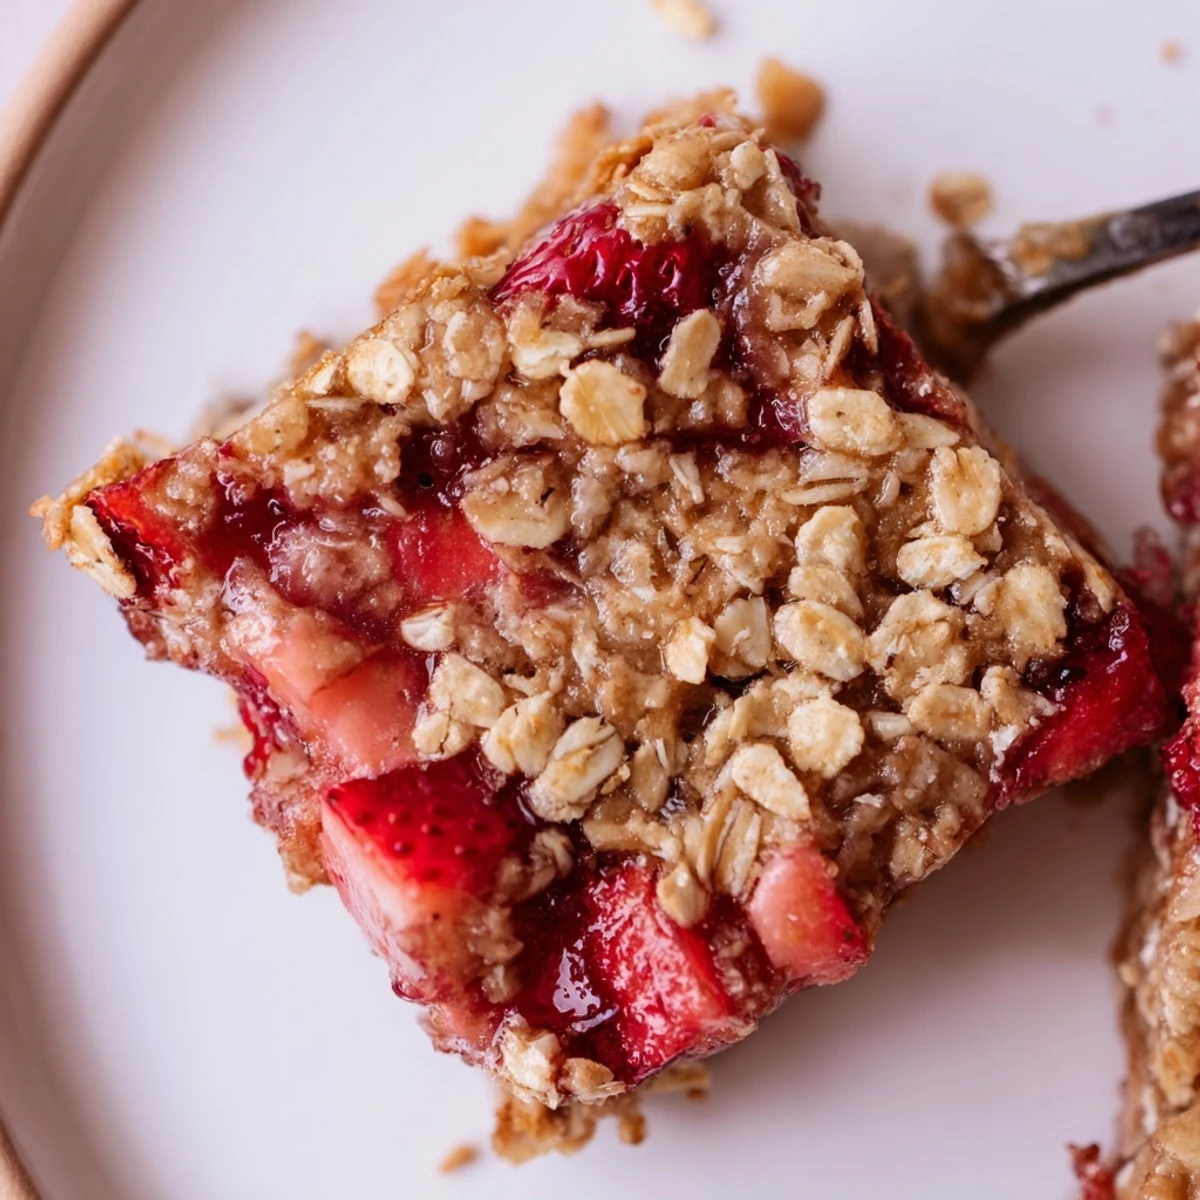
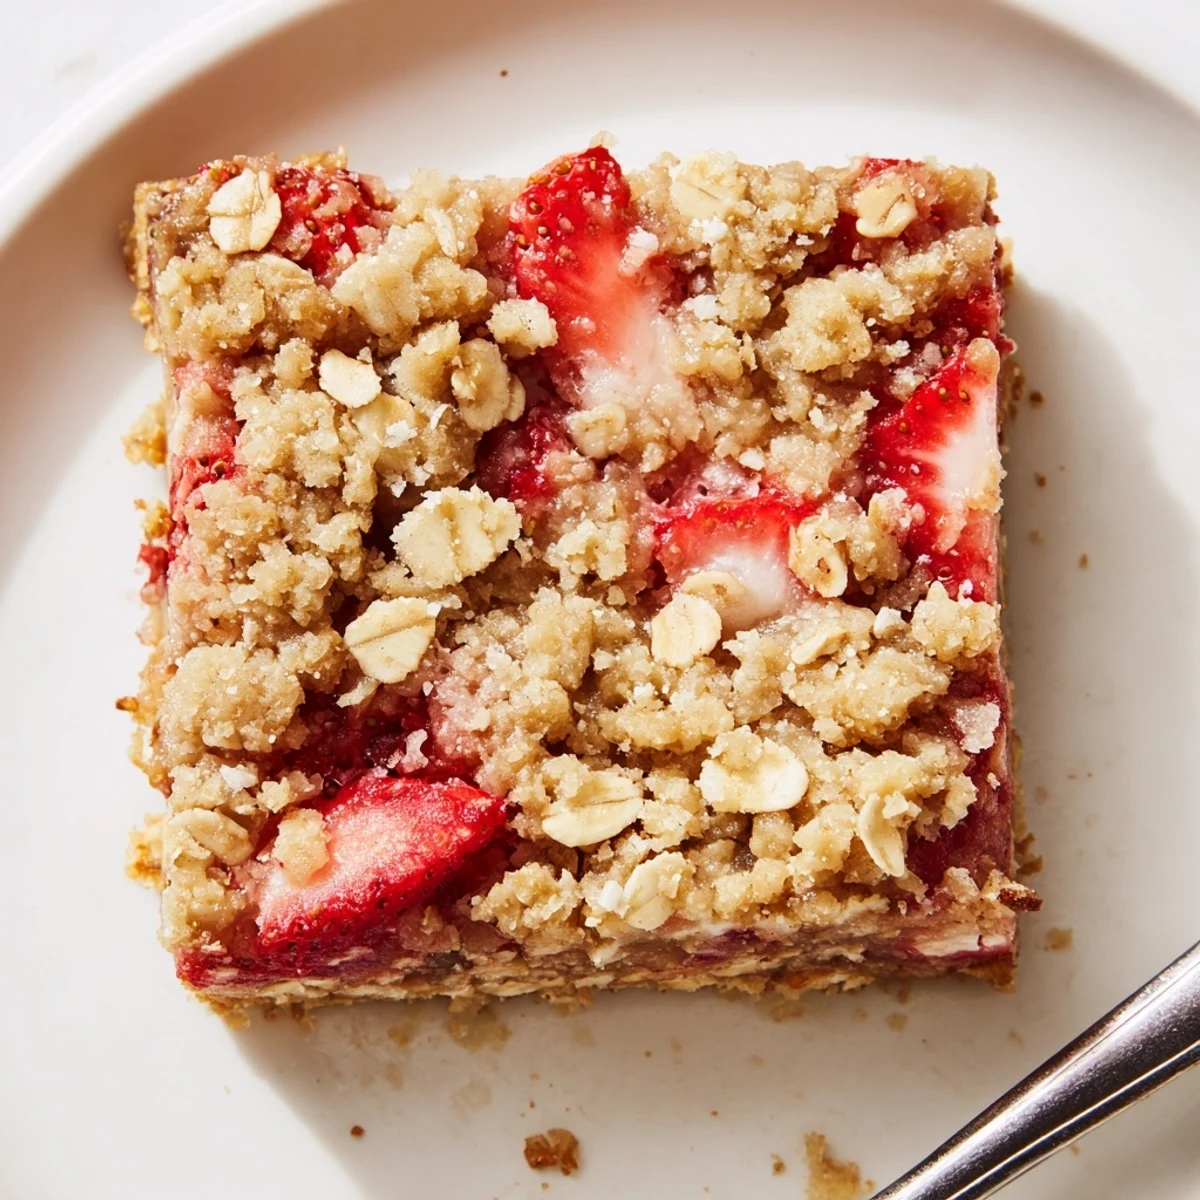
 Strawberry Oatmeal Crumble Bars combine a pressed oat-and-flour crust with a lightly sweetened strawberry filling thickened with cornstarch and a reserved oat crumble baked until golden. Total time ~50 minutes; yields 12 bars. Press crust firmly, chill briefly if soft, and bake until topping is golden and filling bubbles. Cool completely before slicing. Store airtight up to 3 days or freeze for longer; rewarm before serving.
There is something about the buoyant fragrance of strawberries mid-spring that always seems to lure me toward these oatmeal crumble bars. It is not that I set out each year to bake them, but once those ruby-red berries start appearing in markets, I find myself reaching for my mixing bowls without a second thought. Once, the sound of bubbling fruit had me peeking in the oven far too soon. Letting the cooling tray tempt me on the counter is now a cherished ritual in itself.
One rainy afternoon, I baked a pan of these bars when friends popped by unexpectedly, their shoes leaving little puddles by my door. The kitchen filled with chatter and the sweet tang of berries—by the time the coffee was brewed, the bars were just warm enough to cut, and we devoured them, still a bit crumbly, with laughter echoing well past the drizzle outside.
Ingredients
- Rolled oats: These bring a hearty, chewy bite and keep the bars from feeling too sweet; if you want extra toastiness, give them a quick pan toast first.
- All-purpose flour: This gives structure to the base and topping, but you can swap in a gluten-free blend for dietary needs.
- Light brown sugar, packed: It brings deep caramel undertones, so remember to pack it tight for accuracy.
- Granulated sugar: Needed in both the dough and the filling, it’s key for getting those tiny, glossy bubbles on the berry layer.
- Baking powder: A pinch lifts the crumble to tender heights—don’t skip it, as it really makes the texture.
- Salt: Just enough lets the buttery and fruity notes shine.
- Unsalted butter, melted: Melted butter gives the mixture those coveted clusters; I like to melt it in the mixing bowl to save a dish.
- Fresh strawberries, diced: Juicy, ripe berries are my favorite, but this recipe forgives less-than-perfect fruit.
- Lemon juice: Zest things up—literally—for brightness that balances the sweetness.
- Cornstarch: Essential to keep the filling set and bars easy to eat out of hand.
Instructions
- Prep your pan:
- Line an 8x8-inch baking pan with parchment paper and lightly grease it—this makes lifting the bars out feel like magic later.
- Mix up the crumble:
- In the largest bowl you have, combine oats, flour, both sugars, baking powder, and salt. Pour in the melted butter and stir just until shaggy, inhaling as the butter hits the oats.
- Build your base:
- Scoop out about a cup of the crumble mixture and save for the topping. Press the rest firmly into the pan; I like using the bottom of a measuring cup for evenness.
- Make the strawberry layer:
- Gently toss diced strawberries with lemon juice, cornstarch, and granulated sugar in another bowl. You want every berry shiny and just beginning to juice.
- Layer it all up:
- Spread the berry mixture over your crust, then scatter the reserved crumble on top, making sure there are nooks for the fruit to peek through.
- Bake to perfection:
- Slide your pan into a 350F oven and bake until the topping is golden and you see bubbling at the edges—usually about 35 to 38 minutes.
- Cool and slice:
- Let the bars cool completely in the pan for clean cuts, though I admit to sneaking an edge piece while it’s still barely warm.
 Pin it
 There was a summer picnic where these bars disappeared before anyone touched the brownies. It was the only time I’ve ever seen my quiet cousin ask for seconds, and I realized then how a simple tray bake can sometimes become the main event.
Swapping Fruits for Endless Variations
The first time I switched the strawberries for a mix of blackberries and blueberries, the results floored me with their vivid color and tang. Don’t be afraid to tweak the filling to match what’s best in your fruit bowl—the crust and crumble can handle almost anything you throw at them.
How to Get the Best Crumble Texture
One trick I stumbled on: use your fingertips to gently squeeze bits of the topping, making little clumps before scattering them on. The combination of fine crumbs and chunks makes the bar more satisfying with each bite.
Serving and Storing Like a Pro
If you want that just-baked feel again, a quick zap in the microwave brings the filling alive. The bars keep well in an airtight container for up to three days (though they rarely last that long at my house).
- Let the bars cool fully before cutting to keep their clean edges.
- Add a scoop of vanilla ice cream when serving guests for a little extra celebration.
- Store leftovers with parchment between layers to avoid sticking.
 Pin it
 However you fill or finish these bars, they have a way of turning any ordinary day into something a bit sweeter. May your kitchen always smell this inviting.
Recipe FAQs
- → How can I tell the bars are fully baked?
-
The topping should be golden and the strawberry filling should be visibly bubbling through the crumble. Edges will be set and slightly pulling away from the pan; if the center still looks very wet, add a few more minutes.
- → Can I use frozen strawberries instead of fresh?
-
Yes. Thaw and drain excess juice, then toss with cornstarch and sugar to avoid a runny filling. You may need a touch more thickener if berries are very juicy.
- → What oats work best for the crust and crumble?
-
Rolled (old-fashioned) oats give the best chew and structure. Quick oats can be used but yield a finer texture; avoid steel-cut oats as they won’t soften properly.
- → How can I make these bars gluten-free?
-
Use certified gluten-free rolled oats and substitute the all-purpose flour with a 1:1 gluten-free flour blend. Press firmly and bake as directed; texture will be similar but slightly more delicate.
- → How should I store and reheat the bars?
-
Keep bars airtight at room temperature up to 2 days or refrigerated up to 3 days. Freeze for up to 2 months; thaw overnight. Rewarm in a low oven or microwave for a warm serving, especially if pairing with ice cream.
- → Any tips for preventing a soggy crust?
-
Press the crust firmly and evenly into the pan before adding the filling. Using cornstarch to thicken the filling and letting the bars cool fully in the pan before cutting will help set the layers and reduce sogginess.
